

Moving to P4

Entry posted by Knuckles
2,255 views
Ok, it is official, I have gone raving mad and took the plung into the world of P4 (not so much S4)
Starting with this post is some actual proof rather than speculation, I have made that all important start.
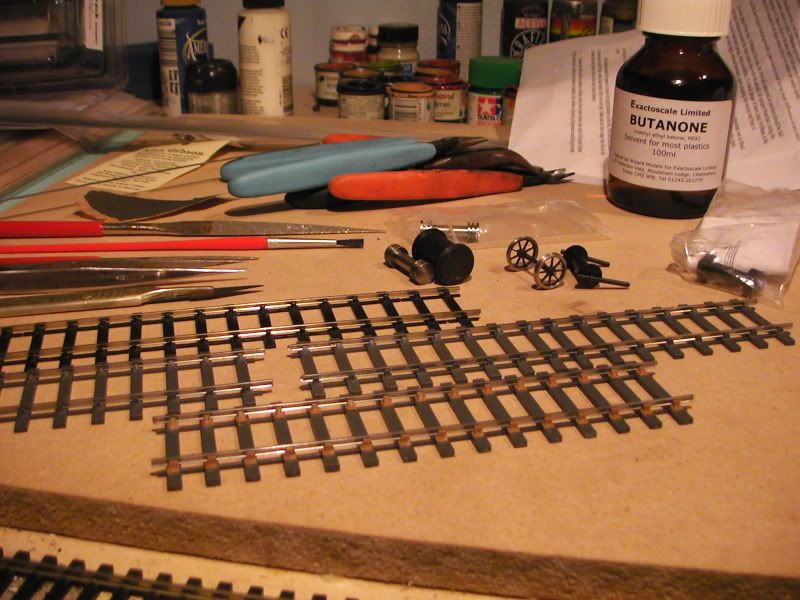
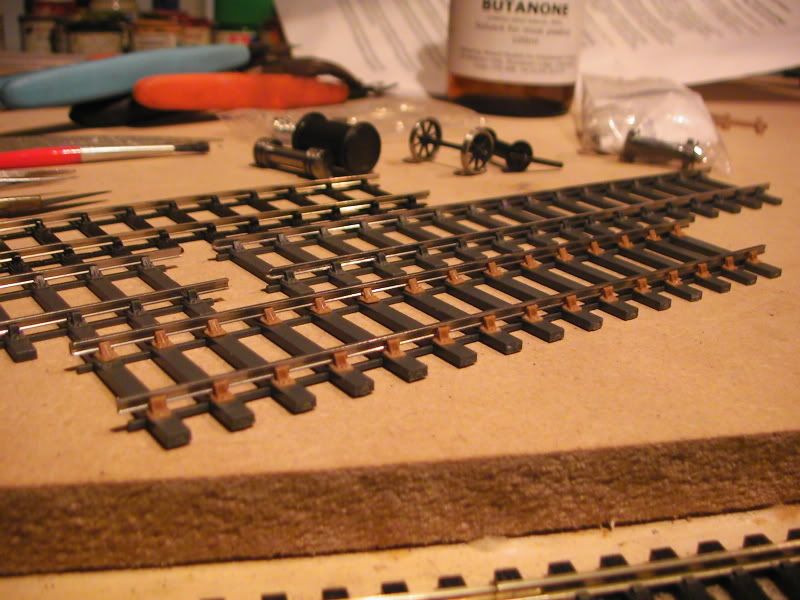
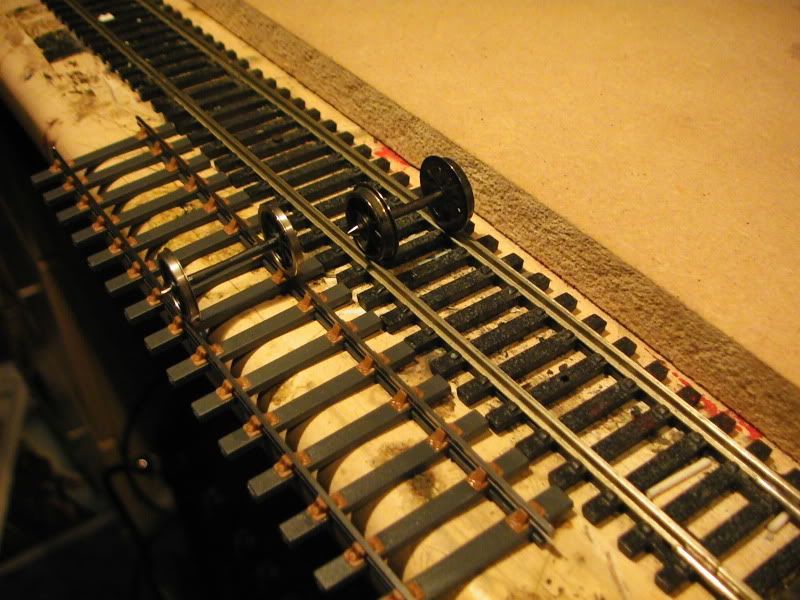
Pictures show some tools, gauges and bits I have brought, also I have joined two wheels to an axle using that £20 back to back gauge from Exactoscale and Loctite 243 (Suitable? Didn't want to use 603 incase I needed to remove things). Black track in background is C&L Flexible track cut to size, middle is Exactoscale 'FastTrack' which reuires you slide the rail into it and foreground is Exactoscale Plain Line track with individually placed rail chairs glued on with Butanone and gauged using the gauges.
The Butanone from Carr's was useless and I do wander if the mix is different. I thought butanone was butanone and that's all there is too it, clearly not. I don't lie when I said it performed like water, the other butanone adhesive from Wizard Models (packed for Exactoscale) was brilliant however, grabbed almost instantly and gave you some wiggle time too. Any ideas why?
Next tests are plastic chairs on plywood sleepers, the plywood and rivet can wait until I have the correct tool. After the ply and plastic chair test it's time for me to work out how to do a curve. That isn't going to be easy - I haven't a clue.
These are both the same diameter wheels ((I checked) 00 VS P4))but the difference between the tyre thickness and flange depths speak for itself.
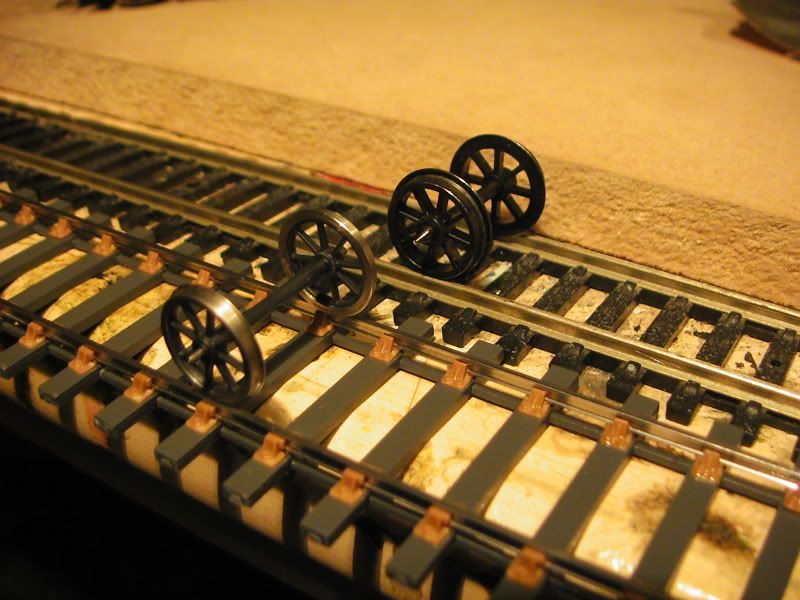
Those last pictures also clearly show a ggreat difference between 4mm '00' and 4mm 'P4' for standard gauge.
Any help and advice appreciated. 
POST 2
Had a mixture of success and faileur today.
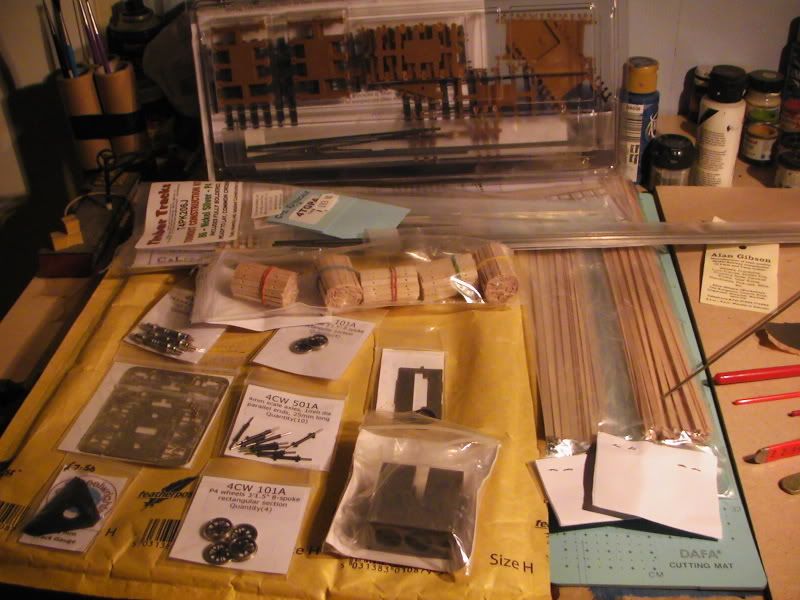
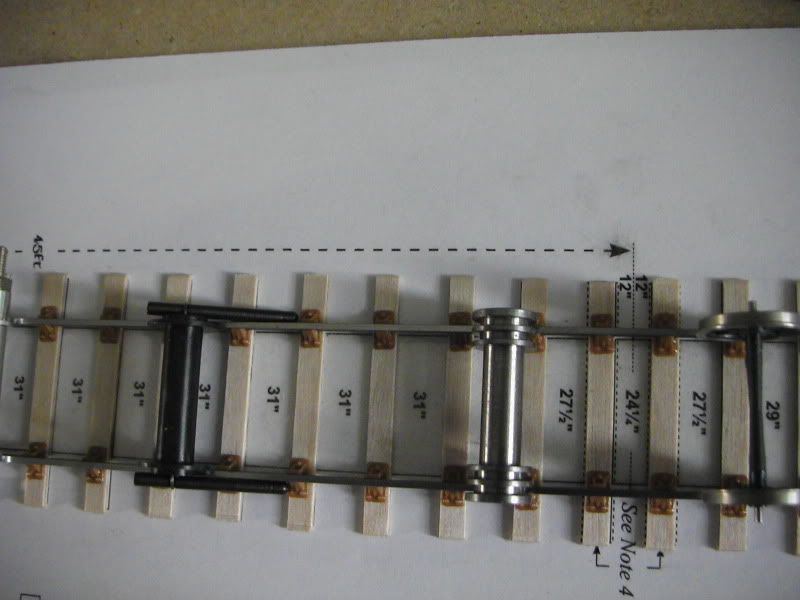
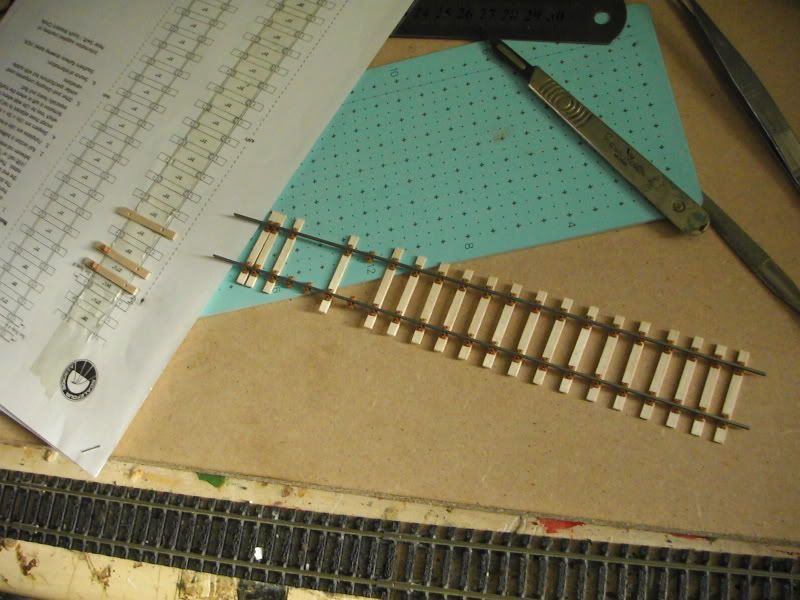
I thought I would have a go at Exactoscalefunctional chairs with S4 0.8mm Ply Wod sleepers.
The template I used was printed off the computor but I think it has caused a few problems. I measured the sleeper spacings and from center to center they were 10mm's so I thought it'd be ok. When laying the sleepers over the double sided sticky tape on the plan the ends of the 8' 6" sleepers went past the template slightly and when I checked the rail gauge as printed it was under gauge being just over 18mm's. As this is just a constructional test I went ahead and can worry about the printer later. Any ideas on this printer issue? I'm happy to buy plain templates from stores if they have any but would also like to print correctly here.
After laying the sleepers it was the usual game of chamfering the rail and sliding them on, easy enough, then once poked with tweezers into positions I glued the outer 3 of the top rail on both ends (6) as a tack joint. After doing more reading it would seem the center woul dhave been a better option - never mind.
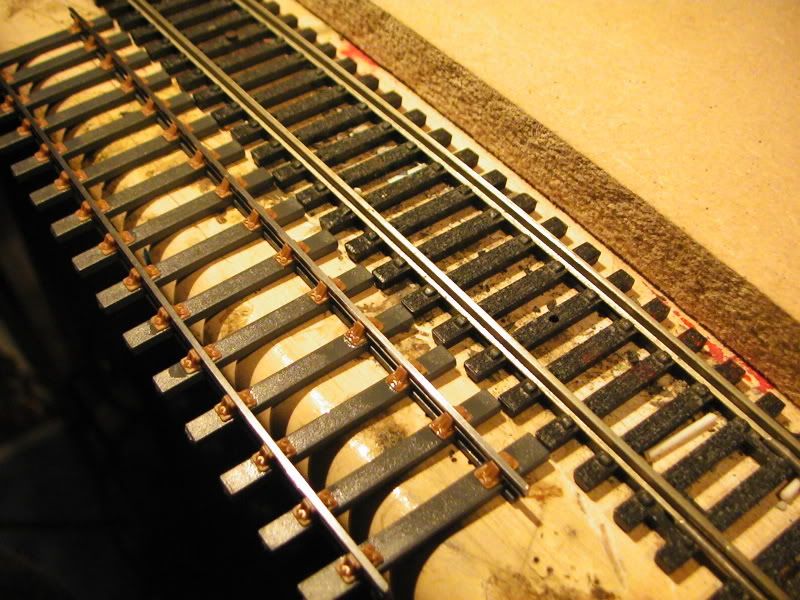
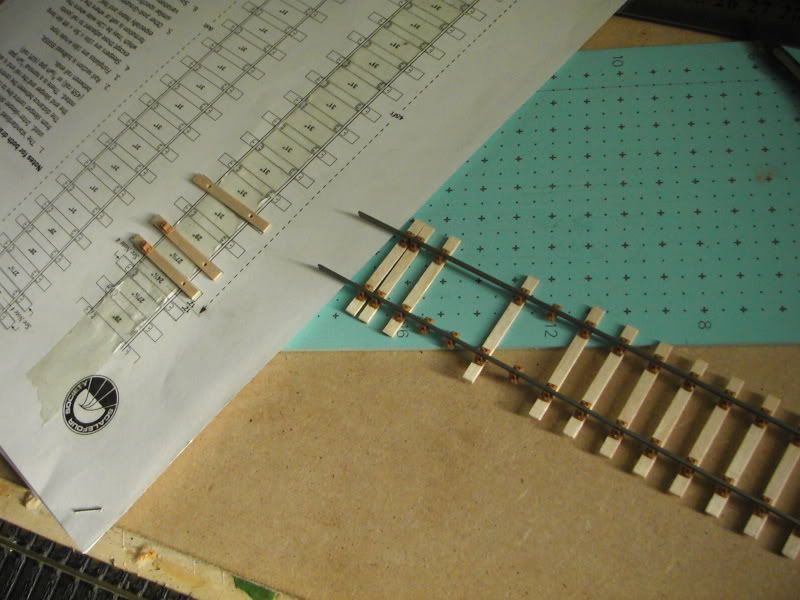
Then After preparing the other rail I tacked that at the center and then proceded to gauge and glue as I went along. This was easy but due to the template printing too small I encountered a problem. My 1st rail was placed exactly over the plan and so after gauging and whatnot the other rail wasn't exactly over the plan thus the outer edges of the sleepers stick out from the rail different distancies! Might be an idea to mark the sleepers but I'm unsure.
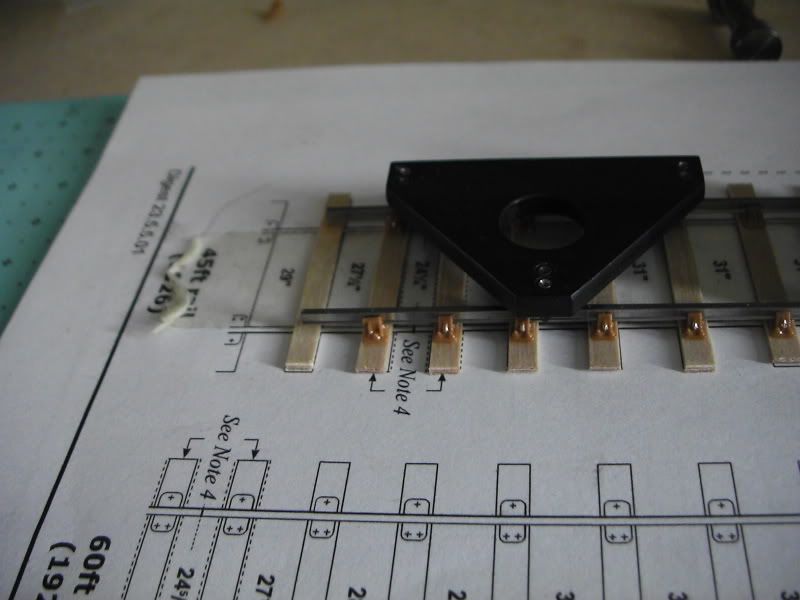
Gauge party! 

This pic shows the sleeper problem
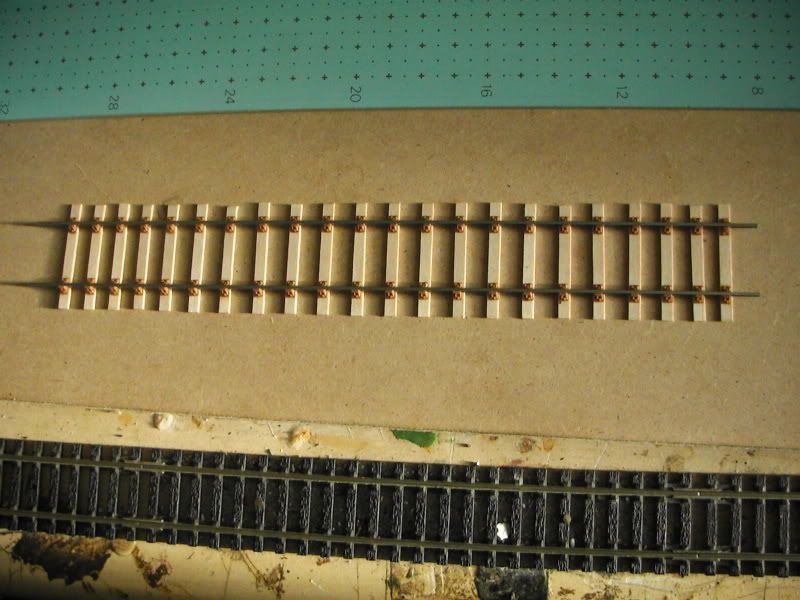
Seems I got ALL the chairs on this side the worng way around in my haste, never mind for now.
This I guess was bound to hapen, I read that it nearly always does and sadly I didn't have the cheapo double sided sticky tape that Norman Solomon reccomends in Right Track DVD 10. I will look out for it though.
Completed after repair. Aprt from the aforemensioned problems and niggles there are a couple more, I missed two sleepers off so it's still short of a full pannel, and becasue the chairs are functional they like to slide about if your not too careful so the closer ones towards the ends are probably a bit out now.
Any advice on the above would be great. At least it isn't a complete fail, the gauges and my lone axle'd wheel seem happy.
-
 9
9

14 Comments
Recommended Comments
Create an account or sign in to comment
You need to be a member in order to leave a comment
Create an account
Sign up for a new account in our community. It's easy!
Register a new accountSign in
Already have an account? Sign in here.
Sign In Now