

Moving to P4 (Post 11)

Entry posted by Knuckles
496 views
After 2 months I finally managed to get the blade problem sorted out and progress has continued.
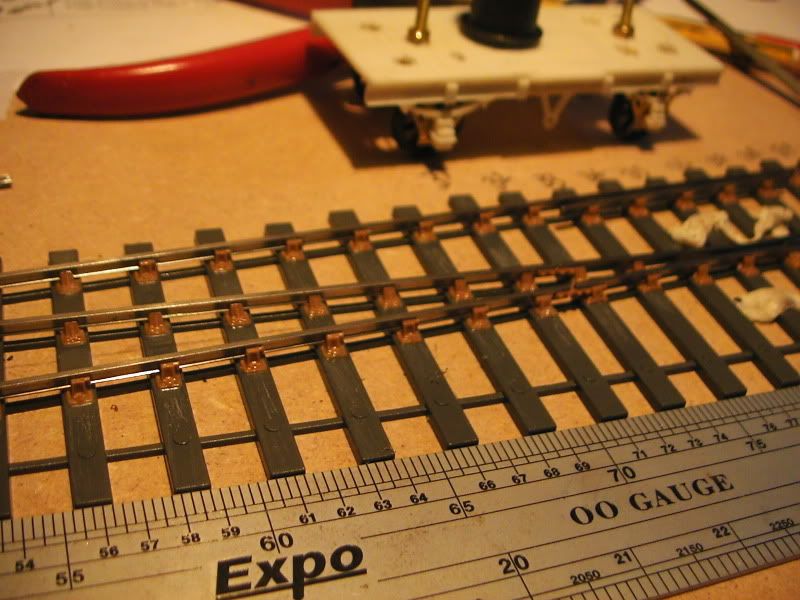
I fixed the blades in position as per the instructions, constantly checking with standard 18.83mm gauges in relation to the stock rails, I used a few different types as I seem to like doing to be sure.
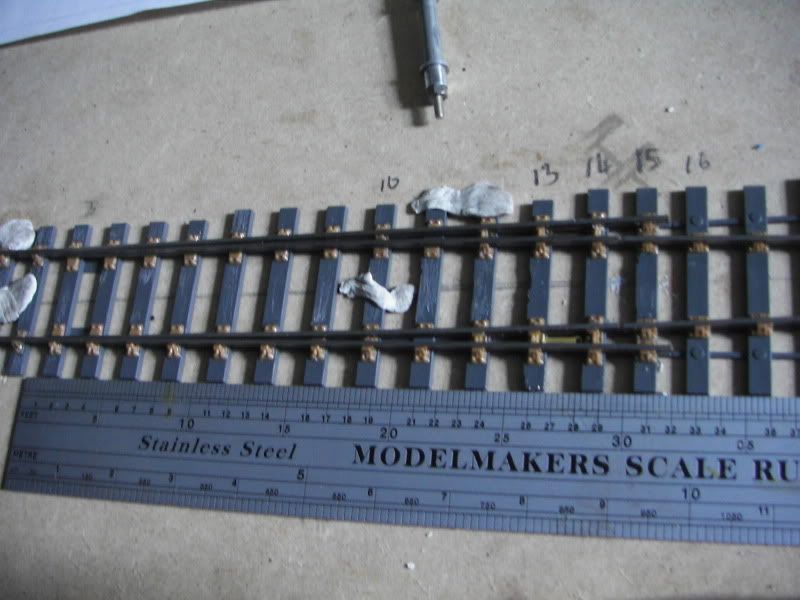
Looking here you will see there are no fishplates, that is because I kept breaking them, and then later I realised 'how' I was supposed to remove the switch assembily away from the main structure (as per instructions), as a result I decided to leave them off until later. I did do a few dry runs 'coupling' it together and 'uncoupling' and it worked fine until the fishplates broke...again...new ones! Oh, broke again! Might be a good idea to buy a lot of them. Another thing I want you to see in this picture is the large uneven gaps between the rails. They still slide through so I can tweak them but the problem is I can't seem to get them even in relation to each other. Unsure why. I've also hacked the sleepers a tad to give some damage effect. Looks like a hungry mouse has been around. 
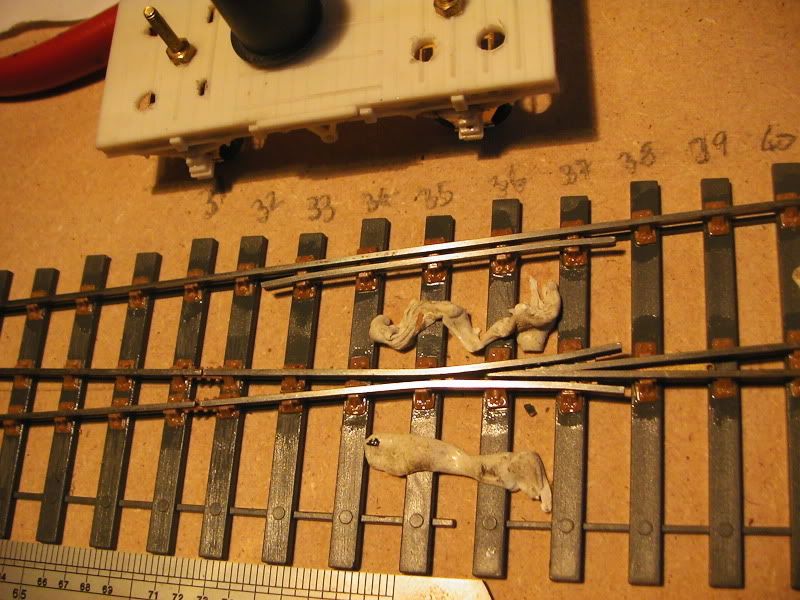
Maybe this is the reason I can't seeem to get the aforementioned rail gaps even. Looking at the top middle rail where the closure rails start (extreem left part of the V-Frog) you should see the rail gaps here arn't even either, furthermore the lengths of the extreem ends seem to be, at a guess 0-6mm's or so different. If these are supposed to be even then this would explain the problem. I'm unsure if they are supposed to be even but if so then a bit of bastardisation with a file should cure it.
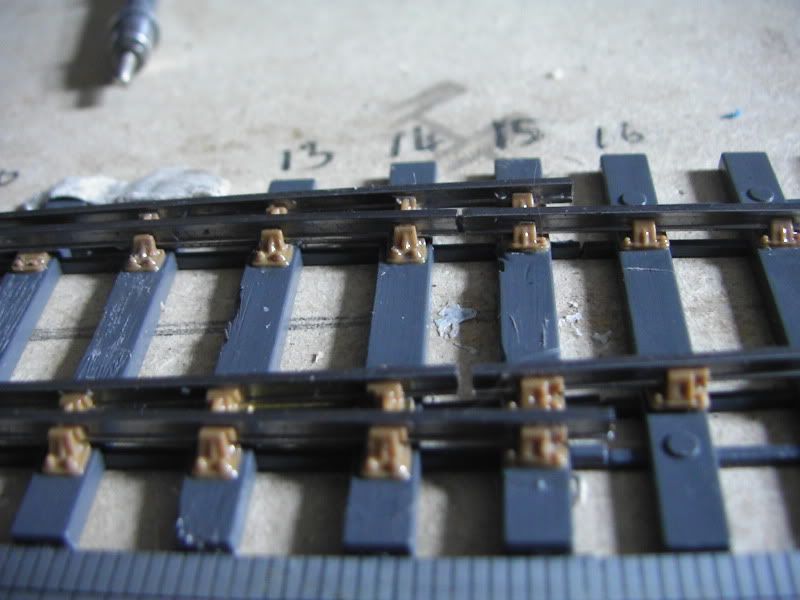
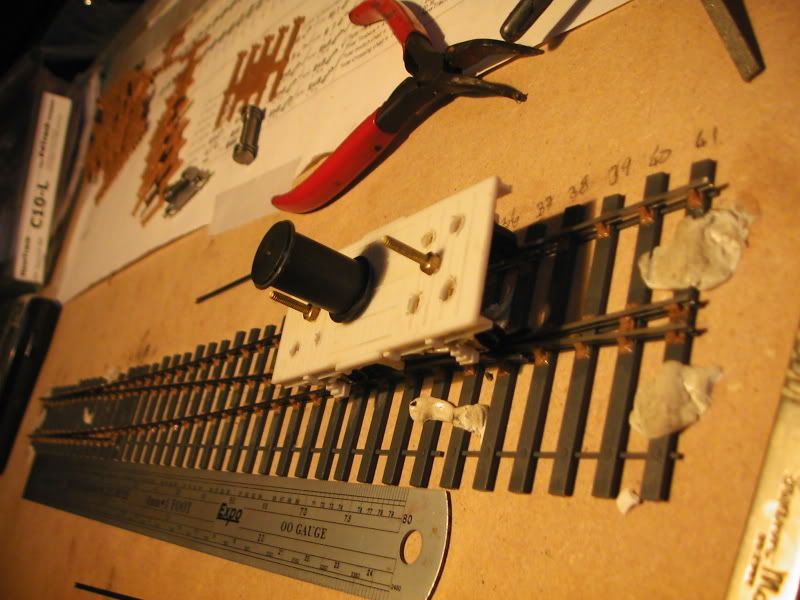
Looking here, if you look close and especially if you zoom in you may see the switch assembily doesn't meet up to perfectly with the main body. The guage is what I'm talking about. I read somewhere that it's sometimes a good idea to have gauge widening here but I just went for standard (being my 1st kit), I think there is a chance it narrowed somewhat upon glue drying becasue it is a tad tight. The gauges still fit but you have to put them in with a bit of pressure, without doubt a friction fit bordering on a jam. However, C&L's flexible P4 track on a straight is a tighter gauge than this so I guess I can relax, if you have any tips on tweaking or smoothing the transition I'm all ears.
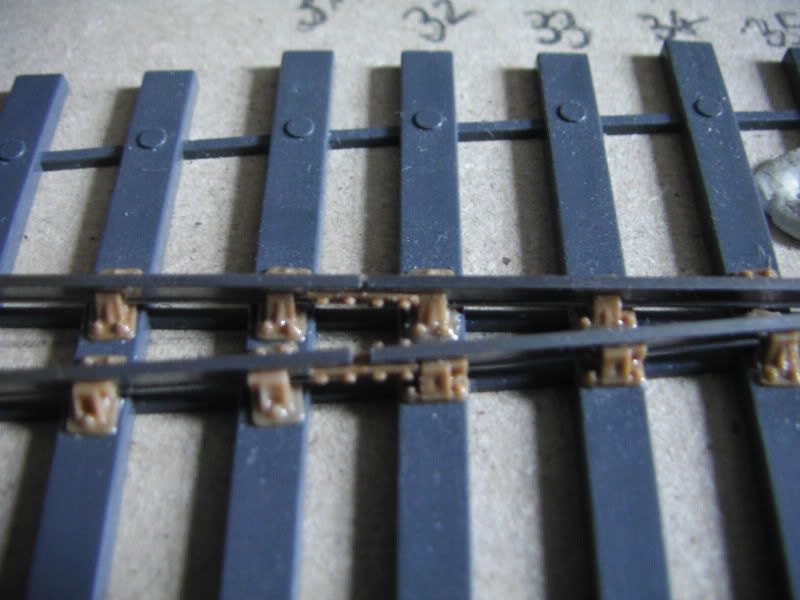
Spot the glaring error! :? Seriously I'm kicking myself becasue there is little to be done now.
Throughout the construction of this kit I've been vigilant on the key positioning, noting every one on the drawing and patting myself on the back for learning from past mistakes on my track construction tests. Well, I can say goodbuy to that Golden Rail Chair trophy now can't I? 
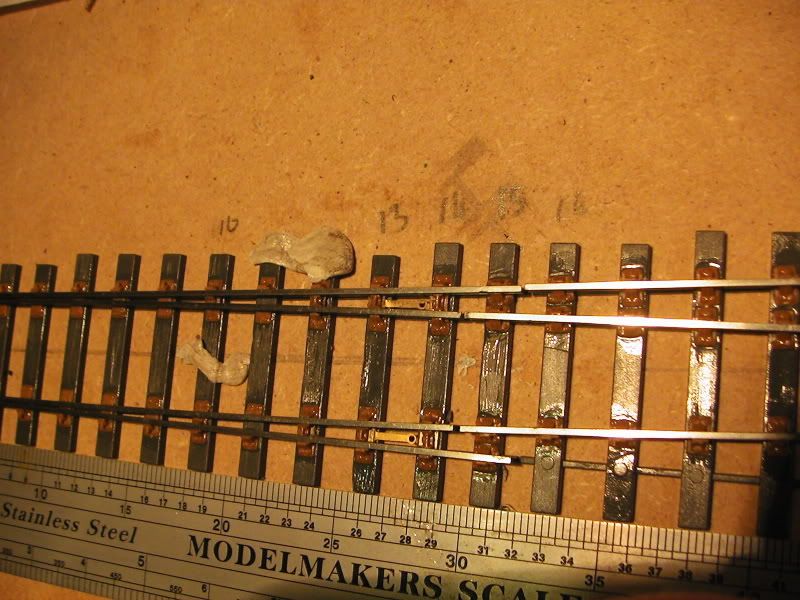
Getting the chairs on the check rail and the stock rail was a bit of a game but not too hard. I filed the check rail ends to make chair insertion easier (essential a lot of the time with any rail it seems, without doing so you often unwittingly break chairs, this results in you launch them with a well placed expletive, or in my case chew them as a punishment for not working properly, blame the object, not the worker! Any excuse.) I made sure I gauged the stock rail from the point of the V first, seeing as that is a critical area. Once happy I did the ones adjacent.
General impression. My little truck experiment wouldn't run without derailing in the middle but after adding a guage as a weight it has gave 100% reliable running through what I have constructed so far, so that's a confidence boost and a first step in getting something running, kind of. Next is to do the straight stock rail and check rail, and find/decide a way to join the blades. Is it really that 'bad' to have a fixed non pivoting join? The blades are very flexible.
Any comments, suggesstions so far?
3 Comments
Recommended Comments
Create an account or sign in to comment
You need to be a member in order to leave a comment
Create an account
Sign up for a new account in our community. It's easy!
Register a new accountSign in
Already have an account? Sign in here.
Sign In Now