

Moving to P4 (Post 19 (C&L B6 Turnout Kit COMPLETE))

Entry posted by Knuckles
1,366 views
I had over 20 pictures but I've managed after some thought narrowed that down to 11, if that's still too many then...well. Can't please everyone.
C&L Timber Tracks B6 Turnout.
Something before I start.
I mentioned this when I started the Exactoscale turnout but nobody answerd on it, if you have an idea please share. Basically when I brought the turnout kit at Warley last year they were selling CARR'S Butanone to glue the chairs to the plywood. I also brought Exactoscale's Butanone (made by Wizard Models). Now, the issue is, Exactoscale's Butanone is in my opinion good, it works very well, CARR'S on the other hand is 100% useless. I don't know weather I have a dodgy batch with a vital ingrediant missing or what but it does NOTHING, wouldn't glue a chair even to a chair, let alone wood. I mean this with no intended disrespect but I'm not lying when I say I might aswell use water. It still whiffs rather potent but it doesn't stick a thing, isn't even tacky after waiting a while. I've tried it on various plastic types and it doesn't even glue some common plastic card together, does anyone know what the problem is? I doubt I'll be 'using' it again! Unless it's me, use Exactoscale's, that works.
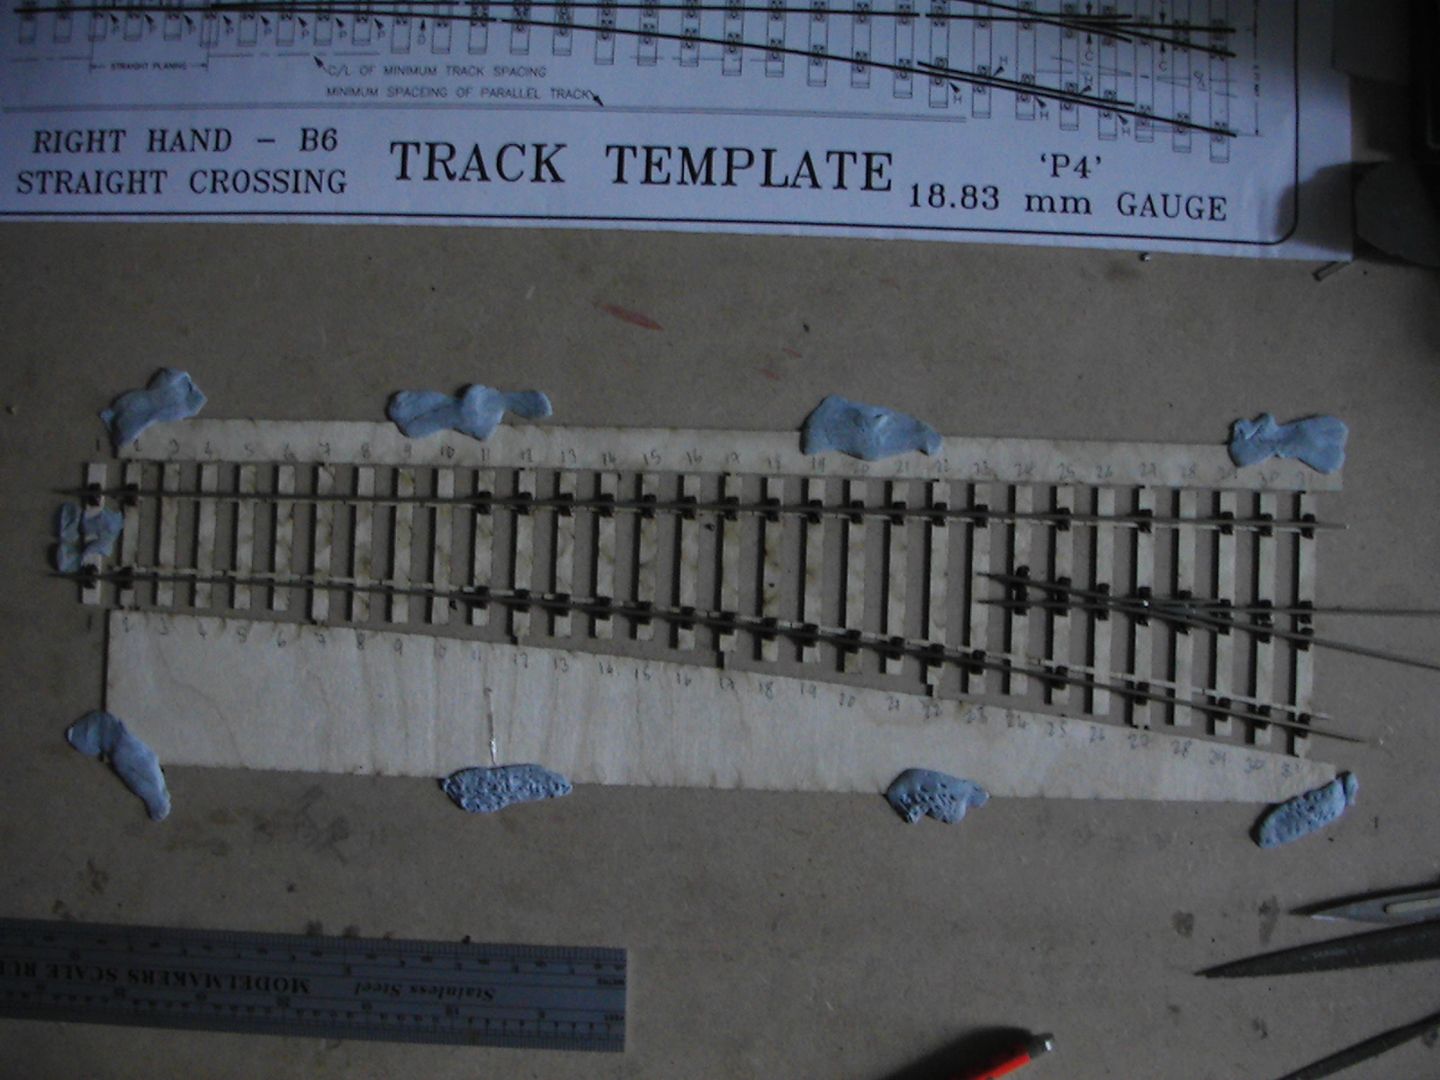
The building of the kit.
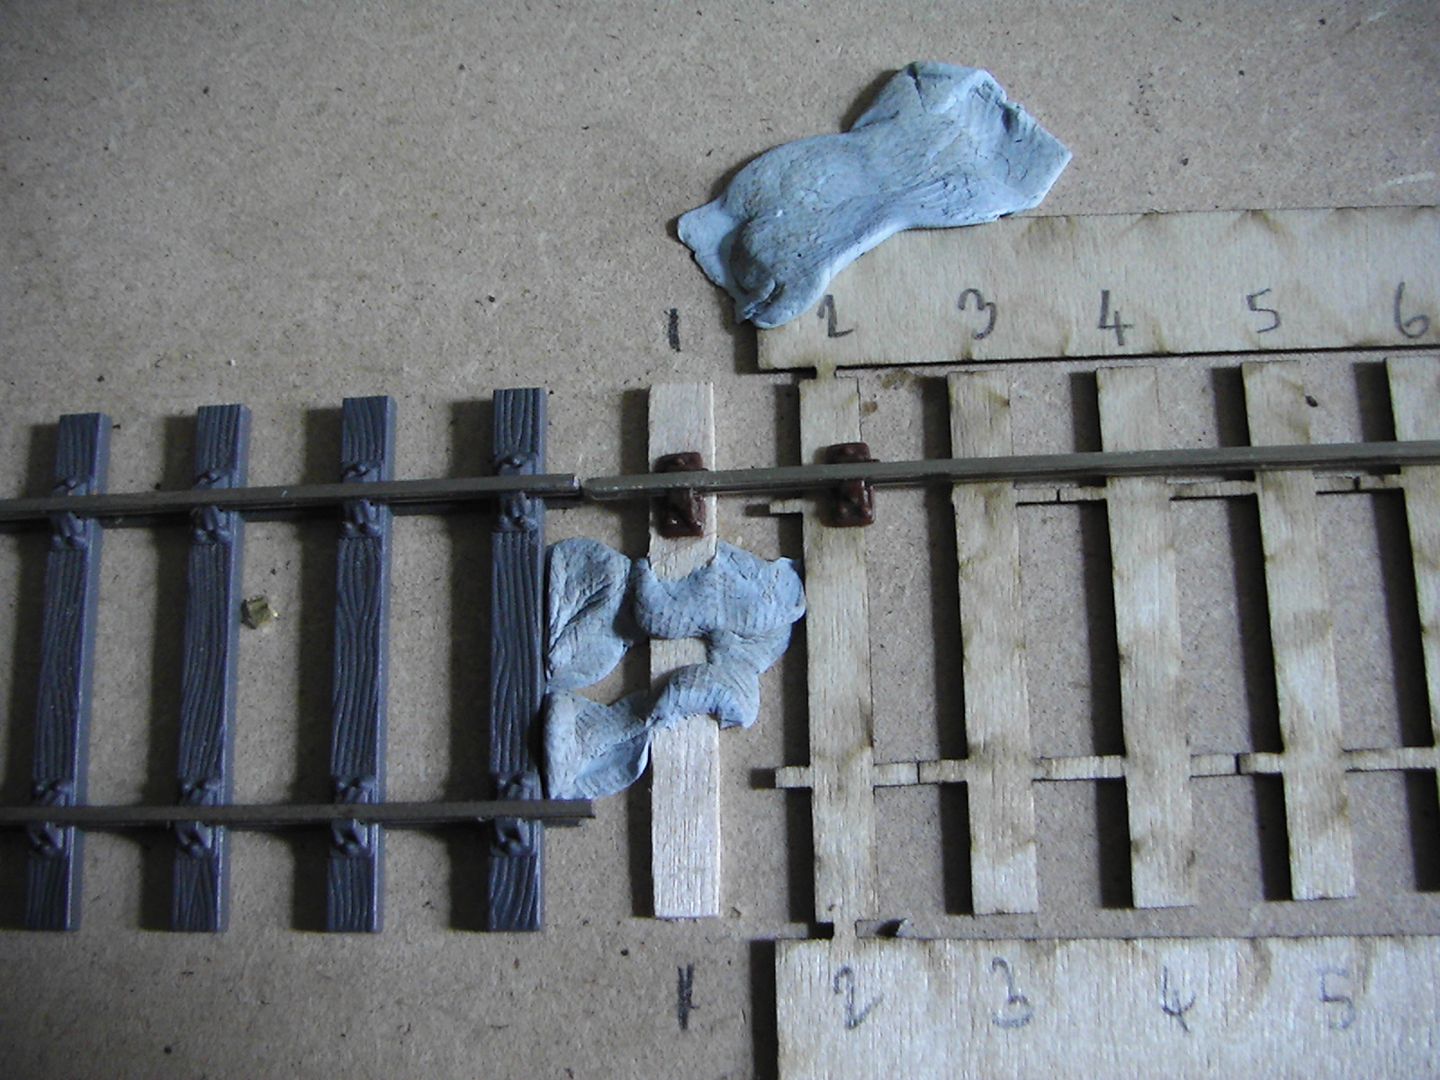
Aligning the 1st track was easily done by using some other track, the webs need to be ignored I was told. The problem I had previously regarding the lack of a sleeper I have solved rather simply. Funny thing is the solution is so simple. Just add another timber (not sleeper), I brought some sleeper and timber strip from the S4 stores a while ago; knew it'd come in use at some point. (some 'point', get it!? meh :? )
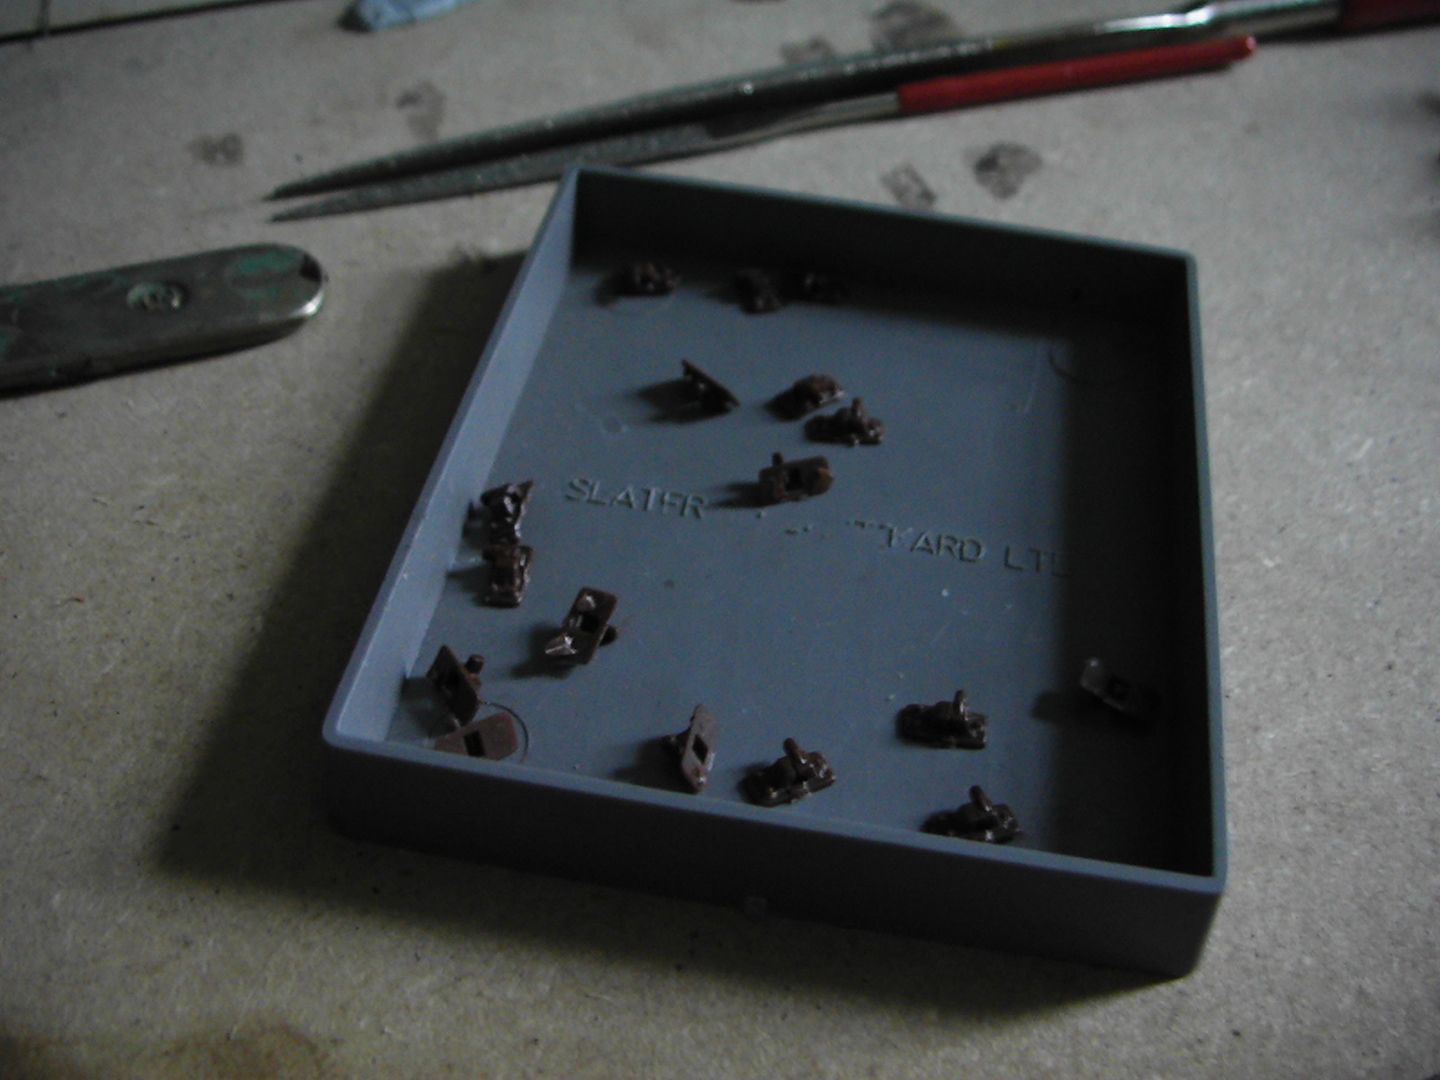
A tip. If you have ever made Slater's 3 link couplings you will know that they come (or at least used to) in little plastic trays. Keep them, they are amazingly useful. Currently I have 3 of them.
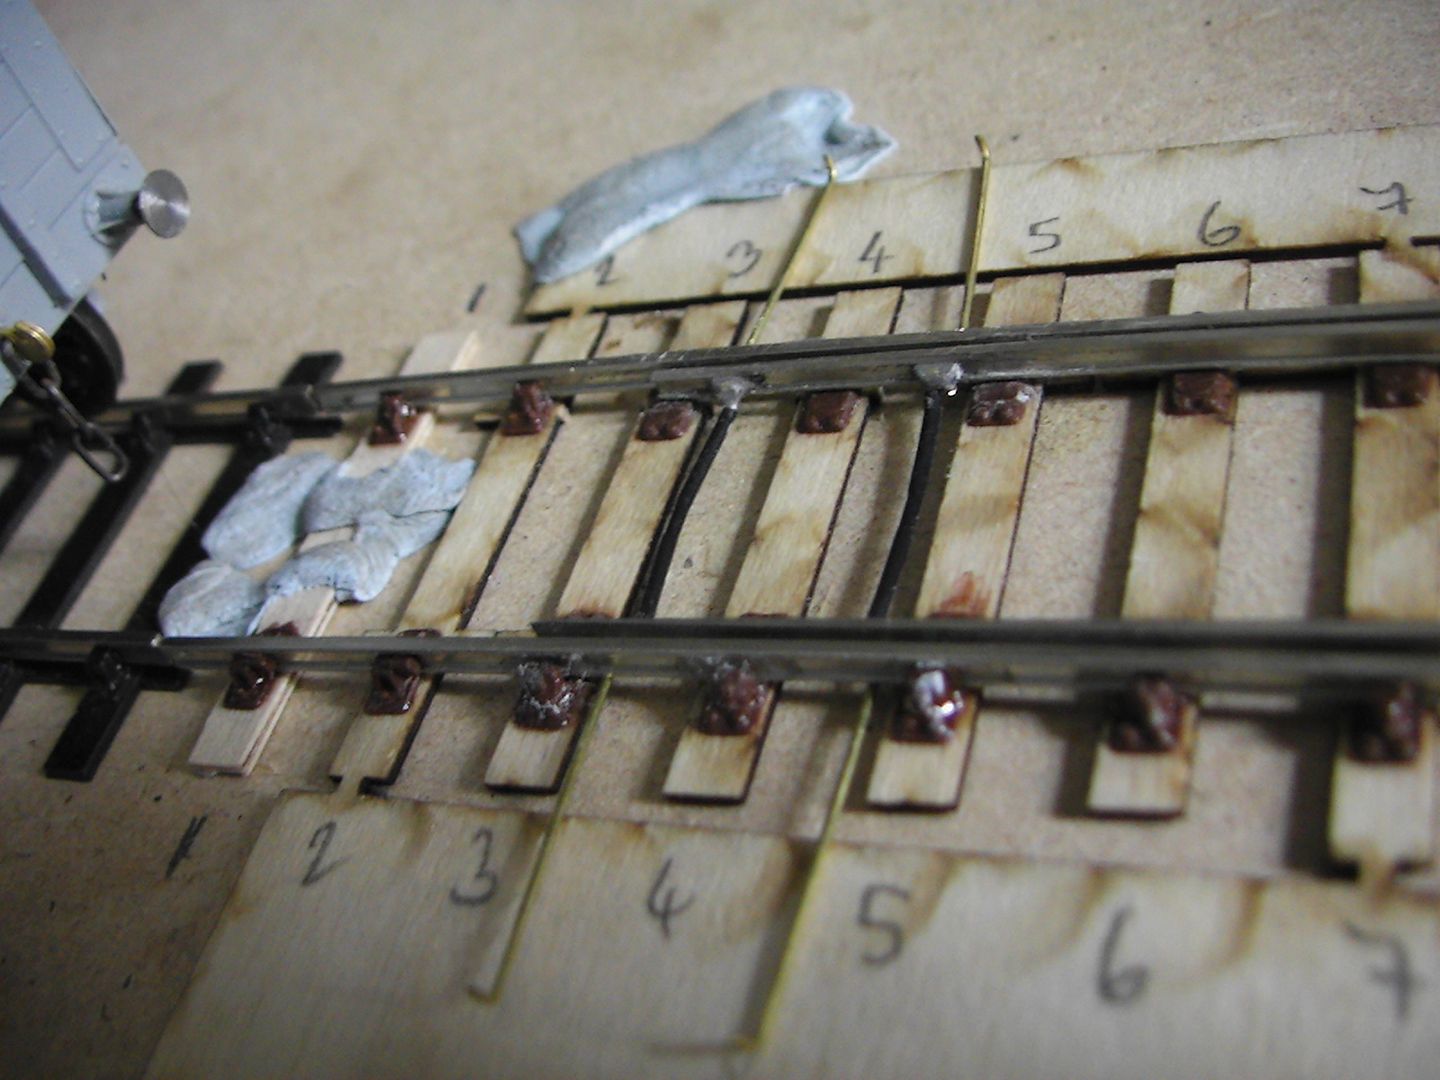
The first thing to do was to thread chairs onto the straight stock rail, this was the same afair as with exactoscale. File the track smooth and thread them on, simple. However, I had to miss out some in certain areas becasue the instructions. I wasn't sure which way the keys needed to face so I just followed what I did with the Exactoscale turnout, the S4 digest on keying practice didn't help too much regarding points and neither did the C&L drawing that came with the kit; no keys were drawn on so I had to guess. Brilliant.
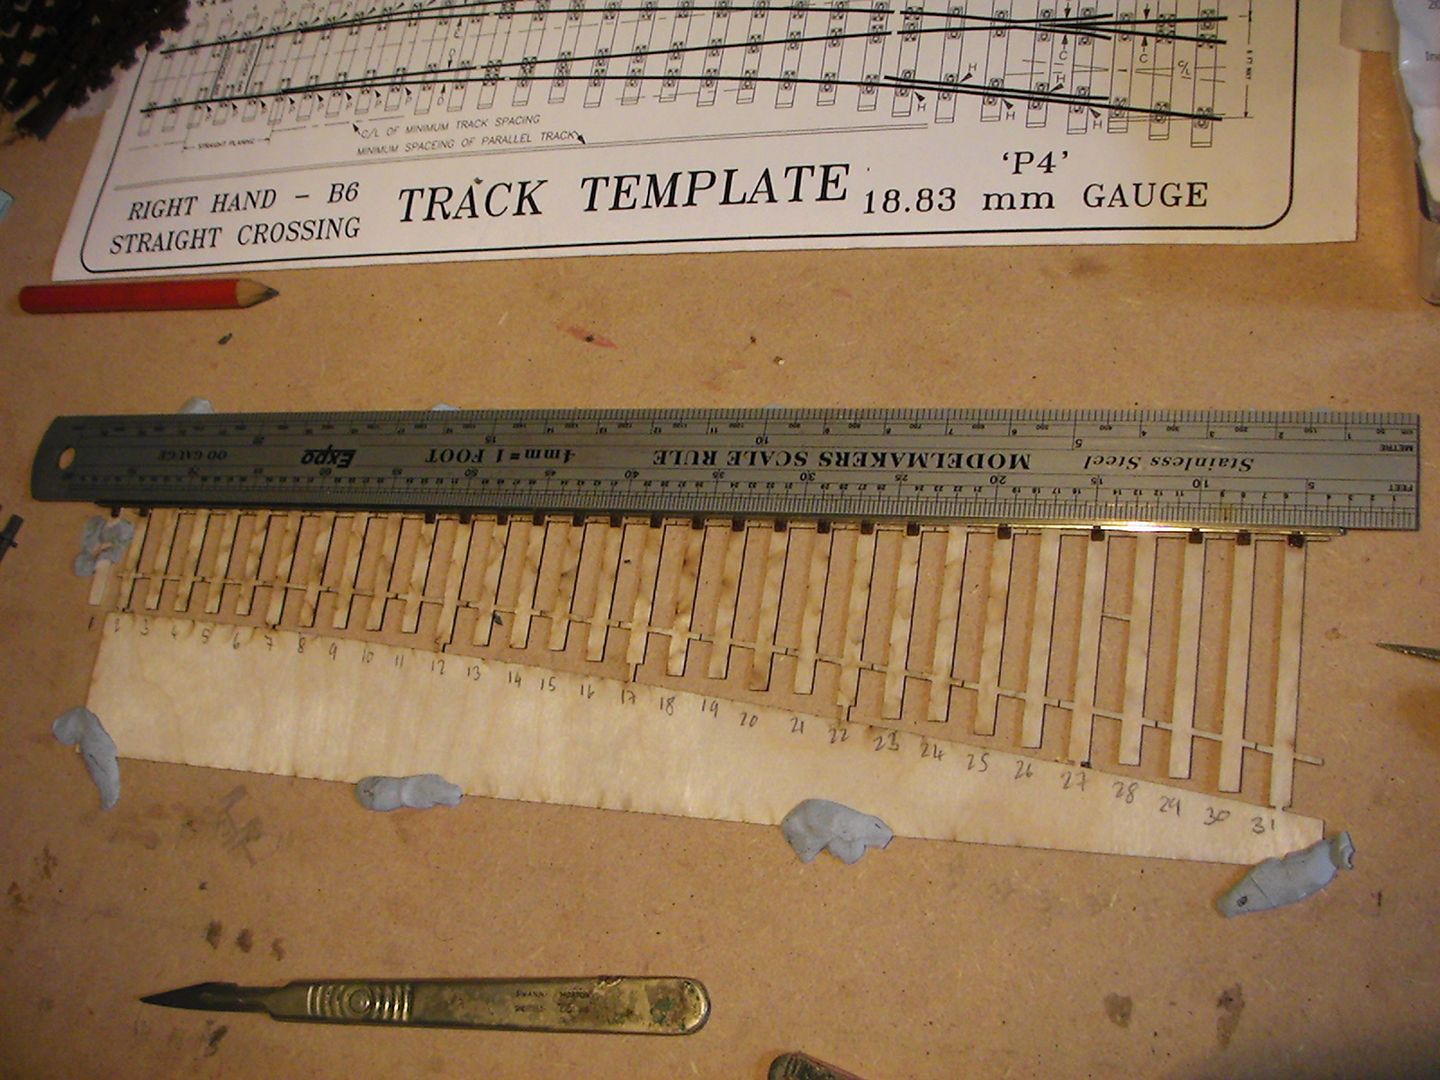
Instructions siad to use a ruler or other straight edge to make sure the stock rail was fixed correctly. This is very important because if this is out it will nock the rest of the turnouts alighnment later, I used an Expo 4mm rule due to it's stiffness.
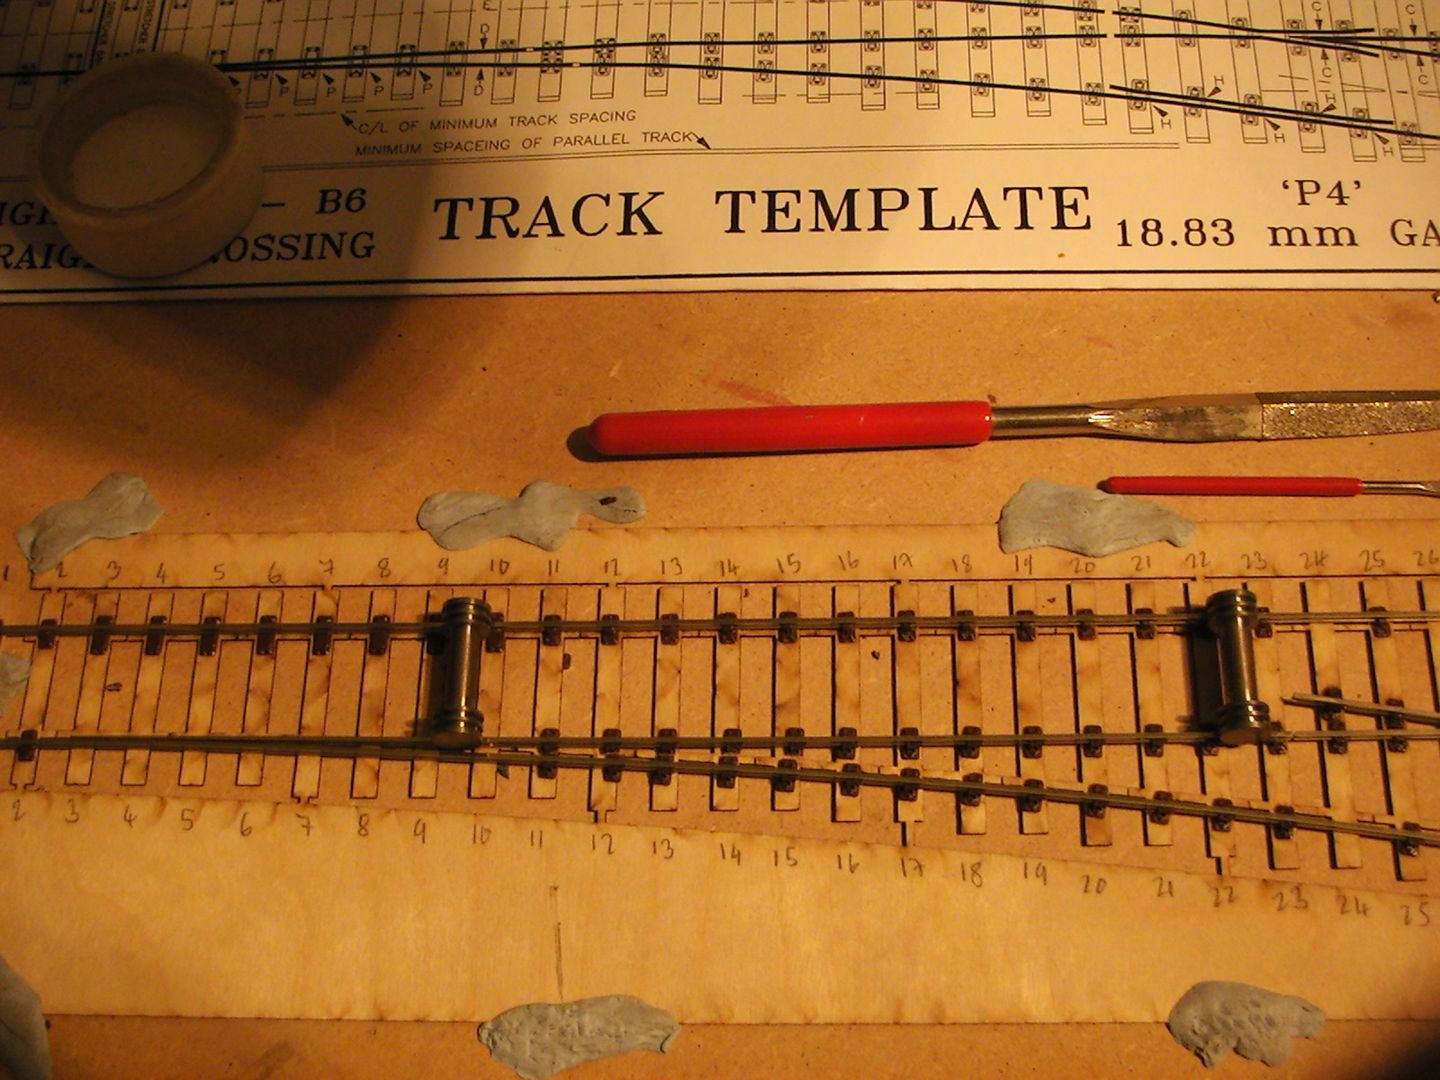
After the straight stock rail was in place it was time to fit the common corssing and wing rail assembily. Like exactoscale you pay for the privelidge of it being done for you. I might have a go at making my own one day, but for the moment it's a relief we get the option of the hardest part being done for you.
Instructions said to slide a slide chair under the V but this was impossible becasue part of the soldering 'bits' that hold the assembily in place was in the way. This is why the slide chair is butchered on one side; at least it will have some extra support.
Now that the common crossing and straight stock rail are in place it's time for the curved stock rail. It was gauged off the 'V' and the chairs on that side of the turnout glued from that area to the rest of the exit only, the middle section needs to be able to flex and bend so it can be gauged correctly from the other rails.
Next is to fit the straight switch rail, notice that authough I've fitted the slide chairs to the straight stock rail, the curved stock rail has none yet, this is for the same reason as above; to be able to gauge things correctly later.
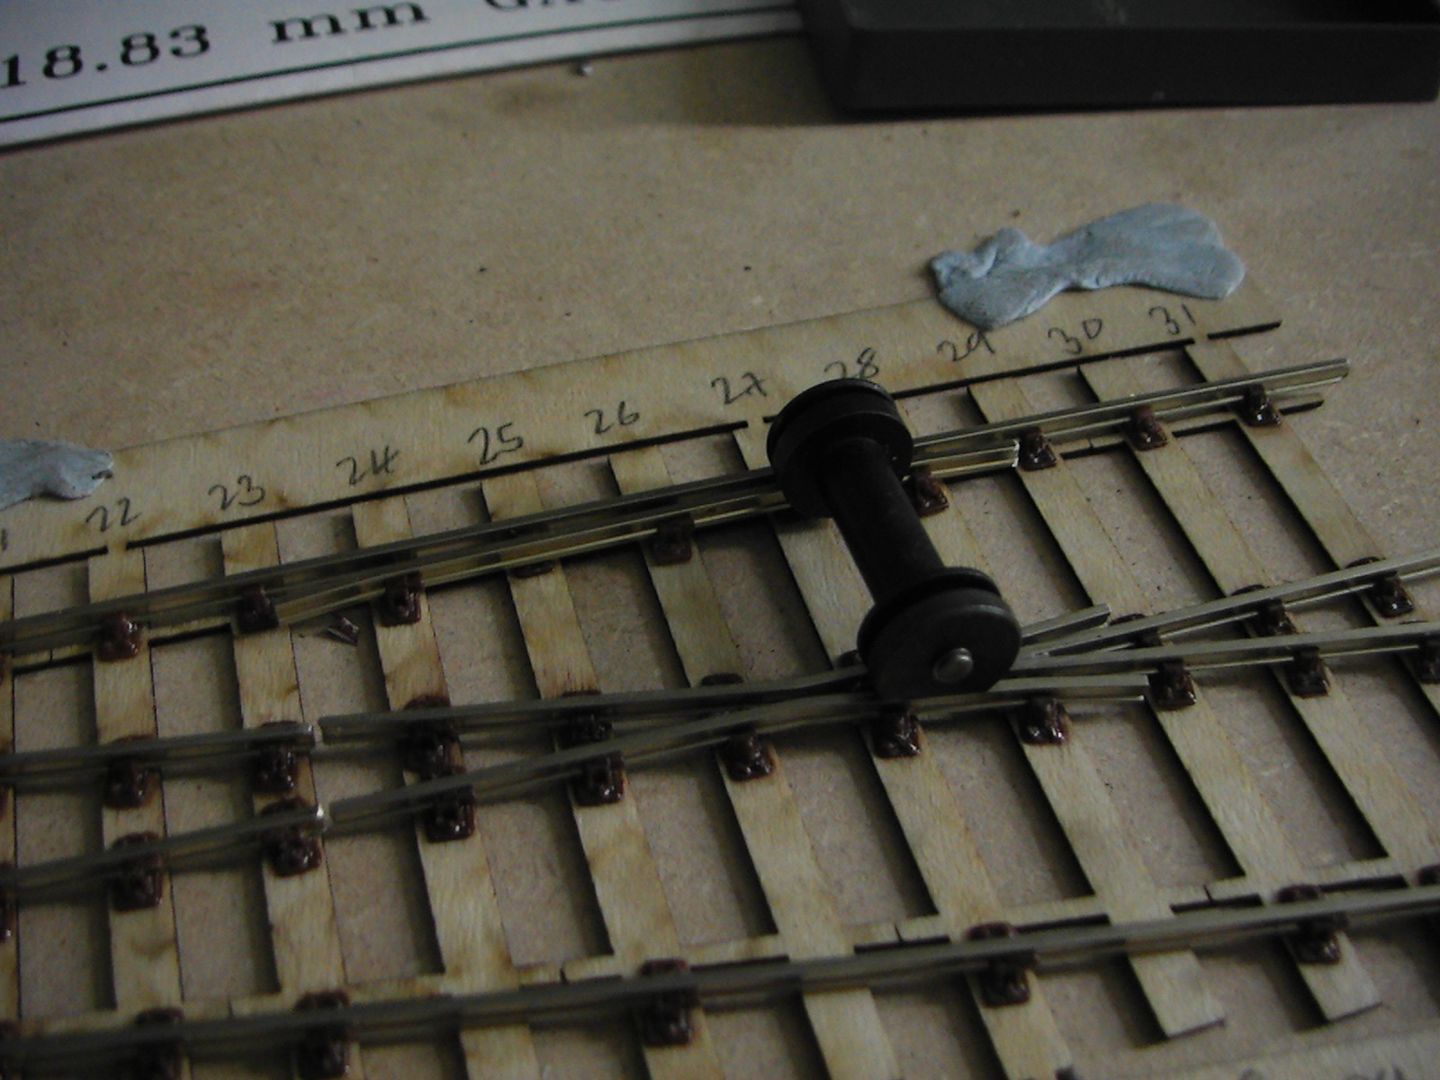
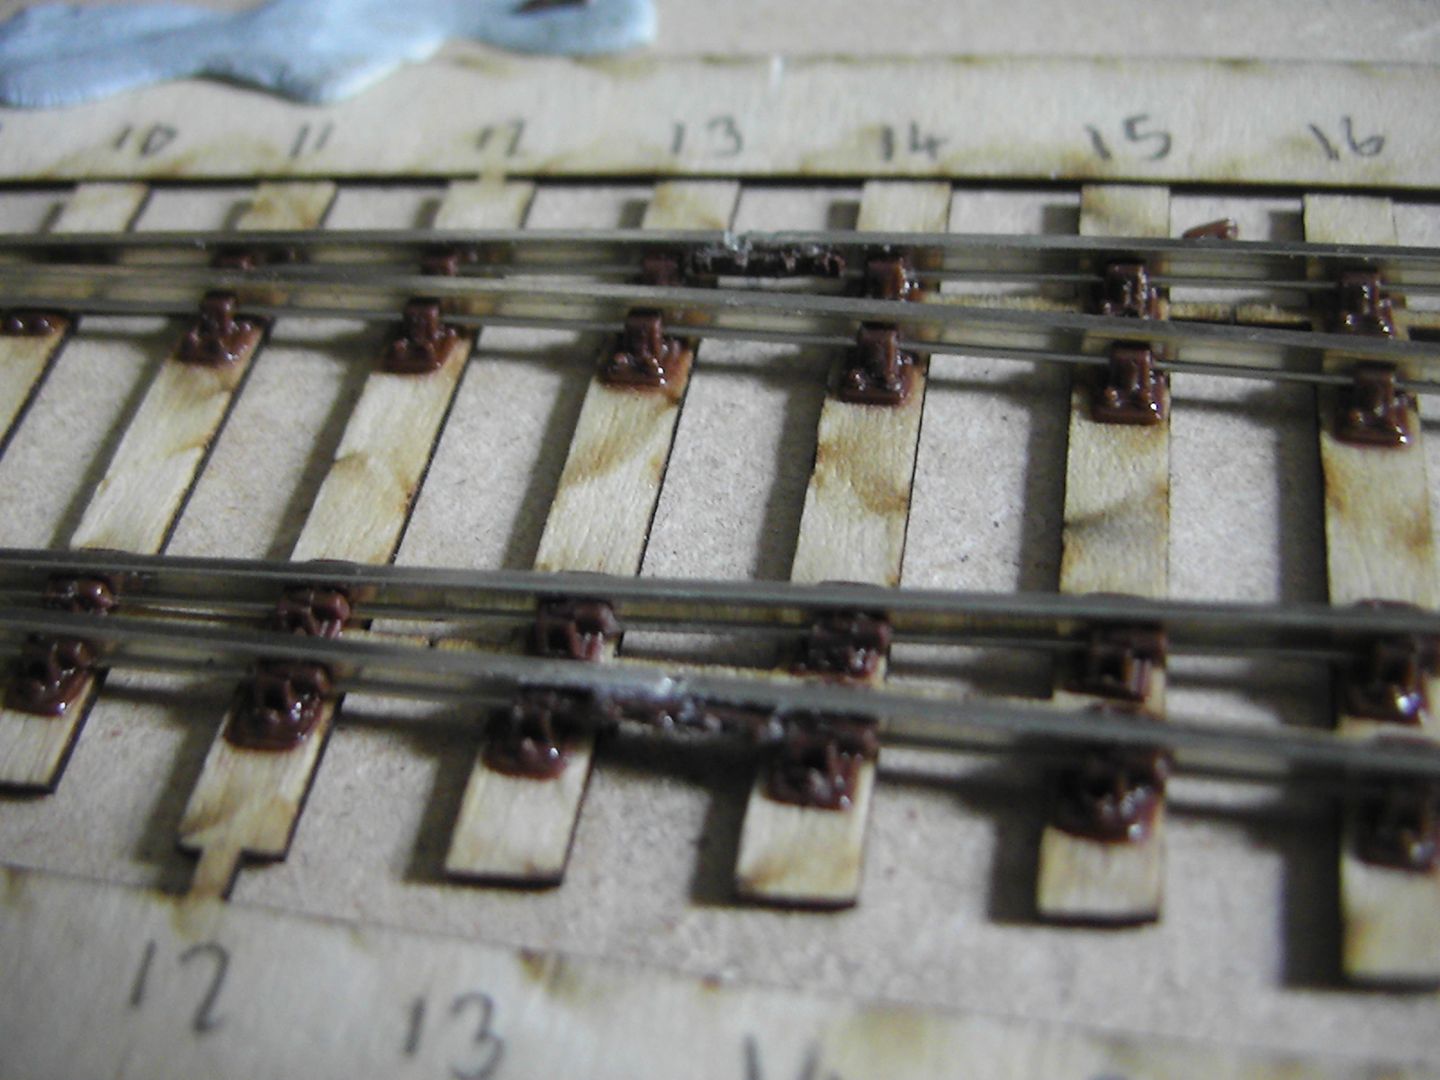
The following picture shows me fitting the check rails with the gauge, this was easy enough but unlike Exactoscale giving you the correct chairs for the job, C&L in this kit only give you standard handed chairs to represent ALL but the slide chairs so for the others you have to trim them to size with a knife so that they will fit. To be honest at most viewing distancies it looks good, certainly a massive jump up from RTR 00 so I'm not too fussed, at least the moment.
Now we have a monumental balls up due to ignorance and possibly a little too much haste. One of those things you only notice after the act, but by then it's very much too late.
After fitting both switch rails and gluing them I noticed something.
See the problem? I should have trimmed the ends of the wing rails and then cut the switch rails to length, NOT the other way around! Too late. Not only is this prototypical nonsense but it looks awful too...aaaand I cannot fit the fishplates very good either. :? Never mind, things roll through happy so I'll take it as an experience point and move on.
Another area that could have been executed much better is fitting these fish plates. I was looking through my boxes for a slitting disk but they were all broken. Rather than going into town I didn the lazy and grabbed a small file, asthetic results are....well, it looks like someone has been at it with a file! Pluss once slipped without me noticing so it's in the wrong place. Not exactly a convincing rail joint. Again though it's only a visual mistake and doesn't affect the operation so I'll take that as experience too.
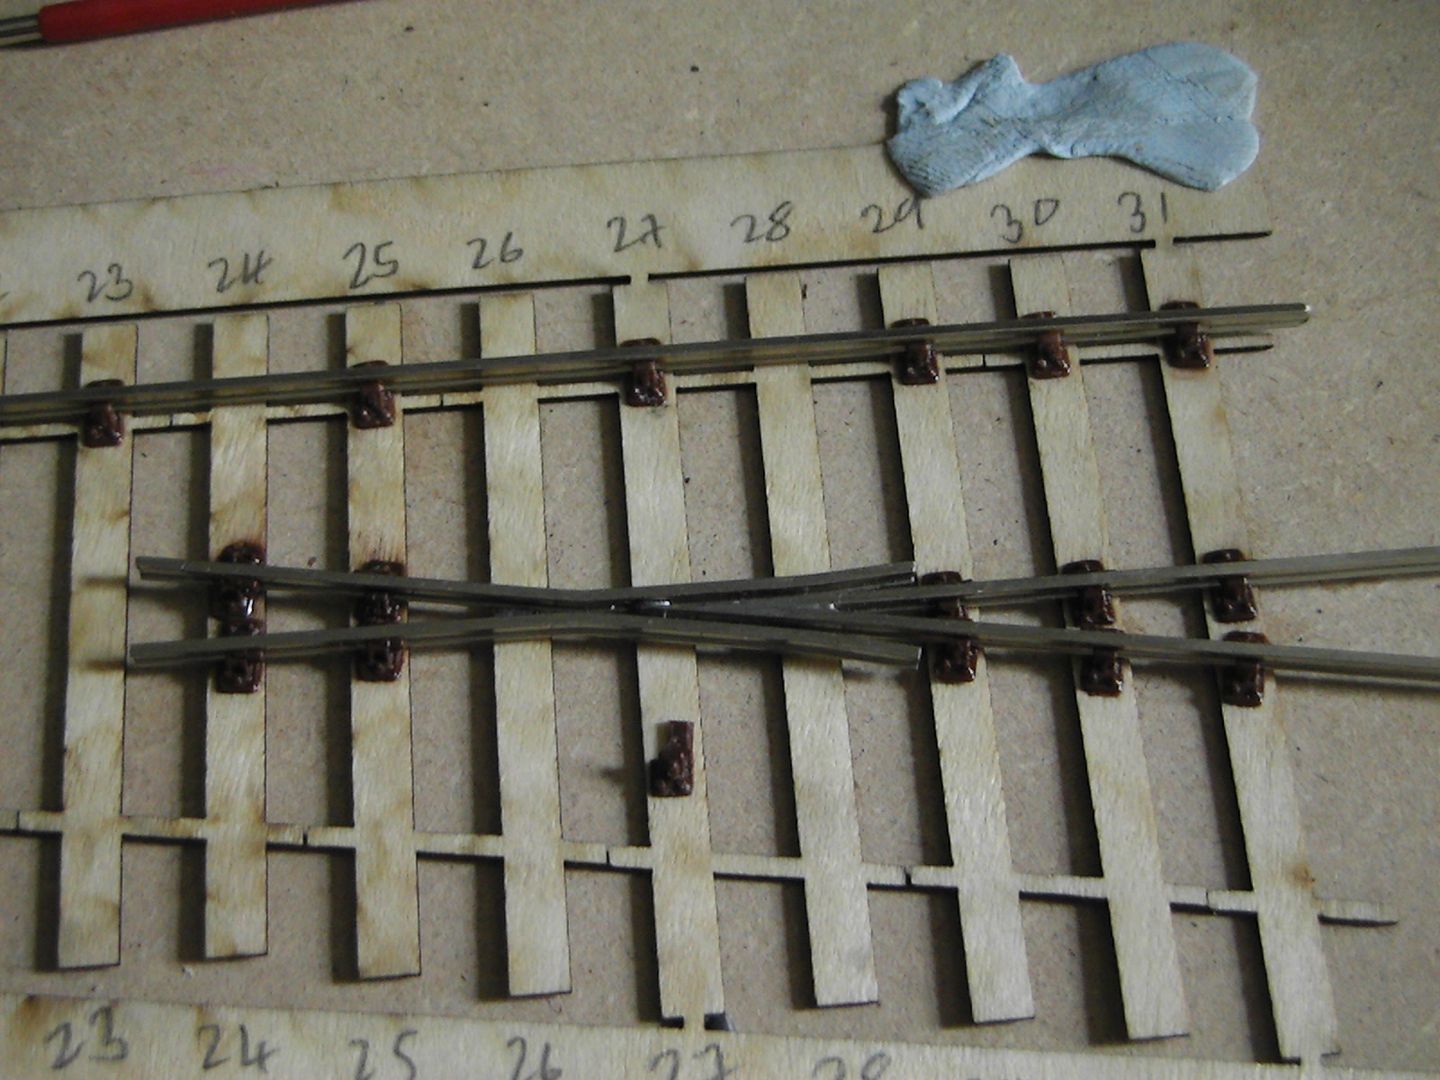
Adding the stretcher bars was a doddle, cut the timber webs out of the way (I had to superglue the outside of the chairs to the rail due to no support-easily done though) thread the bars under, a little CARR'S Green Flux (The flux works!) and some 145 solder and Bob's your Auntie. The blades were filed at the tips a little to ease running transition and the solder filed away a little, my trucks seem happy rolling either way.
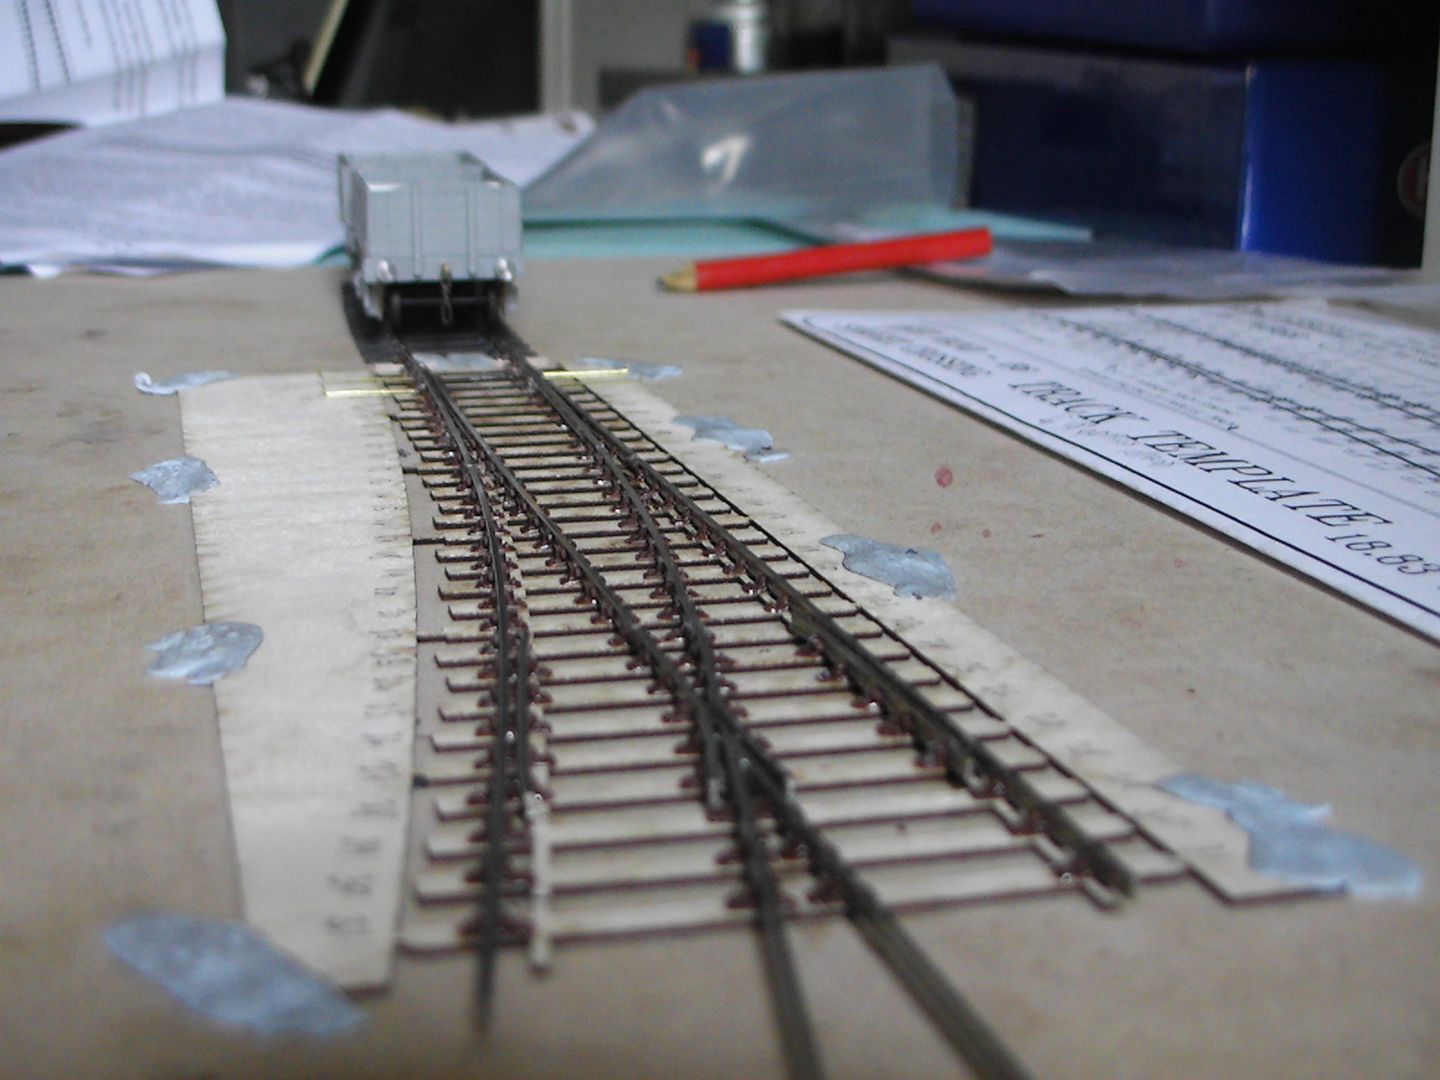
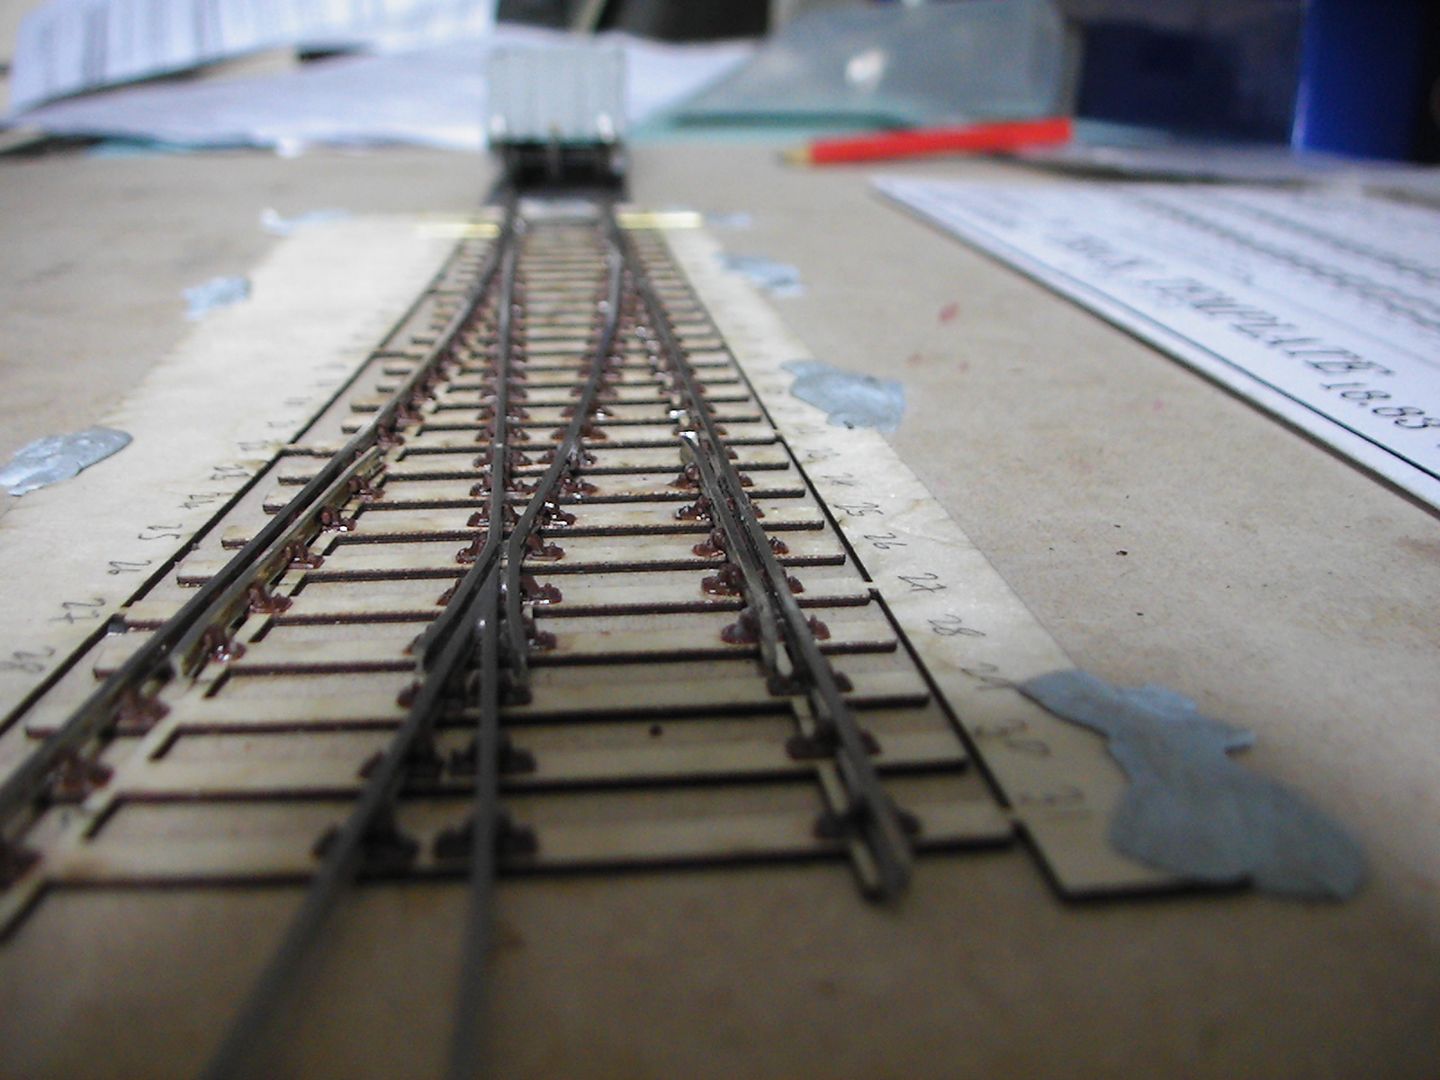
I'm happy. Other than getting some more fishplates for the join you may have noticed is missing them, and other than cutting the excess rails at te exit end, and other than removing the extra plywood and webs, and other than making those electrical joins it is finished.
Verdict? Apart from the chair and keying trouble the kit is great. I found it just as easy asd Exactoscale's and becasue of that little bit of experience and the fact that a B6 is smaller than a C10 (and lack of chair types) it only took a bunch of hours for a couple of days, you could complete one in a few evenings easily. Two of my trucks coupled up run through each way with no problems.
Aymha Happy Campeur.
Done. 
Comments and suggestions welcome. 
-
 3
3

3 Comments
Recommended Comments
Create an account or sign in to comment
You need to be a member in order to leave a comment
Create an account
Sign up for a new account in our community. It's easy!
Register a new accountSign in
Already have an account? Sign in here.
Sign In Now