

Entry posted by TomE
1,218 views
Can you tell what it is yet?
Hi all!
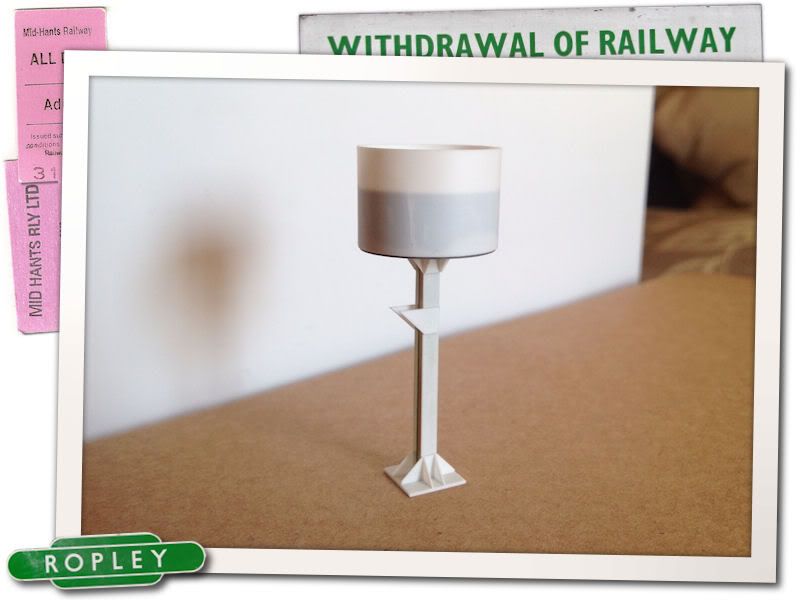
Continuing work on the water tower area of the layout, I've made a start on the tower itself. The prototype structure was once resident at the Longmoor Military Railway before being moved to Ropley and is fed by a larger tank which is located up on the embankment, another structure yet to be modelled. Information on these structures is difficult to come by, and I don't know if this was a standard L&SWR design. It is very similar to the tower at Alton, which I believe came from just up the road at Farnham.
Working out rough dimensions using photos I drew up a basic plan and established that the tank from the Ratio N gauge tower kit was pretty much spot on in diameter despite being about 1/3rd too tall so a kit was acquired from the local model shop.The one issue I had when tackling the tower was lack of photos showing whether the tank was open or had a top. Thanks to Phil H of this forum, it was confirmed that it was indeed open to the elements, so I decided to use 1/3rd of the Ratio tank and create a wrap made from 10 thou plastic sheet to go around it and give the correct height. This would give a nice solid base whilst allowing me to represent the tank being about half full and have a nice thin edge to maintain a scale-ish appearance.
The girder that makes up the support was fashioned from 2 lengths of 2mm L section brass, with some brass tube soldered through the middle to allow wires for the lamp to pass through if I decide to go for working lights. The other reason for using brass was strength. The tower is in line for a potential knock when track cleaning, so it was important to try and make sure it could cope with the occasional swipe from that great hand in the sky! Thin strips of 10 thou plastic were then fixed to the sides to represent the protruding edges of the metal work.
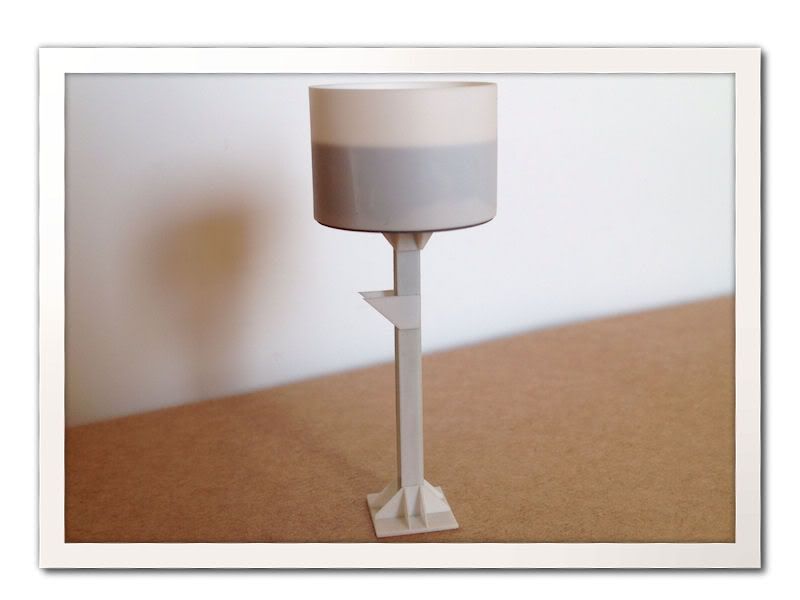
Basic tower structure complete.
Now the basic structure is complete, I'm considering adding some rivet detail using a set of Archer Transfers rivet decals. I've never used these before, but I'm interested to try them out and having seen some of the convincing effects people have achieved, they look to be worth the rather high asking price! They will also potentially come in handy for re-creating the stored boilers scattered around the yard.
Cheers all,
Tom.
-
 5
5

4 Comments
Recommended Comments
Create an account or sign in to comment
You need to be a member in order to leave a comment
Create an account
Sign up for a new account in our community. It's easy!
Register a new accountSign in
Already have an account? Sign in here.
Sign In Now