

DCC Decoder Fitting for a Bachmann Lord Nelson (split chassis)
Entry posted by SRman
1,565 views
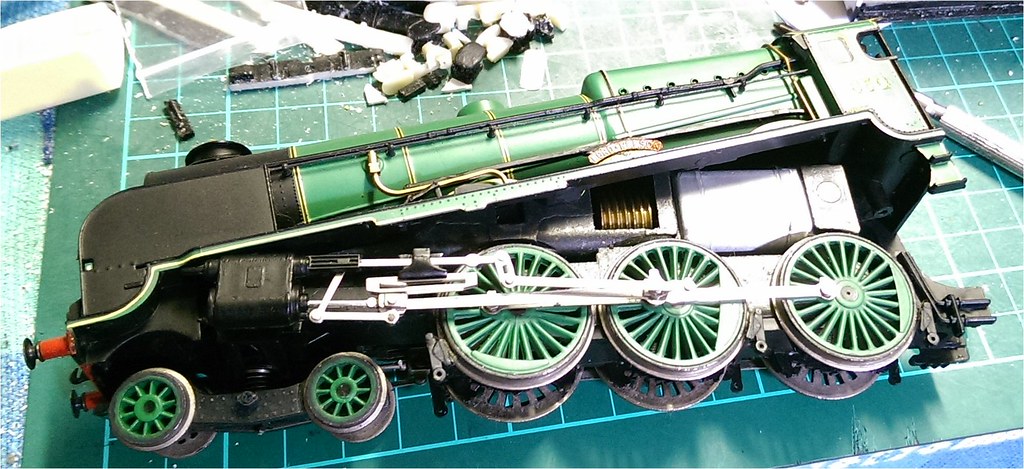
In response to a request from Mallard60022, after fitting a decoder to a Bachmann Lord Nelson with split chassis, here is a step by step guide to how I did it, using my second LN as the example (I didn't take any photos for the first one!). This one is no. 850, Lord Nelson, renamed and renumbered from no. 864
Some of the photos are a bit blurred as I was trying to hold the model and operate the phone camera at the same time, but I think the results are sufficiently clear to show what I was doing or what I am talking about.
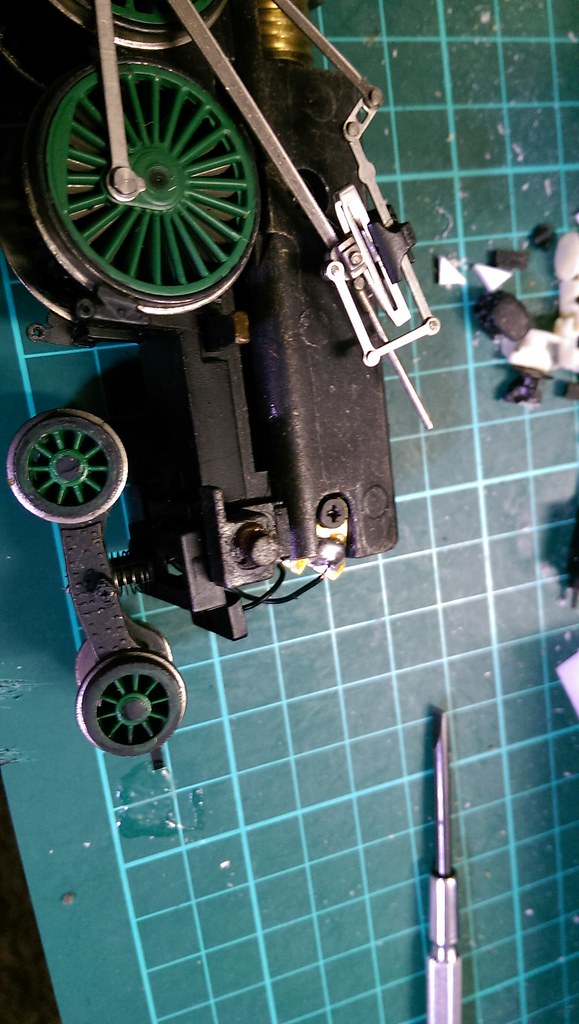
To start with, remove the body from the chassis. This is retained by one screw under the cab and with a tab on the chassis slotting into the body under the smokebox at the front.
Bachmann LN Decoder Fitting - 3 cropped by Jeffrey Lynn, on Flickr
Bachmann LN Decoder Fitting - 4 cropped by Jeffrey Lynn, on Flickr
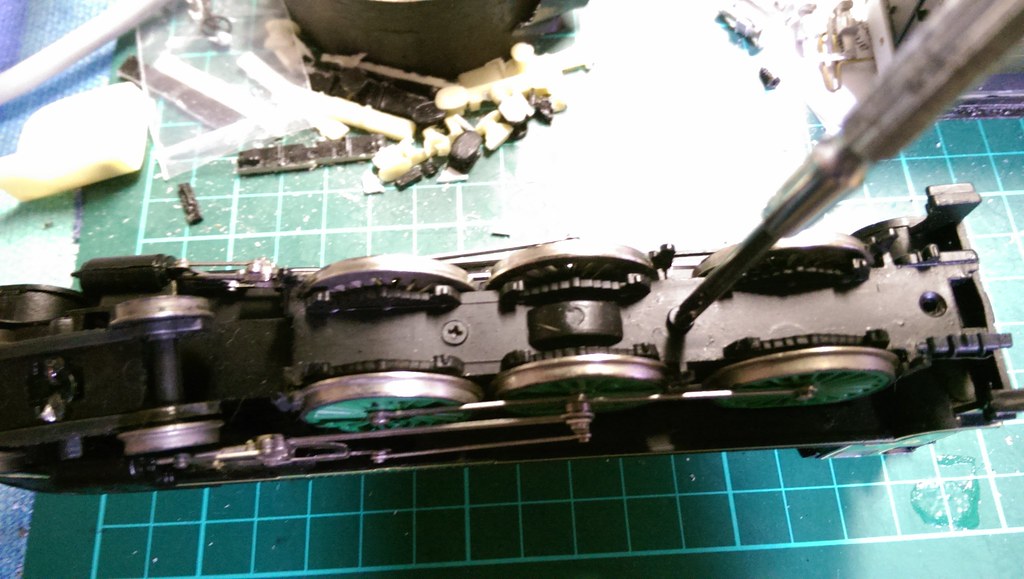
Next I removed the two remaining screws holding the chassis wheel keeper plate / spring and brake block detail (I'll refer to this as the base plate from here on), after springing out the brake rodding (note that I actually took the screws out before lifting the body off - this doesn't affect the process).
Bachmann LN Decoder Fitting - 2 by Jeffrey Lynn, on Flickr
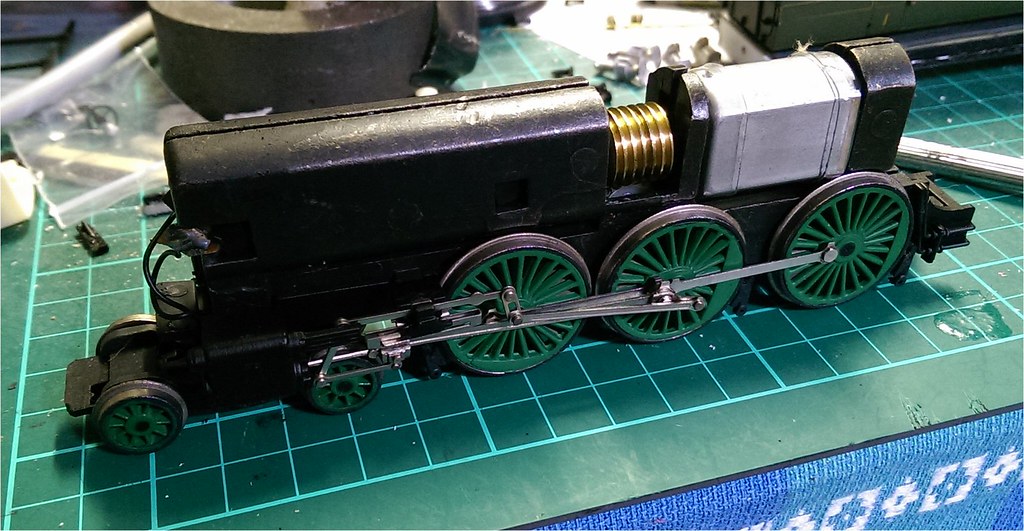
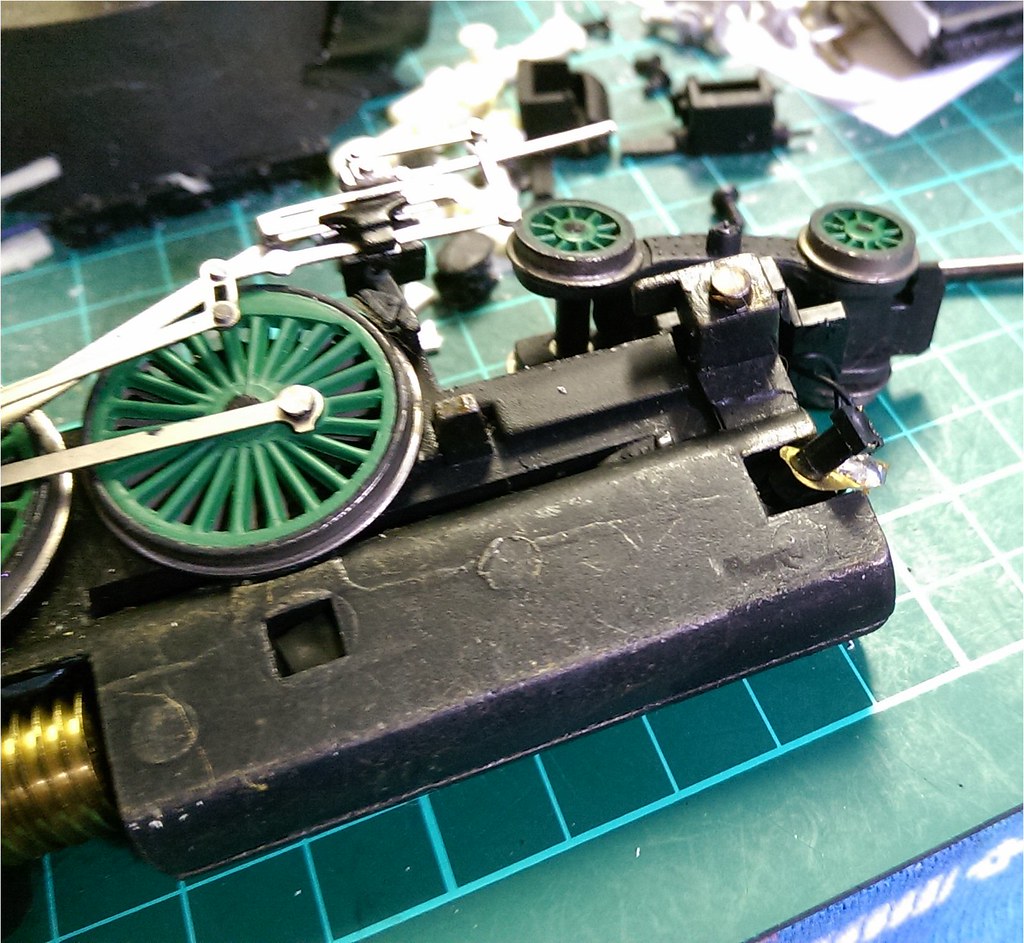
After this, I removed the cylinders, which are simply a force fit on metal extensions from the chassis. Then I levered the motion supports off; these are also simply a force fit, like the cylinders.
Bachmann LN Decoder Fitting - 5 cropped by Jeffrey Lynn, on Flickr
Bachmann LN Decoder Fitting - 6 by Jeffrey Lynn, on Flickr
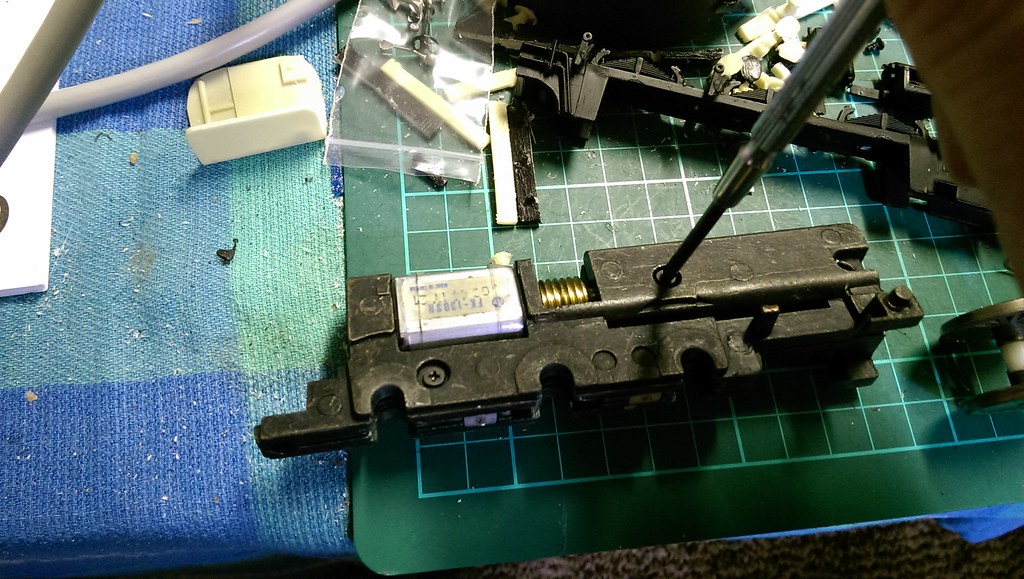
There are three screws holding the chassis halves together. One of them also holds the solder tags on to the front end of the chassis. Before we remove the base plate / axle retainer, I prefer to remove the front screw, pull out the plastic plug from the other side and release the two solder tags. I didn't do this on the first conversion and ended up breaking one of the wires coming up from the bogie.
You might wish to mark which tag is on which side, perhaps with an ink marker pen. This will assist identification for reassembly and connection of the decoder wires later.
If you have a later release LN from Bachmann, these tags may not be present as Bachmann quietly dropped the extra pickups from the specification. In that case, you may wish to add some brass or copper tags later when reassembling the chassis, to ease the job of connecting the decoder track wires.
44291315681_dcf79eb8b6_b.jpg
Bachmann LN Decoder Fitting - 7 cropped by Jeffrey Lynn, on Flickr
Now lever the front end of the base plate up, just behind the bogie, lifting it and moving it backwards slightly to unhook the rear part that hooks over the chassis end.
Bachmann LN Decoder Fitting - 7 cropped by Jeffrey Lynn, on Flickr
Bachmann LN Decoder Fitting - 8 by Jeffrey Lynn, on Flickr
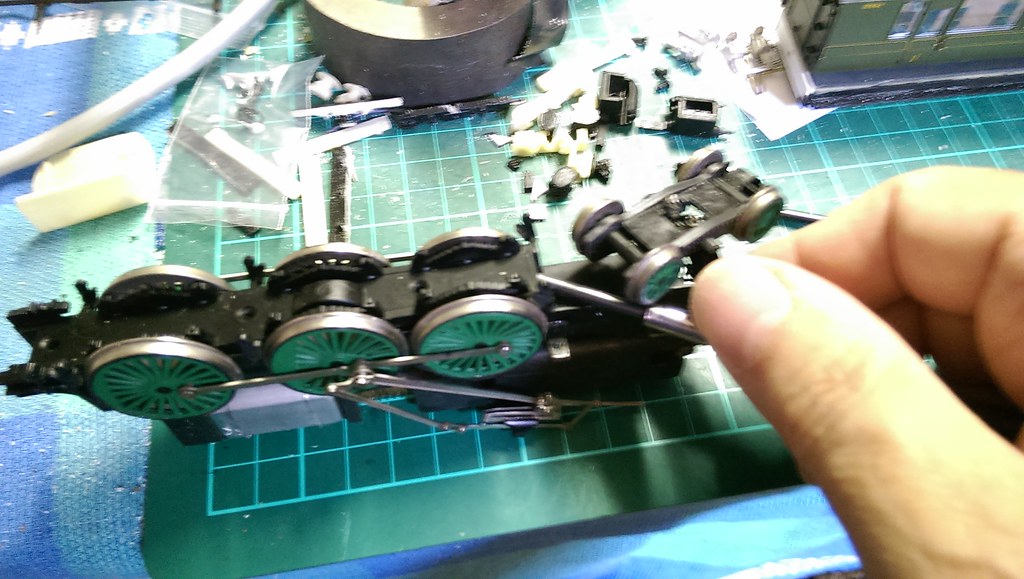
This leaves the wheels, axles and valve gear free to be lifted out of the chassis.
Bachmann LN Decoder Fitting - 9 by Jeffrey Lynn, on Flickr
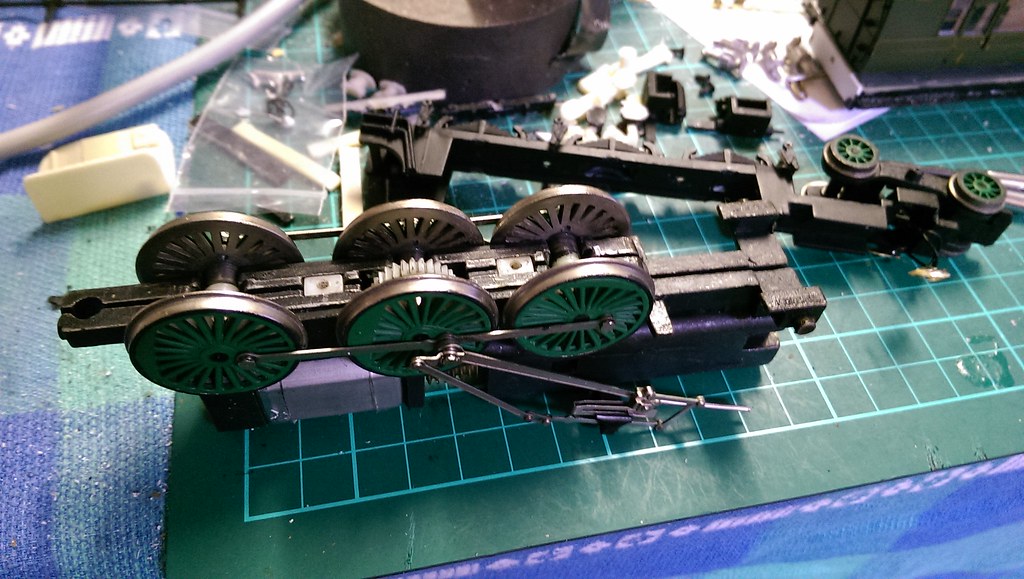
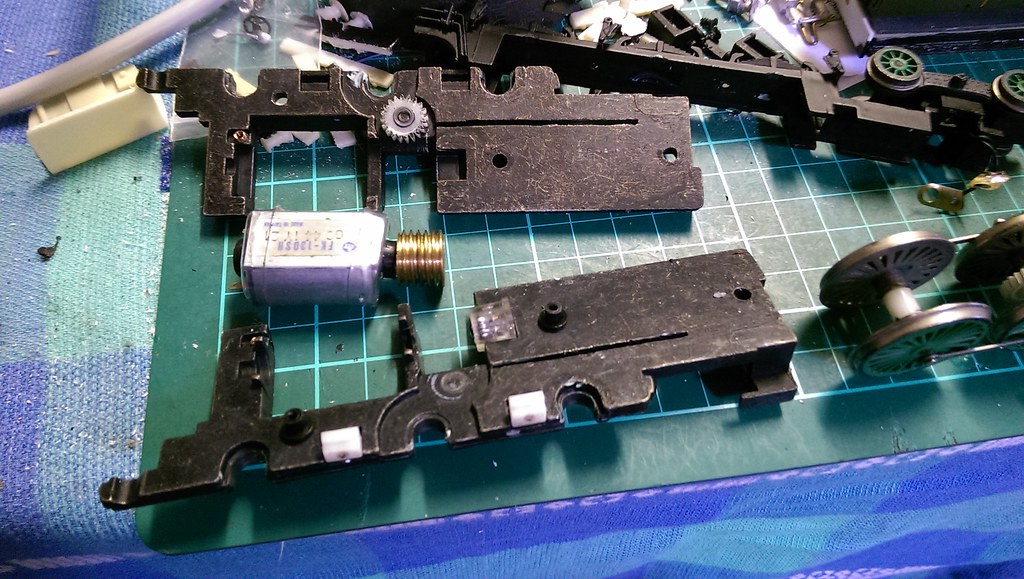
The remaining two screws can be undone to allow the split chassis halves to be separated. Watch out for the plastic spacers: two white rectangular ones at the bottom and two black plastic washers around the upper two plastic plugs (that the screws go into). Also ensure you don't lose the plastic gear.

Bachmann LN Decoder Fitting - 10 by Jeffrey Lynn, on Flickr
Bachmann LN Decoder Fitting - 11 by Jeffrey Lynn, on Flickr
I actually use a little black-tack (or mastic material) to retain the spacers in their places so they don't get lost and don't shift when reassembling the chassis.
Bachmann LN Decoder Fitting - 13 by Jeffrey Lynn, on Flickr
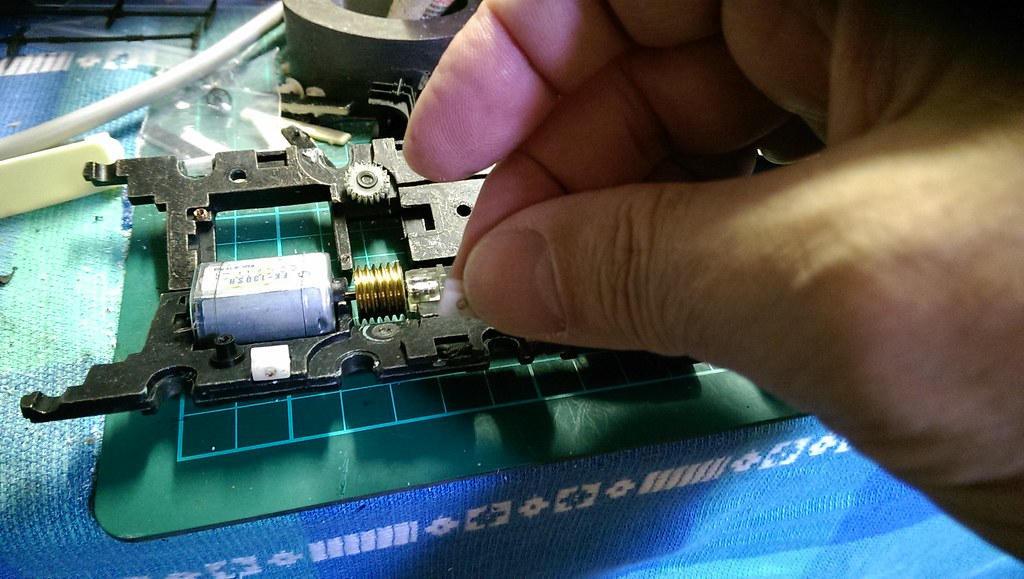
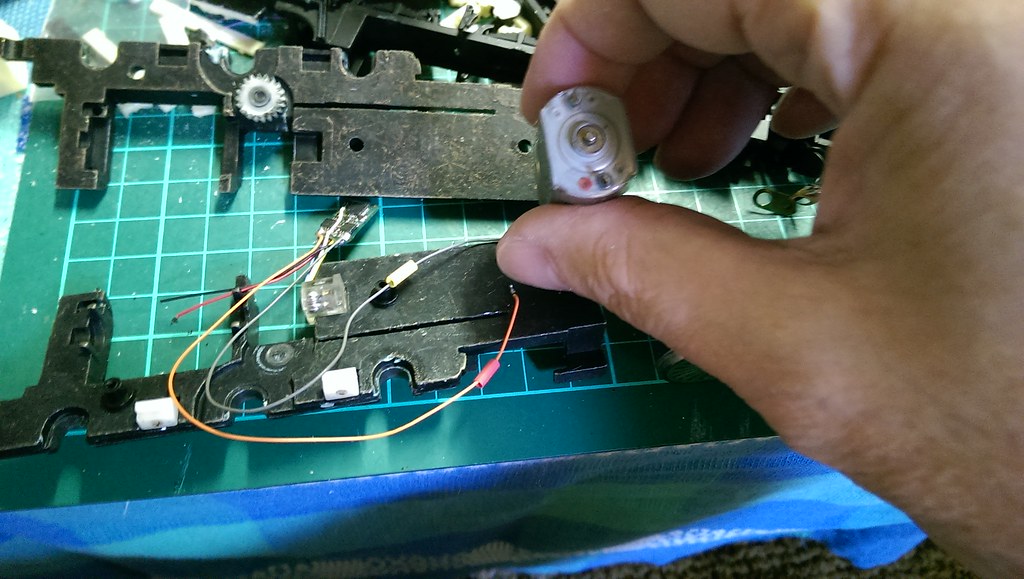
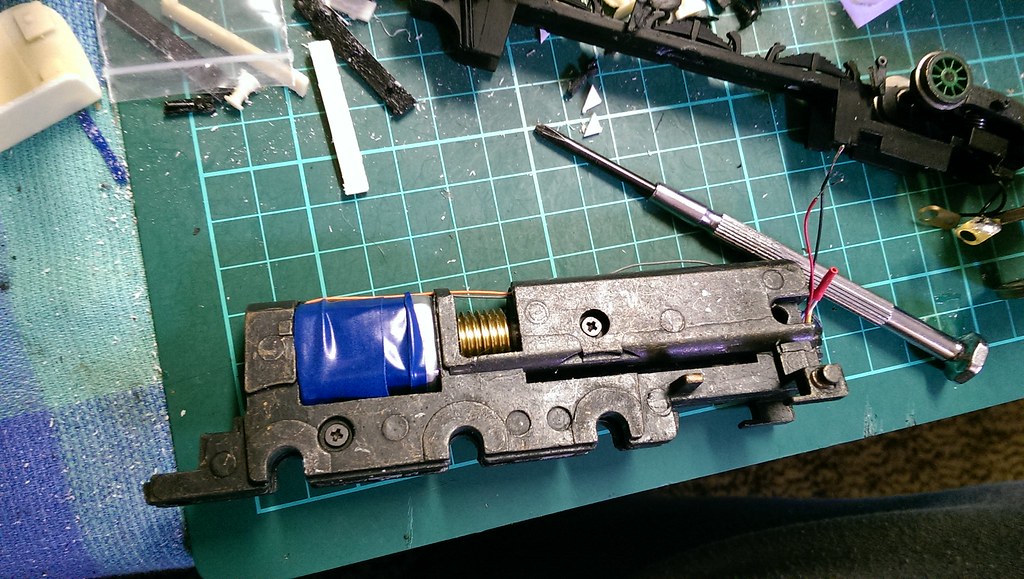
The motor just lifts out, but keep an eye on the two black plastic cup washers that go over the end bearings. Also, make sure the thrust bearing stays put (it is wedged into the chassis where the worm gear touches it). Note also that the motor has a small red spot marking the bottom which was connected to the right-hand chassis side - this brush will get the orange wire from the decoder. As an extra precaution, I chose to wrap the motor in insulating tape but this is not really necessary.
Remove the two copper/brass (or whatever!) springs that bore on the brush tags.
Bachmann LN Decoder Fitting - 14 by Jeffrey Lynn, on Flickr
Bachmann LN Decoder Fitting - 15 by Jeffrey Lynn, on Flickr
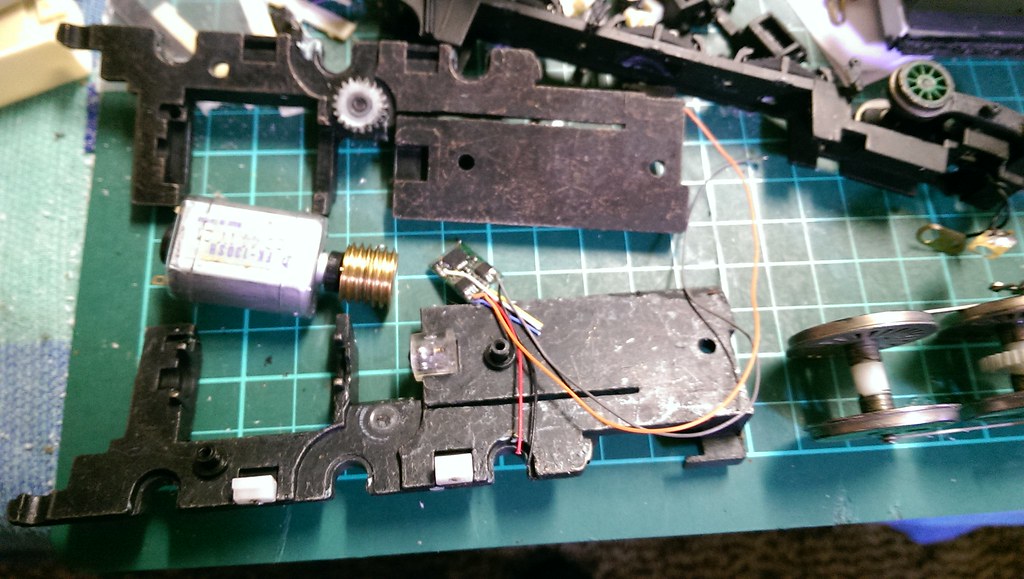
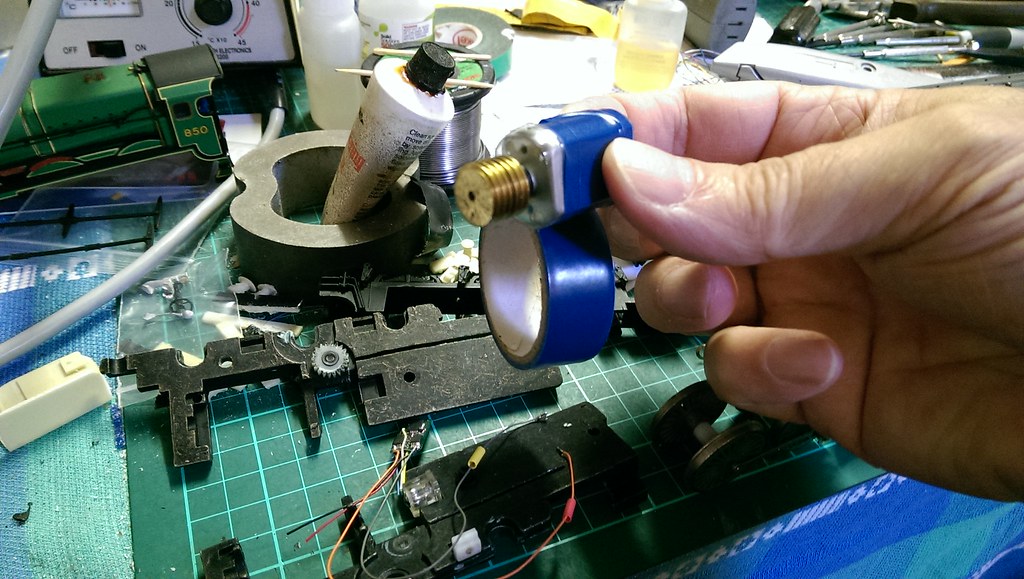
Now prepare the decoder. This one is a TCS M1, which is very compact yet able to handle over 1 amp loads. These give reasonable running qualities at good prices and are covered by TCS' 'goof-proof' warranty, which means that if something goes wrong with this installation, they will replace it with no quibbles. I bared and tinned the grey and orange wires. Don't forget to thread on some heat-shrink tubing before soldering the wires to the motor brushes: orange to the red tagged brush, grey to the other one.
Slide the heat-shrink tubes over the bare wire ends and brush tags and apply heat.
Bachmann LN Decoder Fitting - 16 by Jeffrey Lynn, on Flickr
Bachmann LN Decoder Fitting - 17 by Jeffrey Lynn, on Flickr
Bachmann LN Decoder Fitting - 18 by Jeffrey Lynn, on Flickr
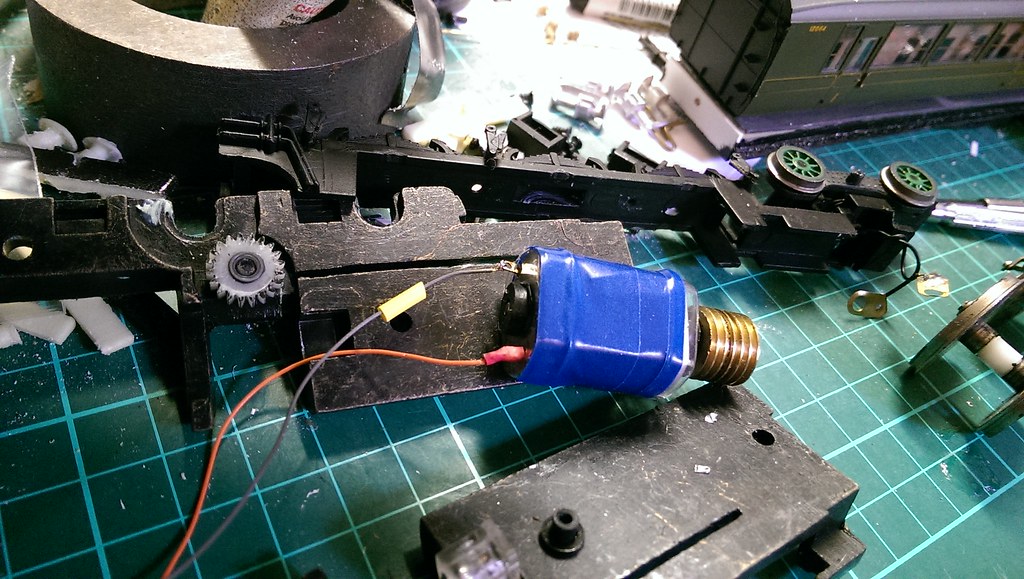
Now resite the motor in the chassis half. The decoder wires are only just long enough and are routed through the gap between chassis halves.
Bachmann LN Decoder Fitting - 19 by Jeffrey Lynn, on Flickr
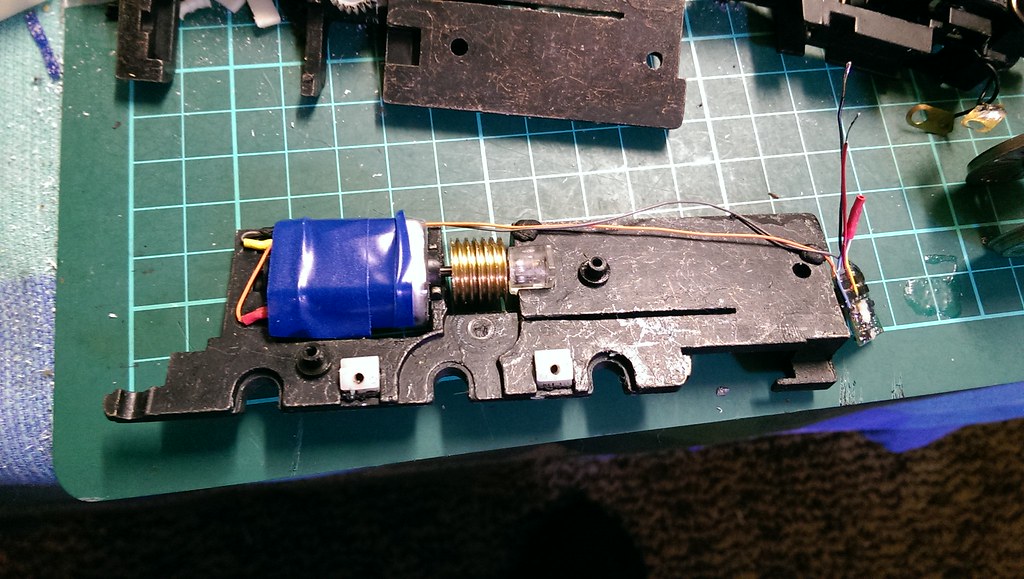
The chassis halves can be reunited, ensuring all the plastic spacers are in place (a bit of black-tack stops them moving or dropping out during handling, as mentioned earlier). I replaced two of the screws but not the one at the smokebox end (yet). I did temporarily push the plastic plug into the smokebox end hole to align the spacer washer.
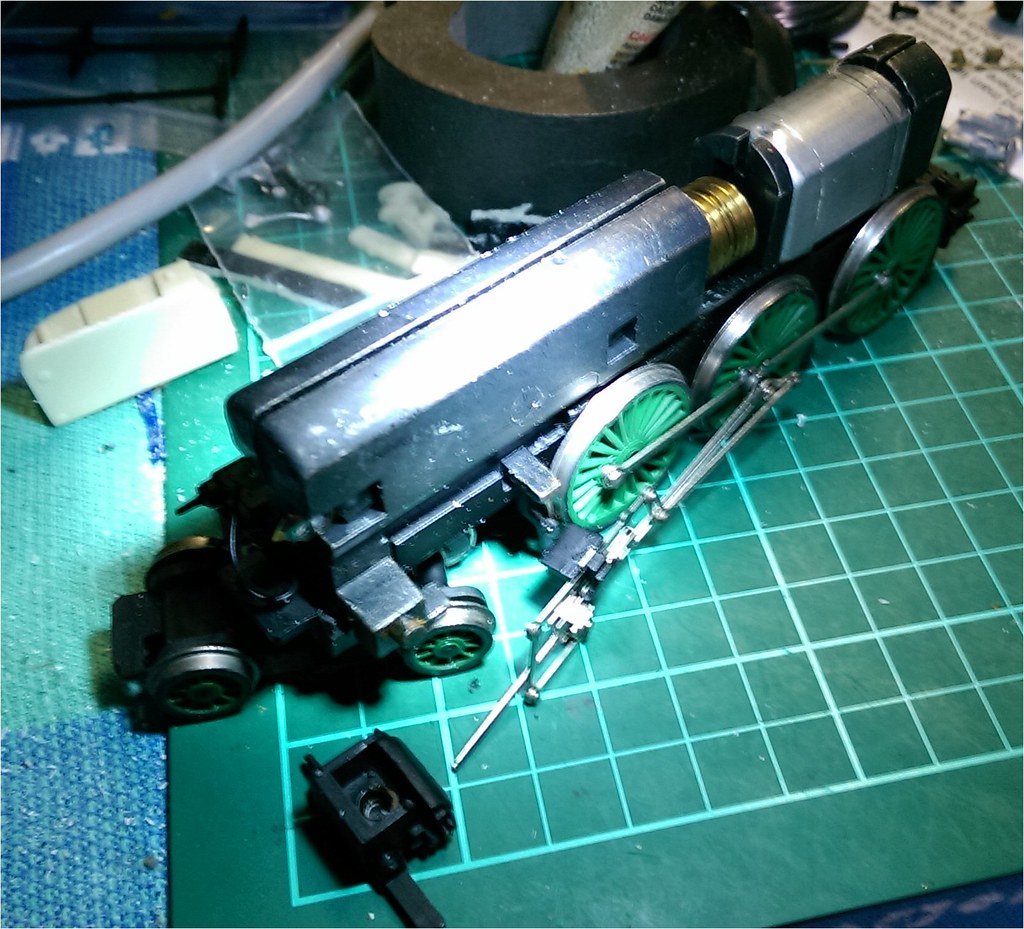
Next I replaced the wheel sets in the chassis and clipped the motion supports and cylinders back in.
Bachmann LN Decoder Fitting - 20 by Jeffrey Lynn, on Flickr
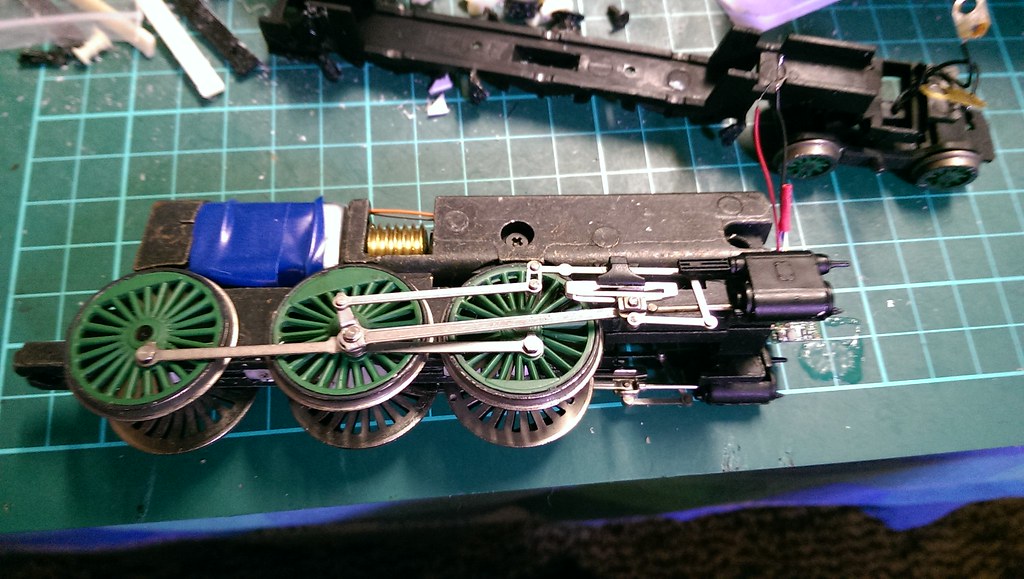
Bachmann LN Decoder Fitting - 21 by Jeffrey Lynn, on Flickr
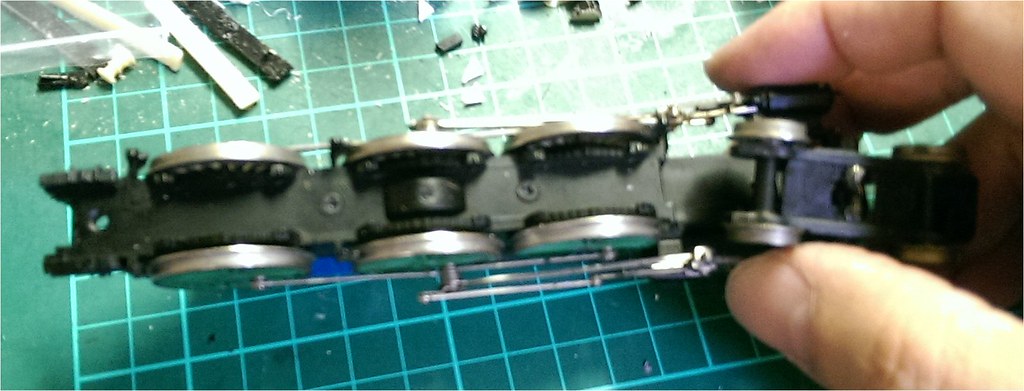
Next I clipped the base plate back in, hooking it onto the rear of the chassis first then sliding it up and pushing it home at the front, and replaced the two screws.
Bachmann LN Decoder Fitting - 22 cropped by Jeffrey Lynn, on Flickr
Now for the final connections. I shortened the black and red wires from the decoder, stripped the ends and tinned them. Note that I have also cut short the function wires (white, yellow and blue - green and purple additionally if using a TCS M4 decoder as I did with Lord Anson) and "tied" them up with a section of heat-shrink tubing. If you are going to fit lights or firebox glows, or other extra functions, these are the wires you will need in addition - that's beyond the scope of this essay.
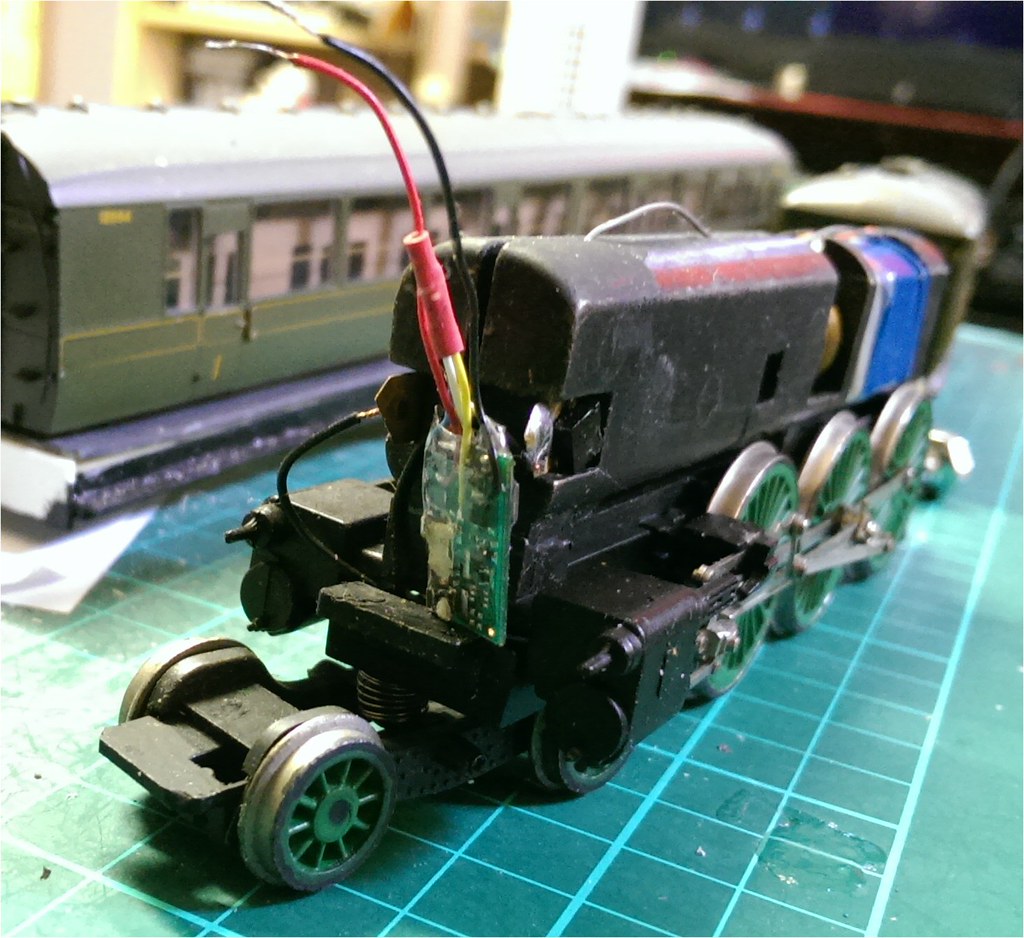
Bachmann LN Decoder Fitting - 23 cropped by Jeffrey Lynn, on Flickr
Solder those red and black wires to the solder tags attached to the bogie pickup wires. Make sure you identify the right-hand wire (as you look from the back towards the front of the loco) and solder the red wire to that. The black wire goes to the left-hand tag.
Now you can pull the black plug back out of the chassis at the smokebox end, insert it through the left-hand solder tag and then through the chassis. Insert the screw through the right-hand tag then screw it into the plug through the chassis.
Finally, add a section of double-sided tape to stick the decoder to the very front of the chassis.
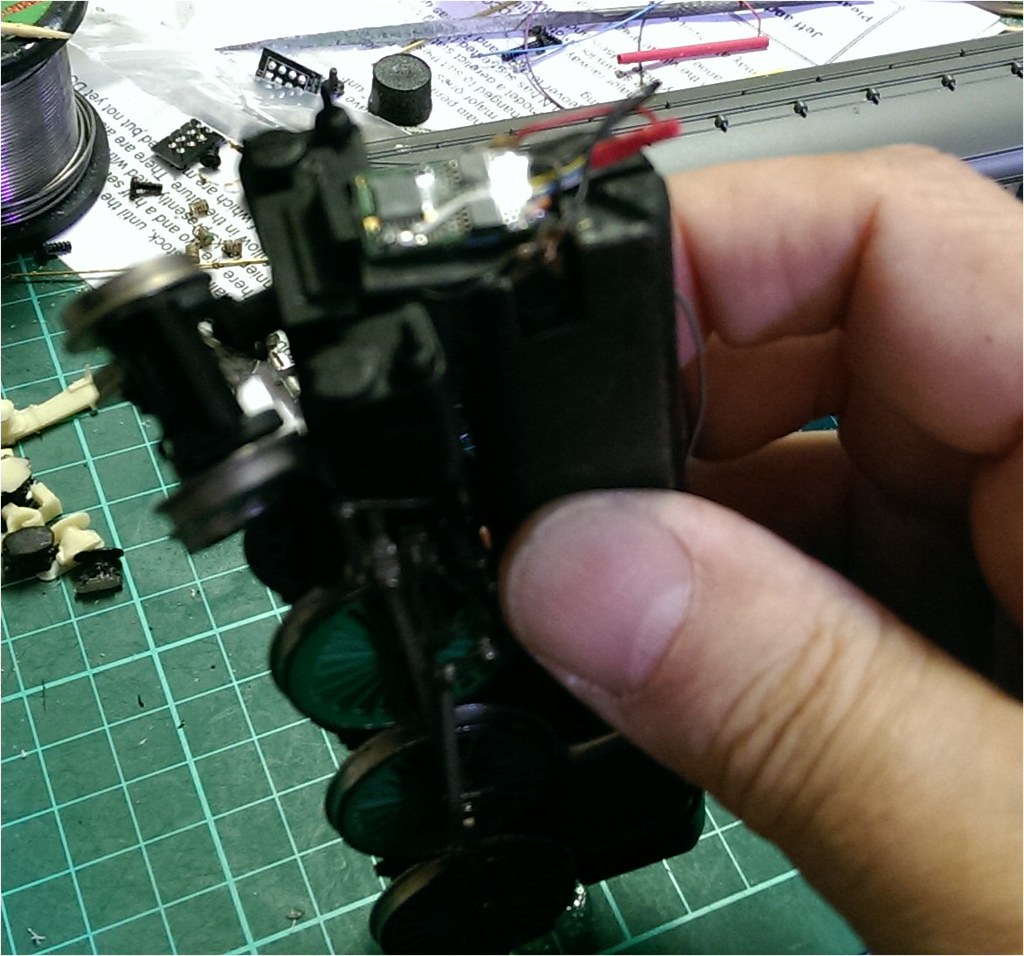
Bachmann LN Decoder Fitting - 24 cropped by Jeffrey Lynn, on Flickr
Now test on the programming track. Mine read back properly so I reprogrammed the decoder to number 850, tweaked the inertia and momentum settings (CV3 = 20, CV4 = 15 as a starting point for my tastes - yours may be quite different), then gave it a track test. Again all was well, so it was back to the workbench to refit the body.
Note: I also used the opportunity to lubricate the motor bearings and gears while everything was accessible earlier.
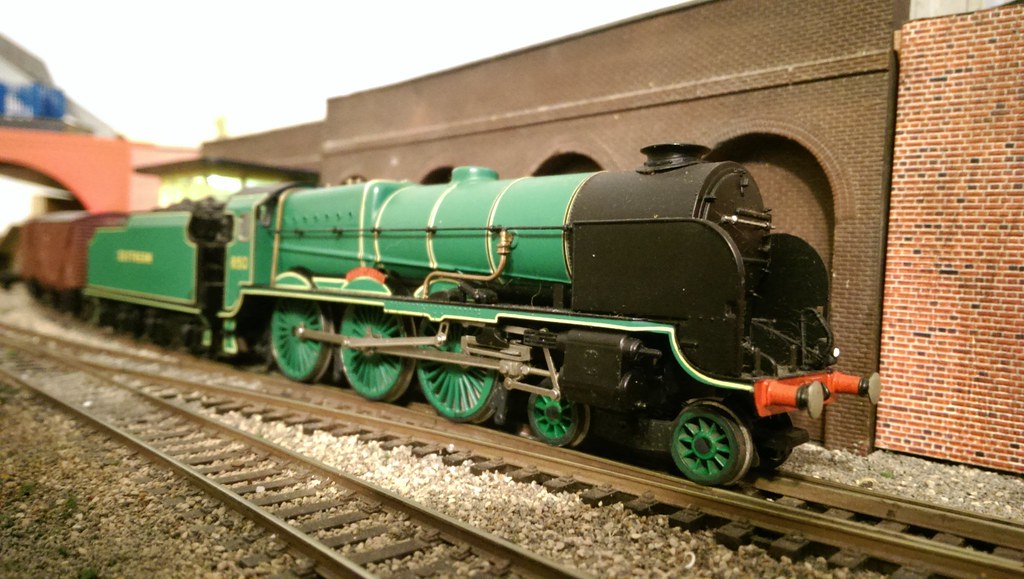
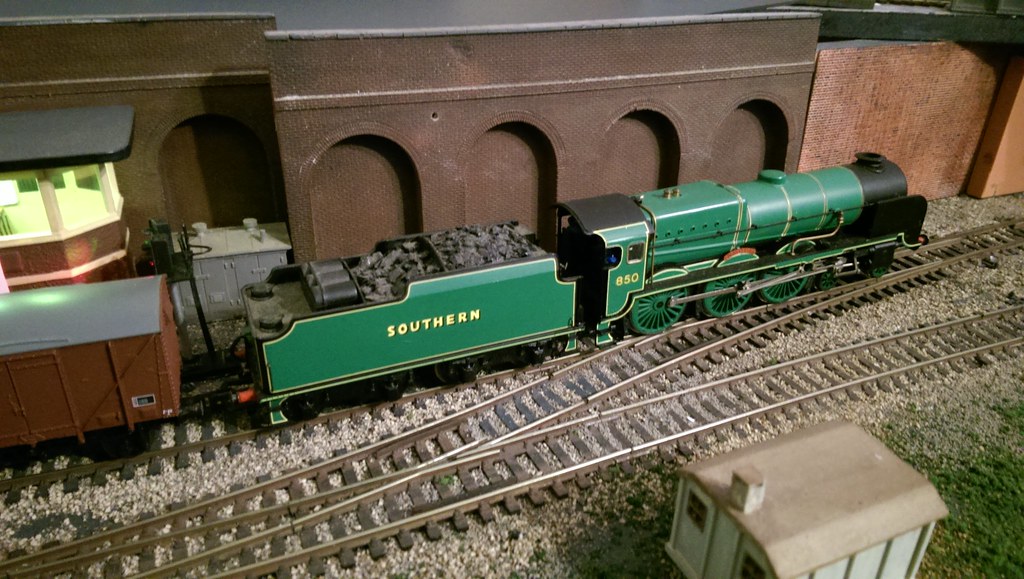
Here is Lord Nelson hauling a test goods train under DCC control.
Bachmann LN Decoder Fitting - 25 by Jeffrey Lynn, on Flickr
Bachmann LN Decoder Fitting - 26 by Jeffrey Lynn, on Flickr
I hope this helps somebody and hasn't been too boring or laboured.
Edit: I have had to reload all the images into Flickr after suspending my Photobucket account. I hope I have got the right photos in the right places. 
-
 3
3

3 Comments
Recommended Comments
Create an account or sign in to comment
You need to be a member in order to leave a comment
Create an account
Sign up for a new account in our community. It's easy!
Register a new accountSign in
Already have an account? Sign in here.
Sign In Now