


87 101
-
Posts
170 -
Joined
-
Last visited
Content Type
Profiles
Forums
Blogs
Gallery
Events
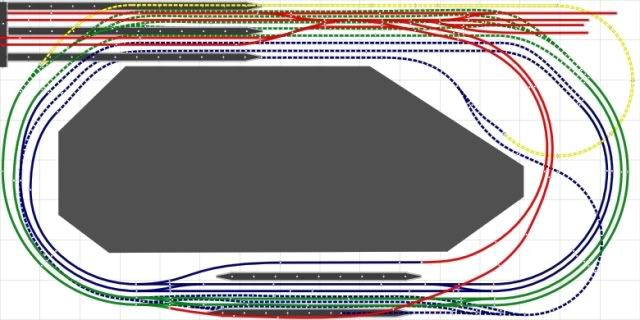
Exhibition Layout Details
Store
Blog Comments posted by 87 101
-
-
-
The new layout will be 00 gauge and will be the garden railways replacement.
After clearing out the existing layouts from the garage I have had a rethink about the plan. I want to eventualy move my workbench into the garage so to give myself more space I have moved the return loop and split the storage sidings so now I have up trains on one side wall and down trains on the other.
For some reason I carn't copy and paste the img code ?
-
Hi Mike just had a look at your blog the OHLE looks realy good. Maybe you would like to post a couple of pics up on the 25kv forum ?
-
I will post some better ones to the RMweb gallery when I get a spare 5 mins it was just easer to copy and paste when posting on the other forums im involved with. Currently I have 14 days to get my layout sorted before the Jarrow show!
-
Tonight I have been given the ok to exhibit the extended layout at Jarrow in 5 weeks time so looks like im going to be busy over the next couple of weeks !
-
Thanks for the comments. At the moment I can not afford to have the website hosted anywhere. Hopfully one day westcoast miniatures will be sucessfull but in the mean time we will have to do it ourselves. At least there are no adverts like the ones that I kept getting with the old site on webs. From today the site has been moved on to a linux PC and is running much quicker.
-
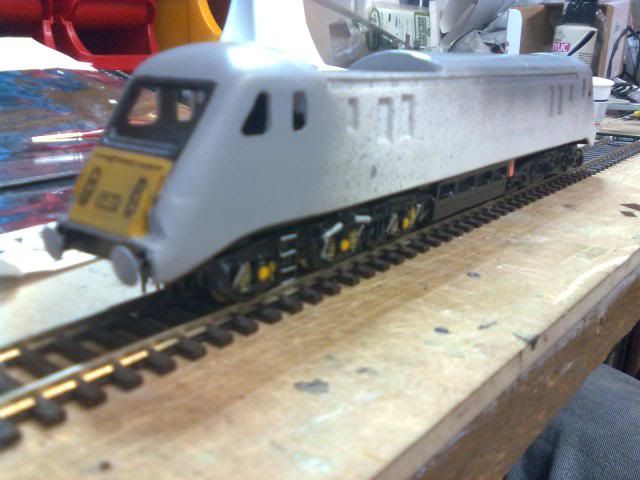
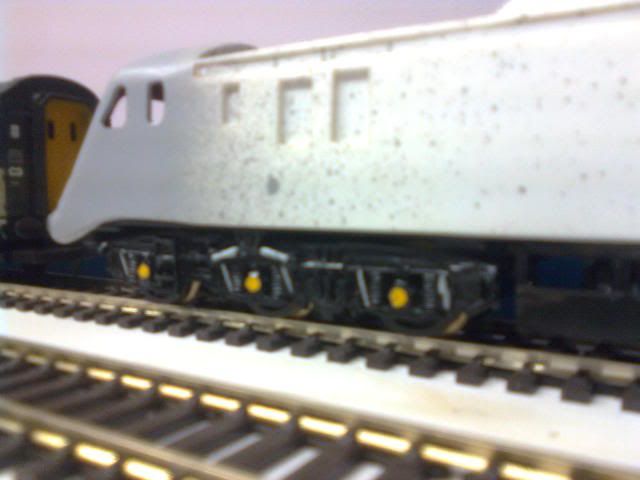
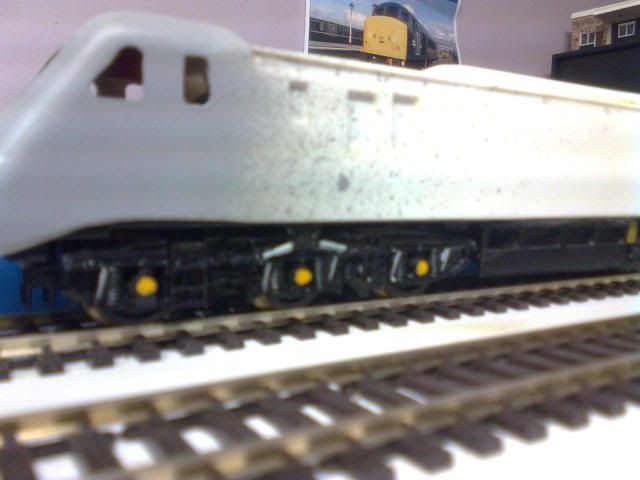
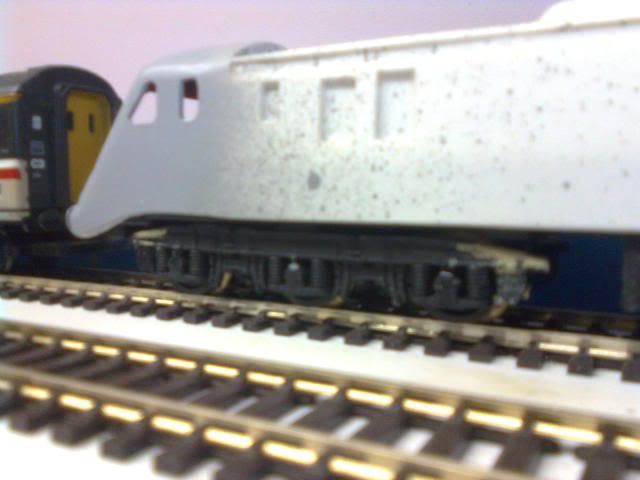
The locos lights have now been installed at one end. As the loco will be used mainly with a push pull set I will leave the lights at the other end for the time being. I did have an issue with the headlights flashing whilst the loco was traveling in reverse but this has been vertualy elimanated when I discovered that there were an extra set of pickups on the trailing bogie. Anyway heres some pics..
Some of you will be fimilar with my APT and its flashing pantograph. I have wanted for a while to fit this to the rest of the AC's and with the new build I have taken this one step further. The APT uses a battery pack for the pan light but the 89 uses the power from the track. This is done by modifying the trailing bogie like this..
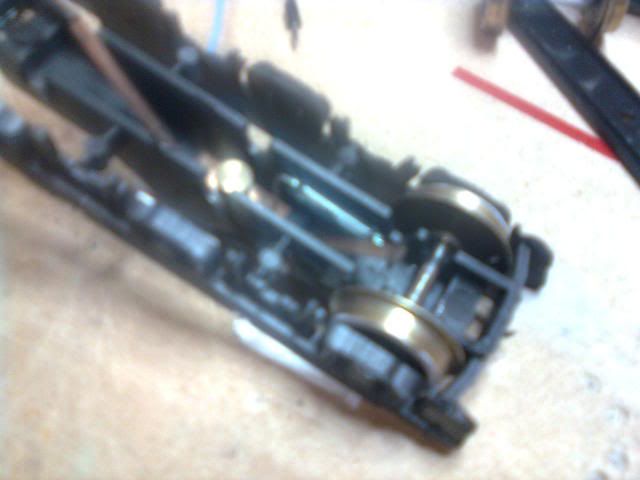
Its not a very good pic but you can just make out a reed switch mounted between the wheels. One end of the reed is soldered to the internal pick ups the other end sticks out of the top of the bogie ( black wire) ...
When reassembled the reed sits neatly between the axels...
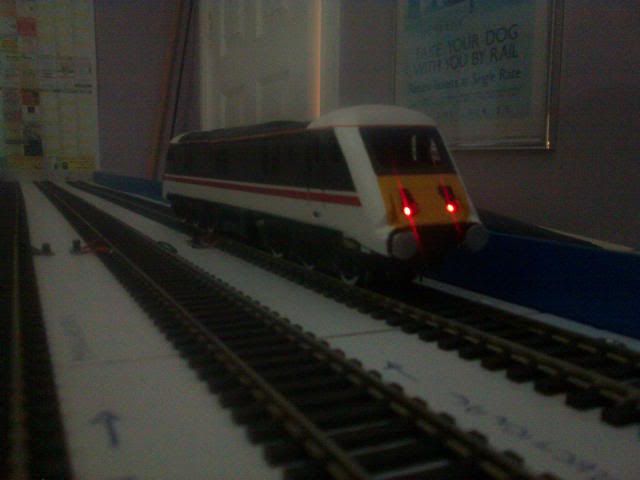
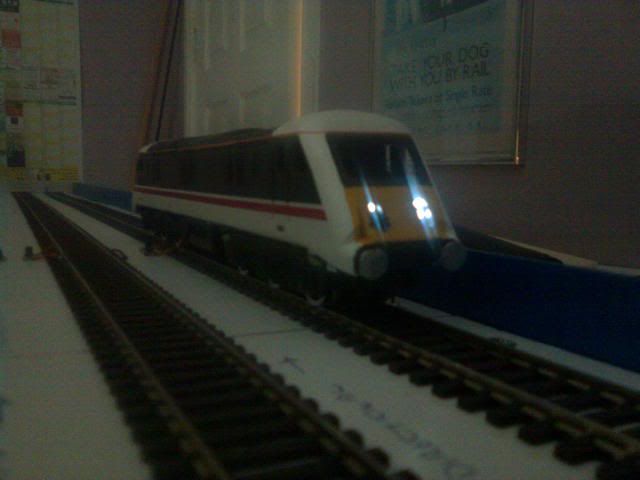
When the loco passes over a fixed magnet the reed switch flashes a led. For testing the 89 has a white one sticking out of the rear cab windscreen and can be seen flashing here...
The plan is to fit a small blue led to the pantograph head to simulate arching. I will be adding a bridge rectifier to the circuit so that the led will work in each direction. This should also operate the effect if I change the layout to DCC.
-
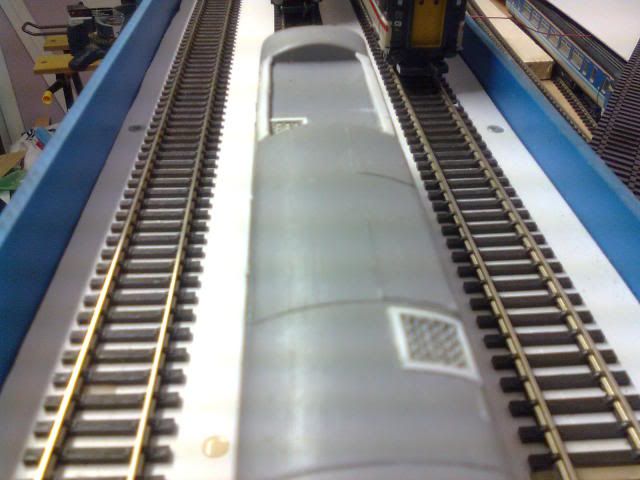
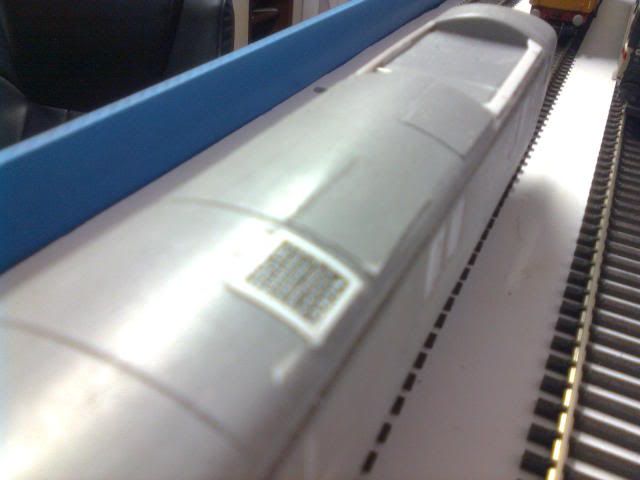
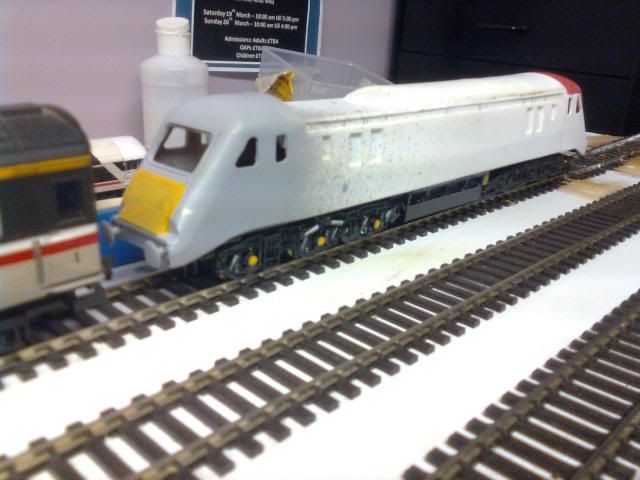
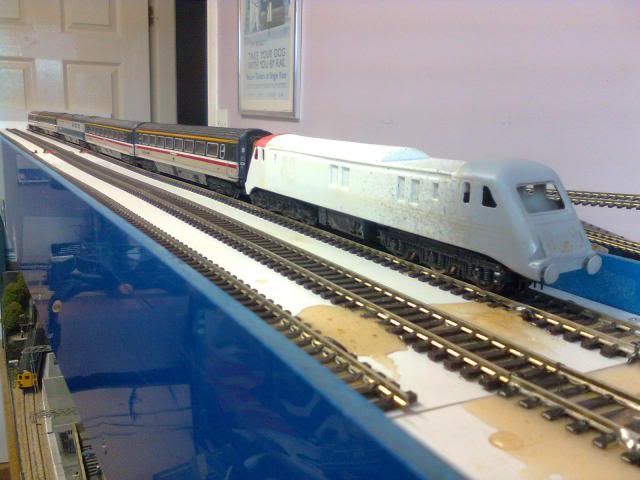
Cheers Sean. A bit more progress on Avocet. This afternoon I have built up the roof vents and bodyside grills. I have also done a bit more work on the number 1 cab end and fitted the distintive bodyside ribbing at cant rail level. I have also fitted the backs to the handrail openings. Realy there is just the buffer beam and lower cab front on the no 1 end to do before I can get the loco in primer. Aparently the trailing bogie has been posted so this may arrive tomorrow providing that it fits through the letter box ! A few piccys...
-
Further progress on the 89. First some detailing using mirrored vinyl starting with the battery box covers..
And the roof hatches..
A bit of paint..
The A side..
The B side..
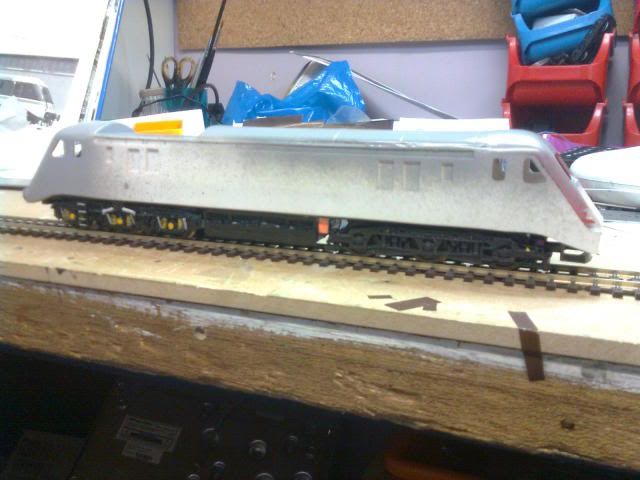
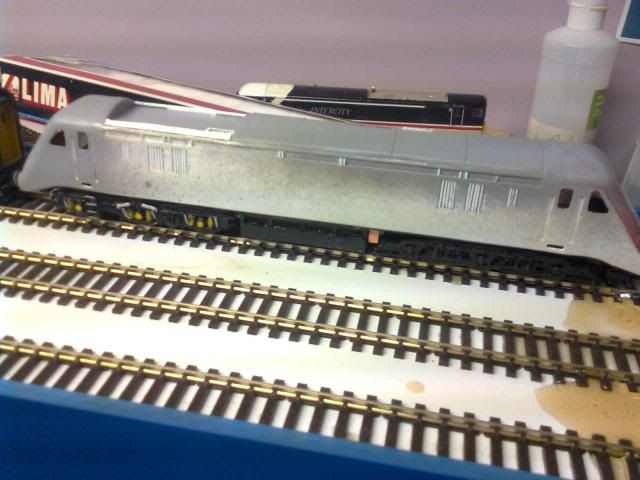
Number 1 end taking shape..
Number 2 end marked out for the holes for the led lights..
Bodyside cut out for the foot steps and handrail receses...

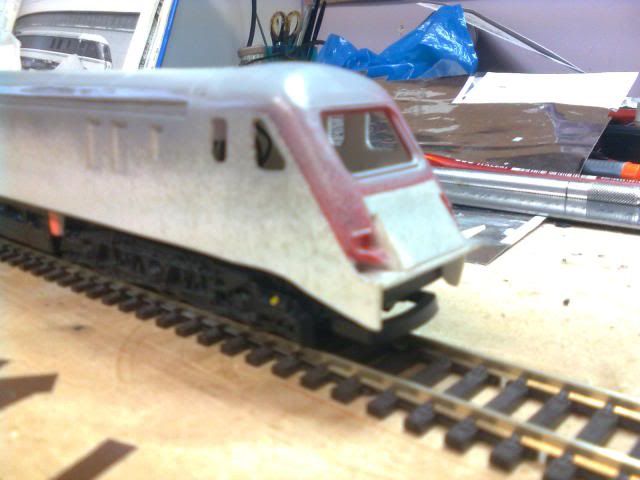
The finished livery for the 89 will be IC swallow as it was at its naming. After looking through some pics on the net at the time of its naming 89001 still had yellow springs and axel box covers from when it was 'bulled up' for the mallard special in 88.
-
Second trailing bogie aquired for the loco. So far the loco build has cost just under a £10 !!
-
Avocet now has one bogie well half a bogie ! Heres the bogie with the basic detail added....

And with a bit of paint...
Just hope I manage to get the trailing bogie for the other end !!
-
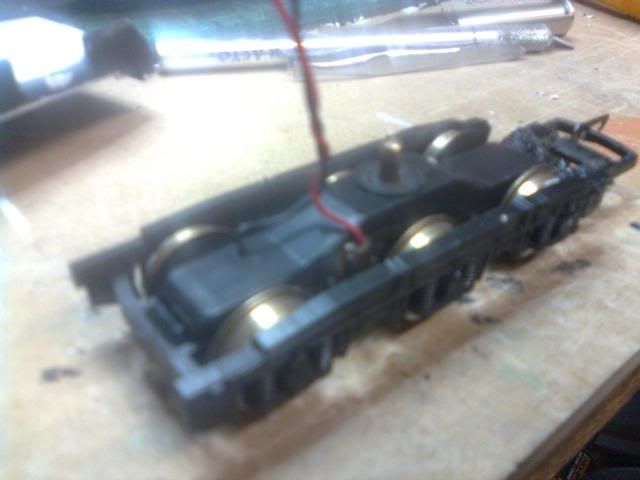
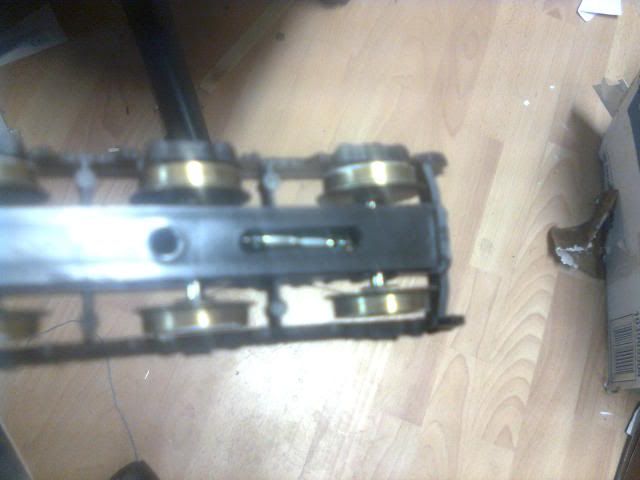
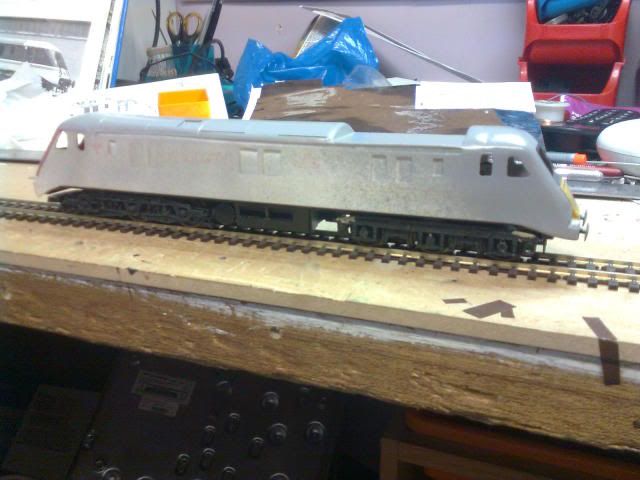
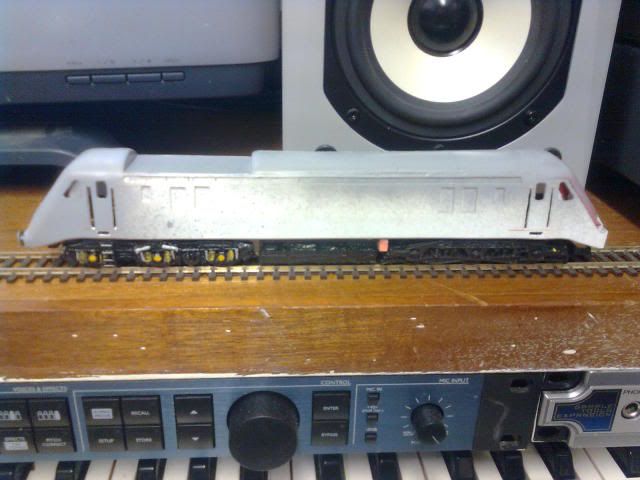
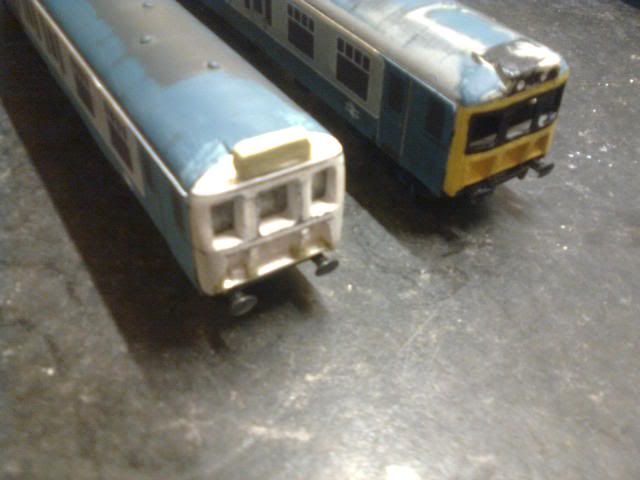
A bit more progress on my class 89 project as this morning I picked up the power bogie from the sorting office. Here it is after being trial fitted to the 89..
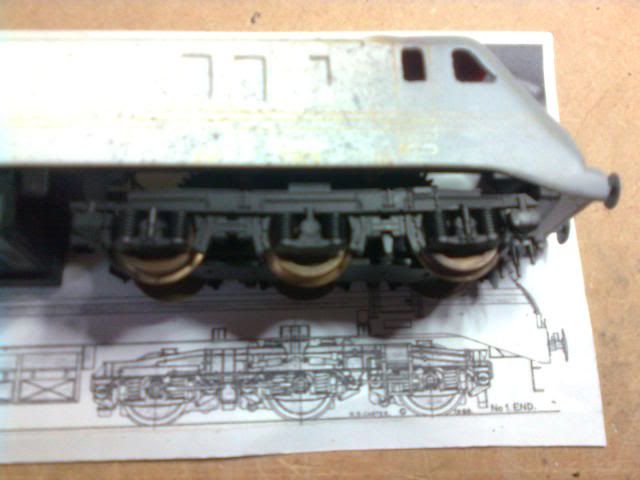
The plan that it sits on shows the modifications needed. To be 100% correct the wheel base should be slightly bigger at the rear but for ease of construction I can live with this especialy as with a few modifications the power bogie is a direct swap for the class 47 one ! Apart from some filling of the mounting lugs the main job to do is to reduce the height of the molded side supports the underframe rests on as the ones on the 47 are shorter. Once done and everyting is sitting properly modding the bogies can start. When I first thought about this build I was going to use class 58 bogies as these were built roughly the same time as the 89 and look similar but closer inspection reviled that the axel box supports looked wrong. The ones on the class 60 looked much nearer so this was the deciding factor in the choice. On the class 60 the dampers are fitted between the axel box and the bogie frame so these were carfully removed with a knife and put in a safe place as they will be reused when building the distintive damper arrangement later. The other thing to do with the knife is remove the sand boxes and also trim away some of the bogie frame between the wheels. Then comes the modification to the top of the bogie frame using some milliput as seen here..
Once set the rest of the bogies details can be built up from evergreen strip. My long term plan for the 89 is a ' what if things had worked out differently ' train like this..
The DVT needs rebuilding as im not happy with the overall shape but the rake will be DVT + FO + Buffet + TSO + TSOE + 89. Livery will be IC swallow and one of the mk3's will be modified by removing the end gangway to form a TSOE similar the the mk4 version that was later built for the ECML trains.
-
Just a quick update on the class 89 project. Tonight I have managed to aquire a lima class 60 power bogie for the loco. The bogie is very similar to the 89s and will be a direct replacement for the class 47 ones that she currently sits on. The bogie will require removal of the sand boxes,etc and some additional parts added but should look fairly convincing when done. Just hope im sucessfull in getting the matching trailing bogie for the other end !!

-
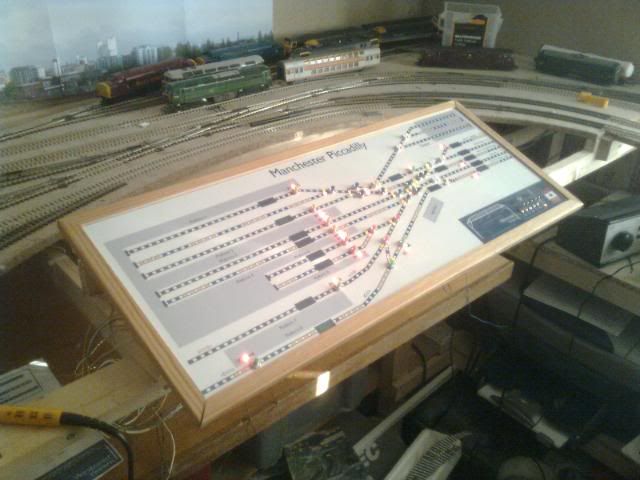
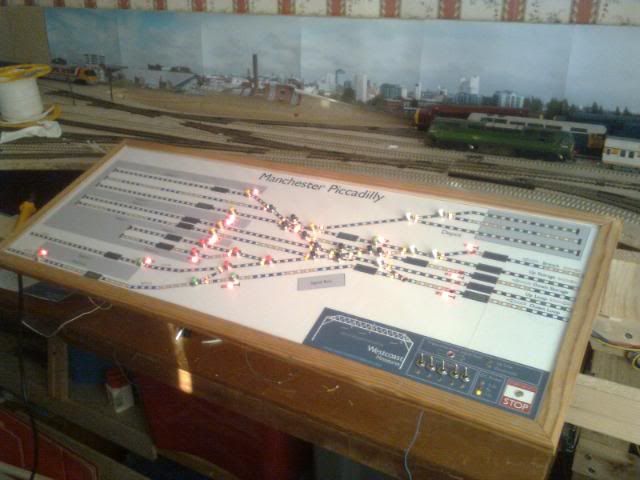
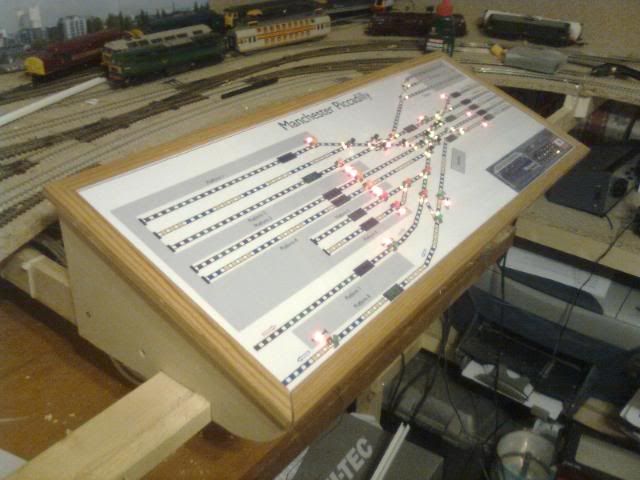
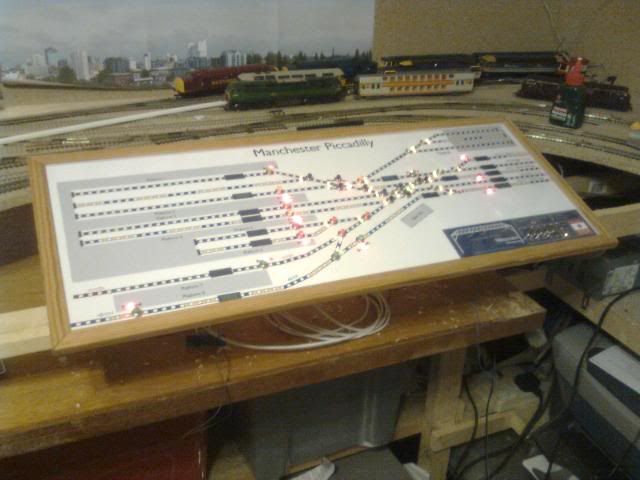
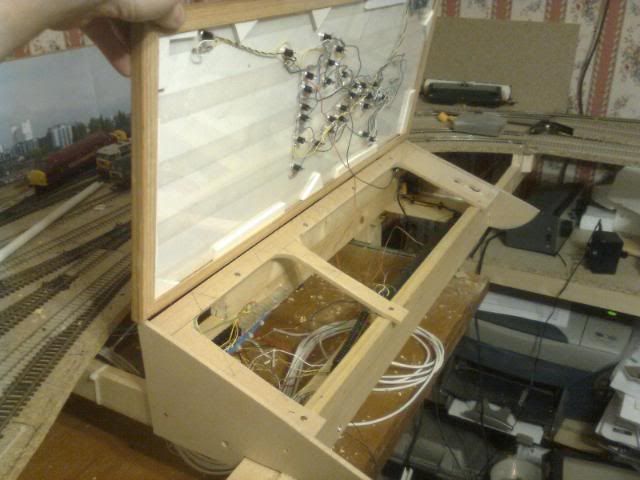
Thanks guys.
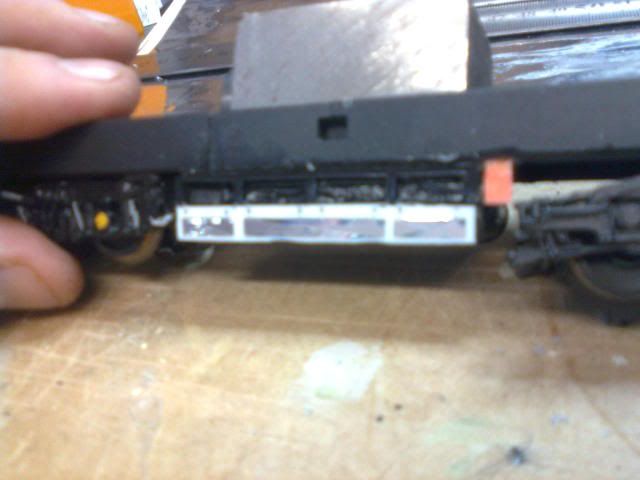
Ok a few pics of the panel being installed in its new home...

-
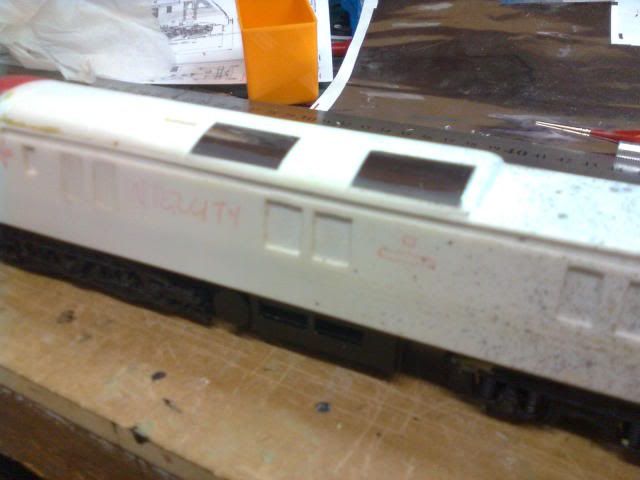
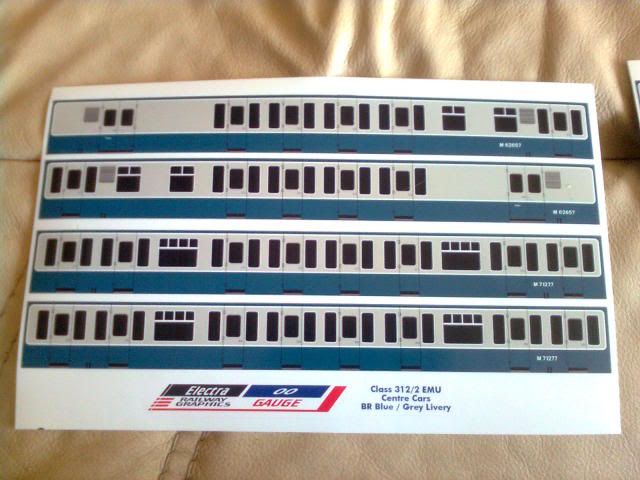
These vinyls were worth every penny as all the windows were pre cut so all I had to do was peal off and stick down! I still have a lot to do to the power car but as its the first to have the clear glazing fitted I decided to use it for the first vinyl fitting.
It might have been a pain in the rear to cut away the bodysides of the coach to fit the clear glazing but seeing how the thin glazing bars look on the windows makes it all worth while. Now I just have the other three coaches to do.
-
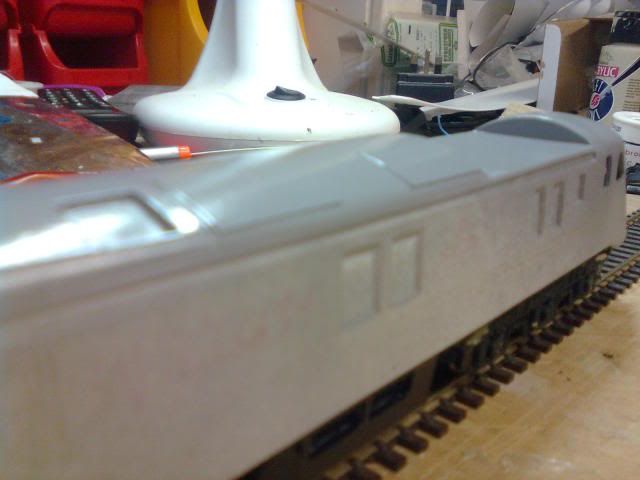
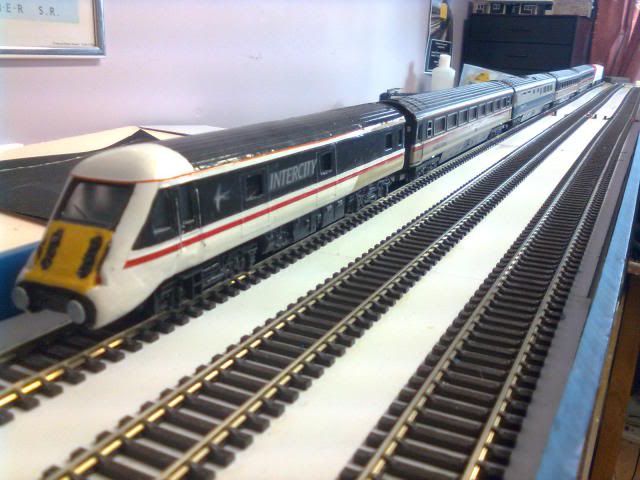
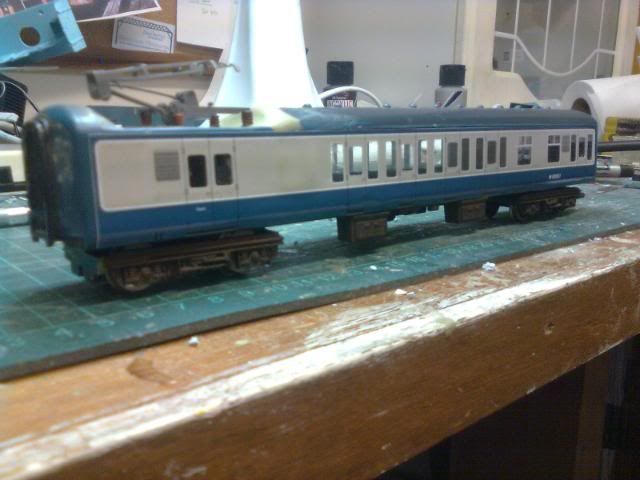
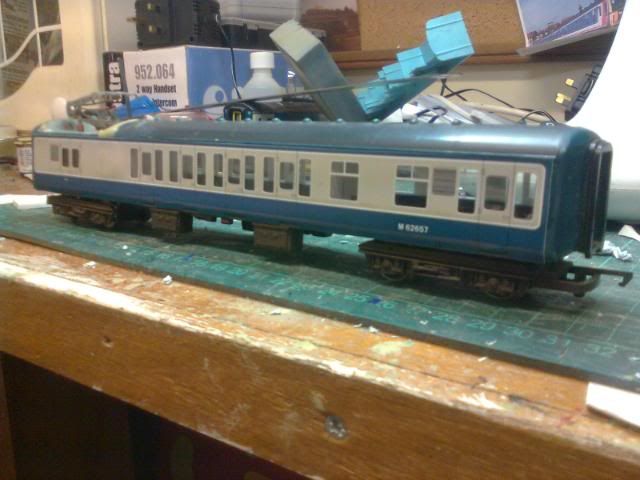
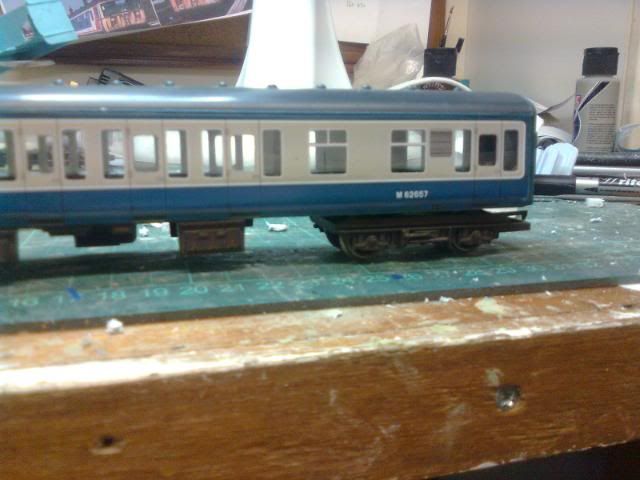
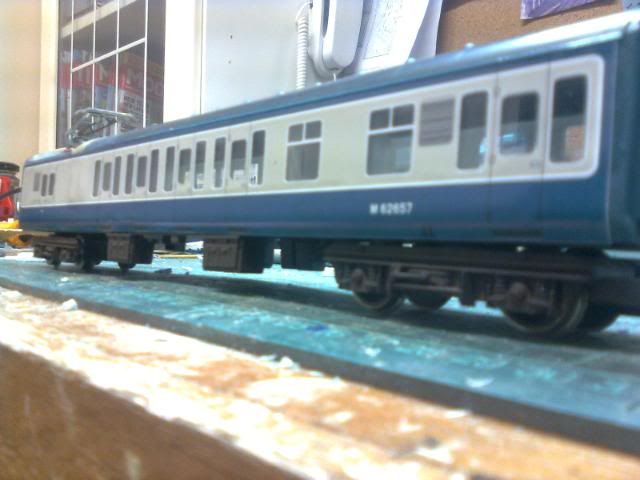
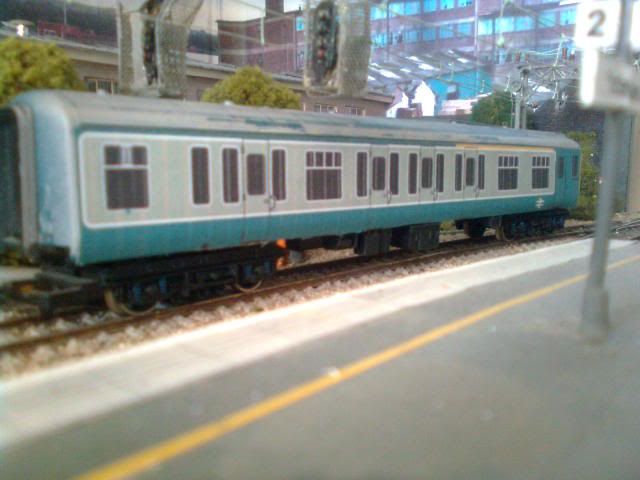
Vinyls have arrived for the 312 EMU and look stunning....
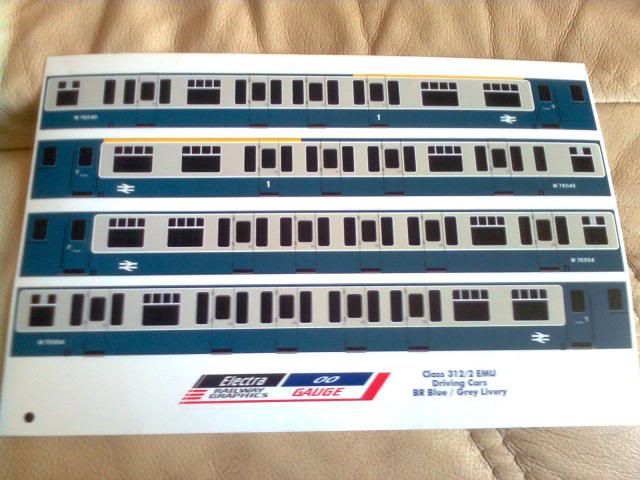
Looks like that takes care of my afternoon then !
-
Hi Jim I read somewhere about someone doing a similar conversion but filing the sides to match the mk1 profile. Is the profile of the mk1 suburban the same as the mainline stock or different ?
-
This morning the mold for the cab ends is ready for the first casting pics later. Last night I was sucessfull in getting the 117 coaches I need for my 304 project so looking forward to starting that project soon.
-

Up to your usual high standard John. I love the storm drain looks great !!
-
Made a start on producing a master for the cab ends....
-
 1
1
-
-
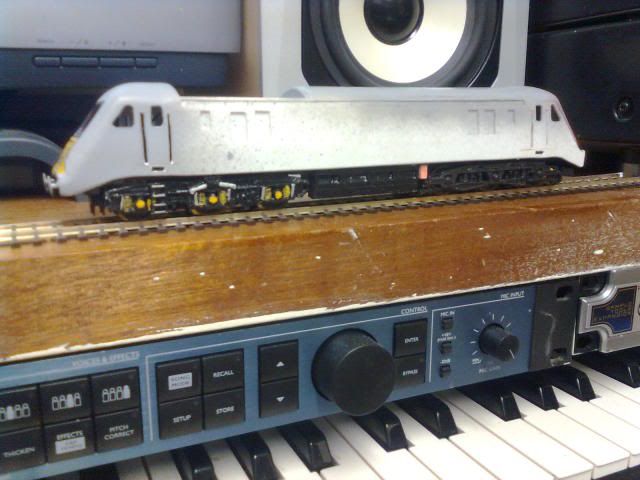
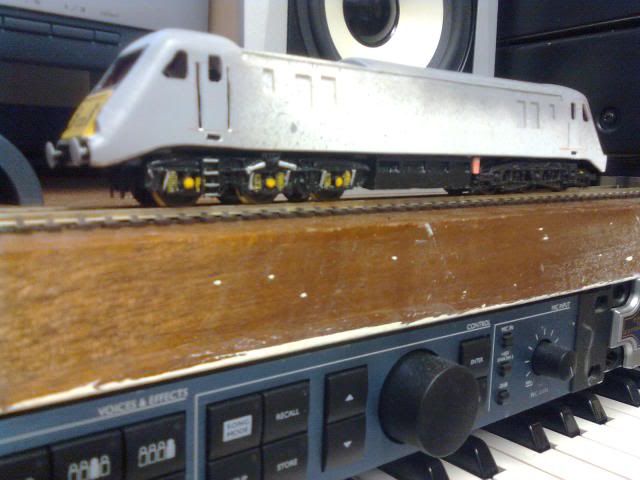
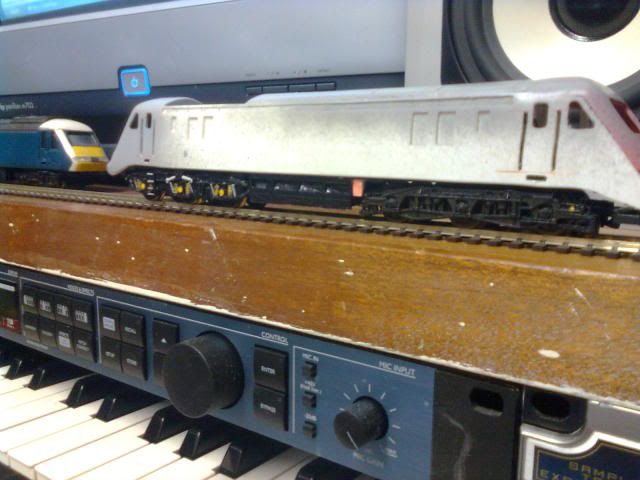
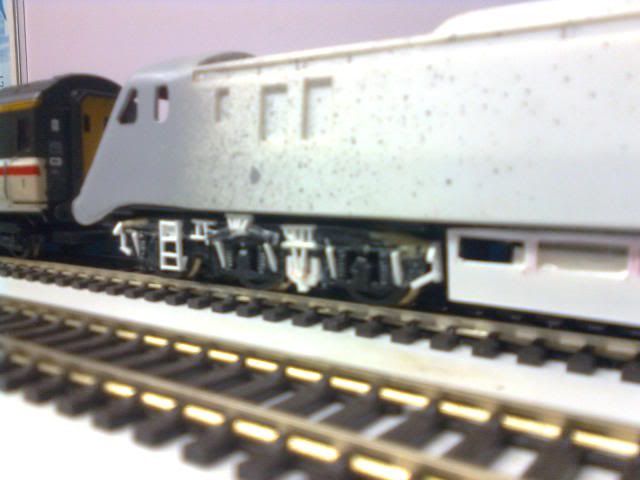
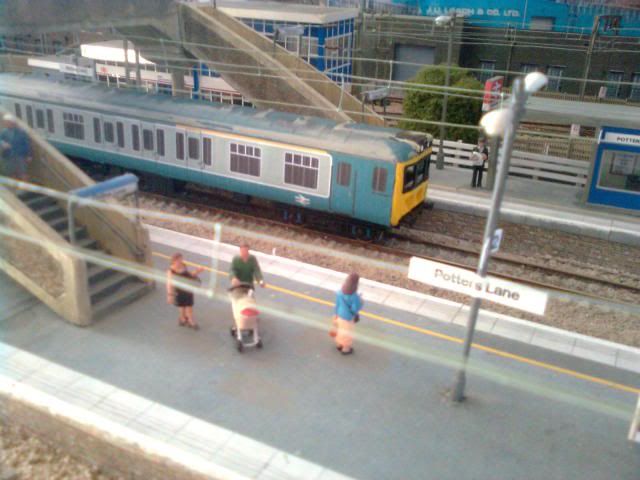
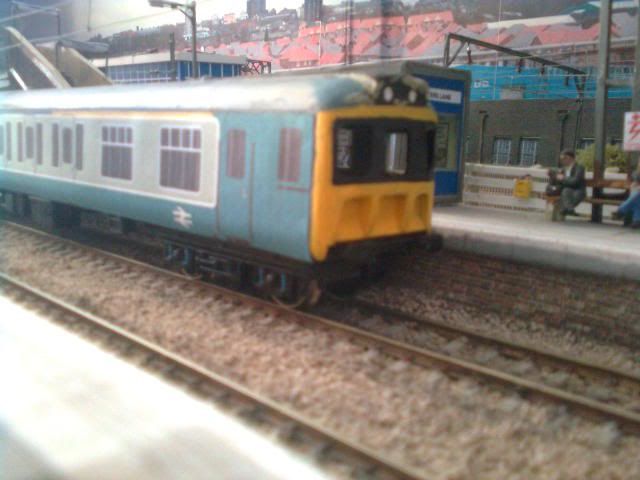
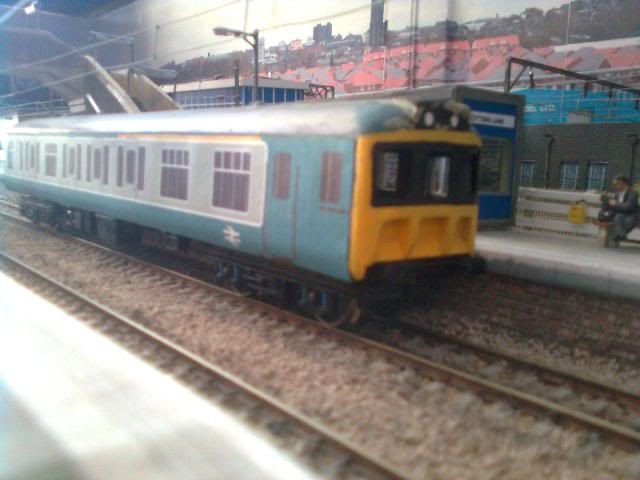
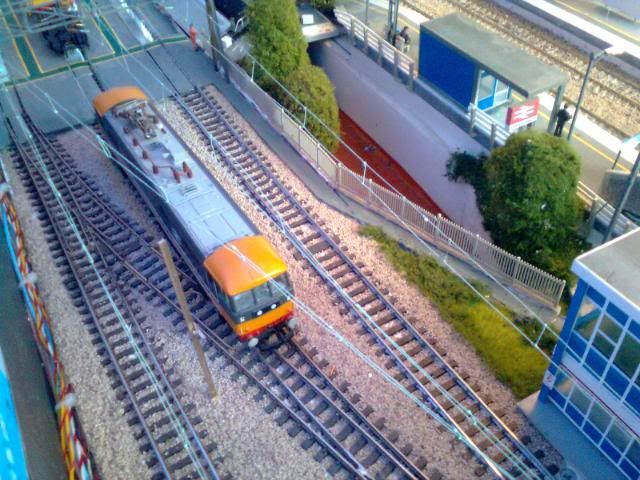
News flash.....
strange unit seen at Potters lane....
-
Yes it was me who was asking.

-
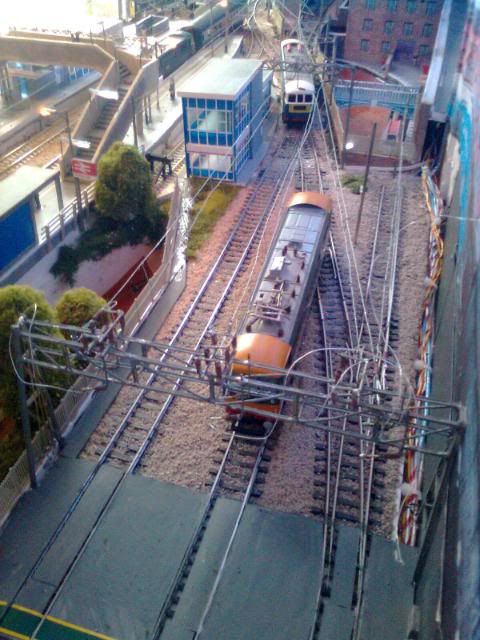
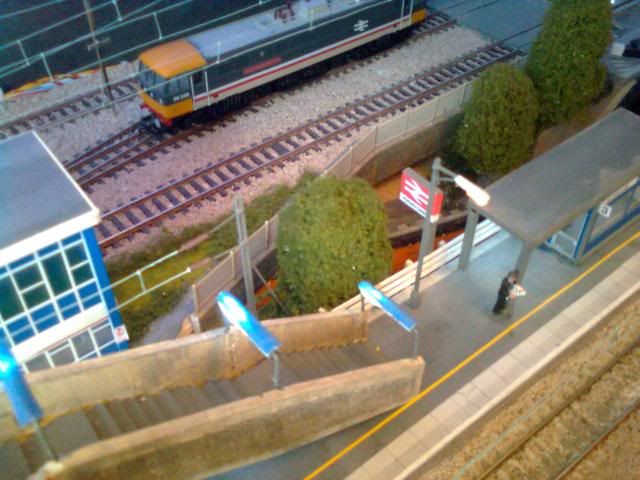
A closer look at one of the fiddle yards..
-
A few more piccys from the lane..
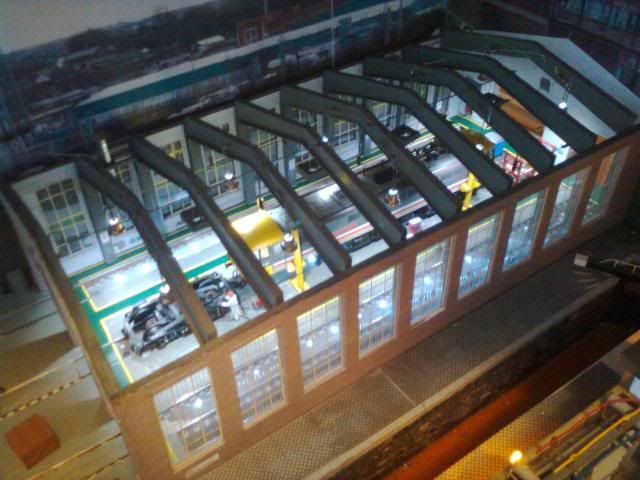
After removing the shelf top to give access to the depot I looked down and relised that I had forgot to put a path between the office and the shed so..
Whilst working in this area I also did a bit more planting..
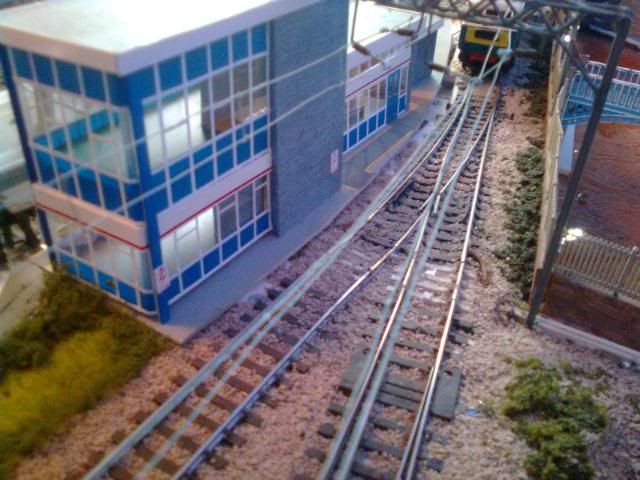
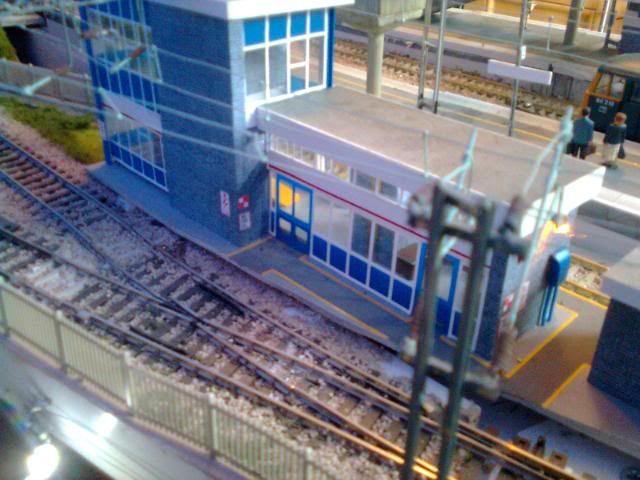
I also took the oppitunity of taking a couple of piccys of the back of the office for the next website update...
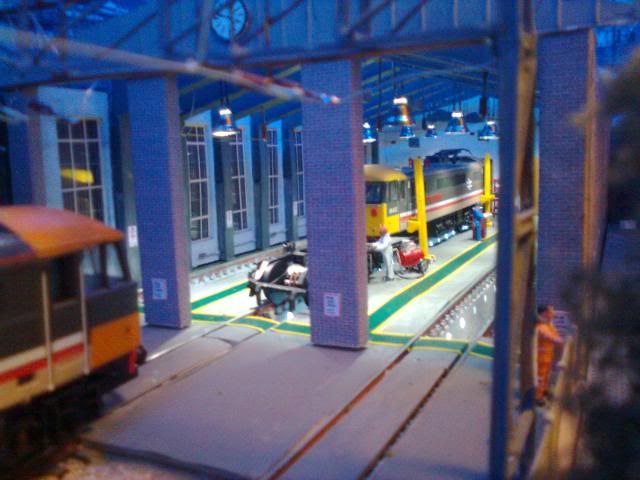
Work then continued on the shed with the walkways being finished..
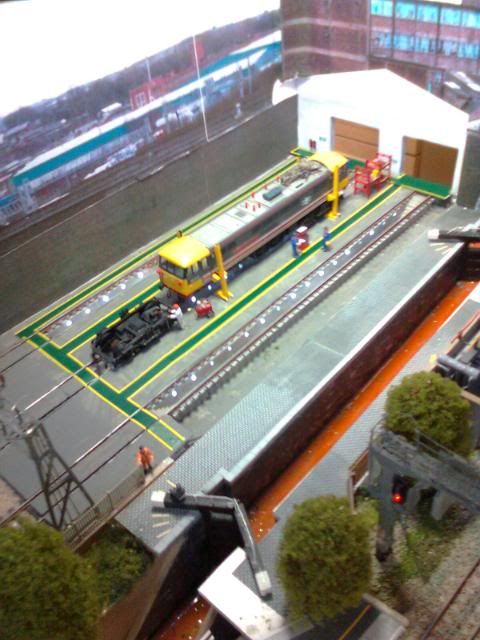
The electrical gear that I fitted to the wall last year realy brings this scene to life. The fire extinguishers hanging on the wall are made from old electrical componants..

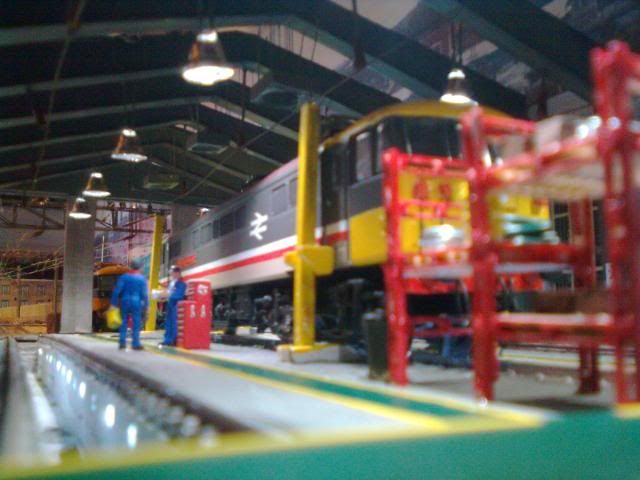
This is definatly where the camera on my phone comes in handy as it's impossable to get a normal camera in here!
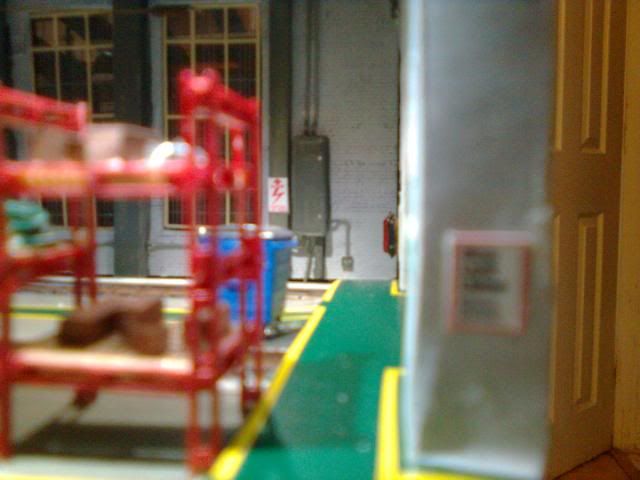
Another shot looking inside now all the lights have been fitted..
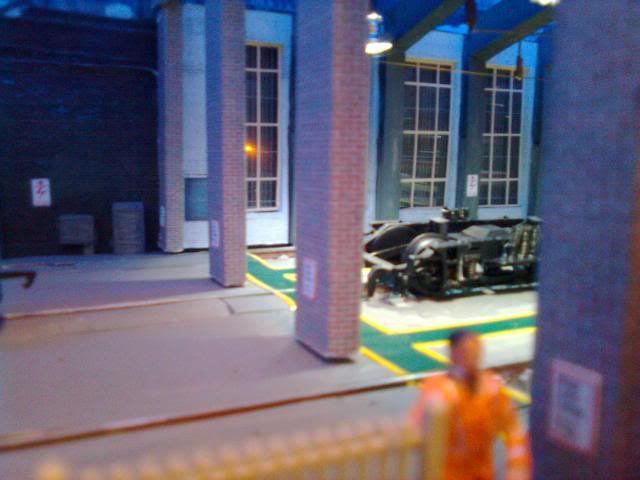
The scratchbuilt compresser has now been glued in place and the air hose attached..
As tonight is the last night of my holiday im planing a late one as I need to get the shed finished!


No Mojo
in RJRs Branch Lines
A blog by johnteal in RMweb Blogs
Posted
Aa bit late in responding to this one but im struggeling with similar things. For me I think that doing models for others has made modelling a bit of a chore and my own projects have suffered. Hang in there John it will come back at some point.