


Entry posted by garethashenden
651 views
Now this really is Duncan's fault. I was handed a part built Alan Gibson Buffalo pannier tank kit and told to get on with it. I looked it over briefly and it looked ok in most respects at a quick glance. This kit had been set aside do to life getting in the way rather than encountering a major problem, so it should be straight forward to finish it, or so I thought.
I started with the brakes. They were already assembled, so I put them in position, fitted the pull rods and soldered everything up. Easy
I then moved on to the handrails, seemed like the next thing that needed doing. This is where I found the first thing that needed redoing. I slid a length of wire into the already installed handrail knobs. The three on the boiler were in a line but the one of the cab was lower than it should be causing a noticeable dip in the handrail. I checked the other side and found the same thing there, at least it's consistent.  The offending handrail knobs were then removed and new holes drilled in the correct position.
The same was completed on the other side with only the front remaining. I spent a while looking at the front of the model wondering where on earth the top handrail knob was supposed to go. It looked like this:
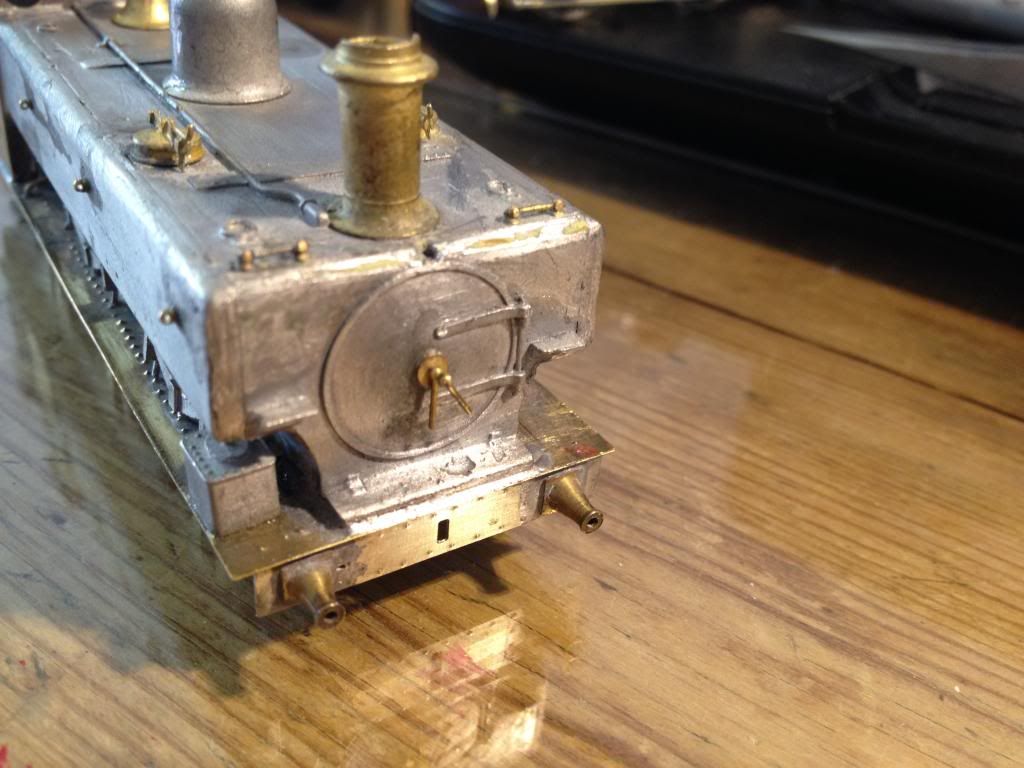
Duncan has kindly provided me with quite a good picture of the particular locomotive he wants, all resplendent in garter crest livery. I spent quite a while comparing them, model, prototype, model, prototype, etc. until finally, Oh! The smokebox door is too big.  I had a rummage through the box and came up with a separate door casting which was smaller. Compared it to the prototype, yeah that looks better. I carefully removed the door darts and then went to work with the file. The two steps were sacrificed in the process but they can be replaced with a bit of brass. The new door and the old door darts were offered up with the results that everything looks better.
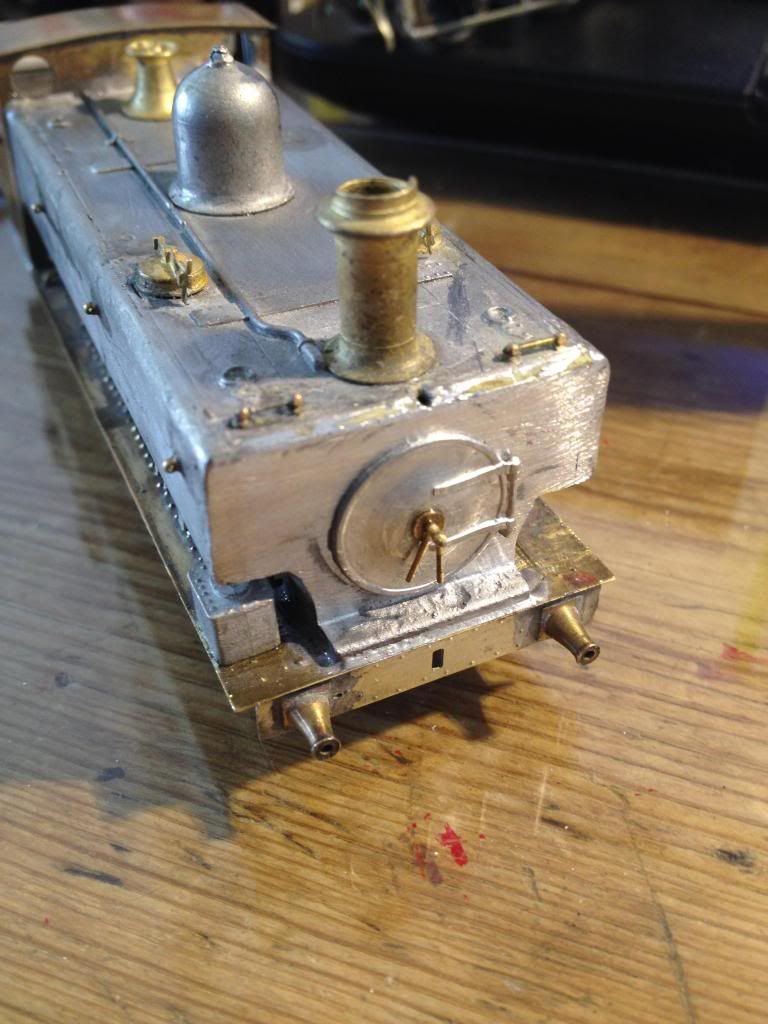
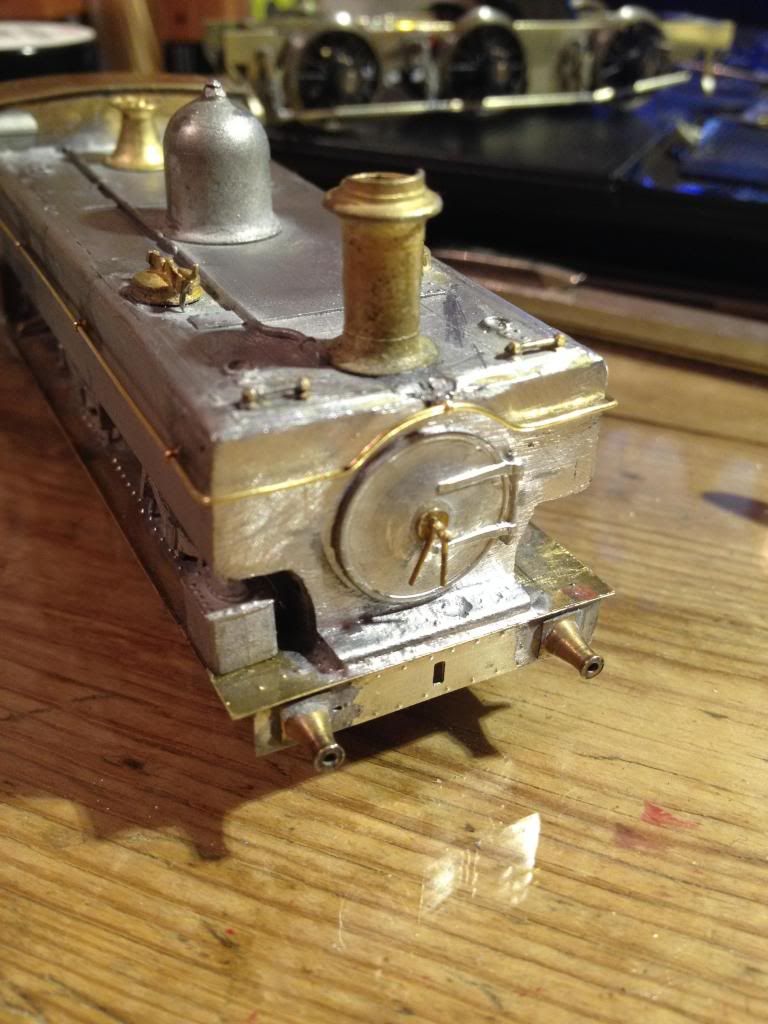
There is now plenty of room for a handrail knob. This and the accompanying handrail were duly fitted,
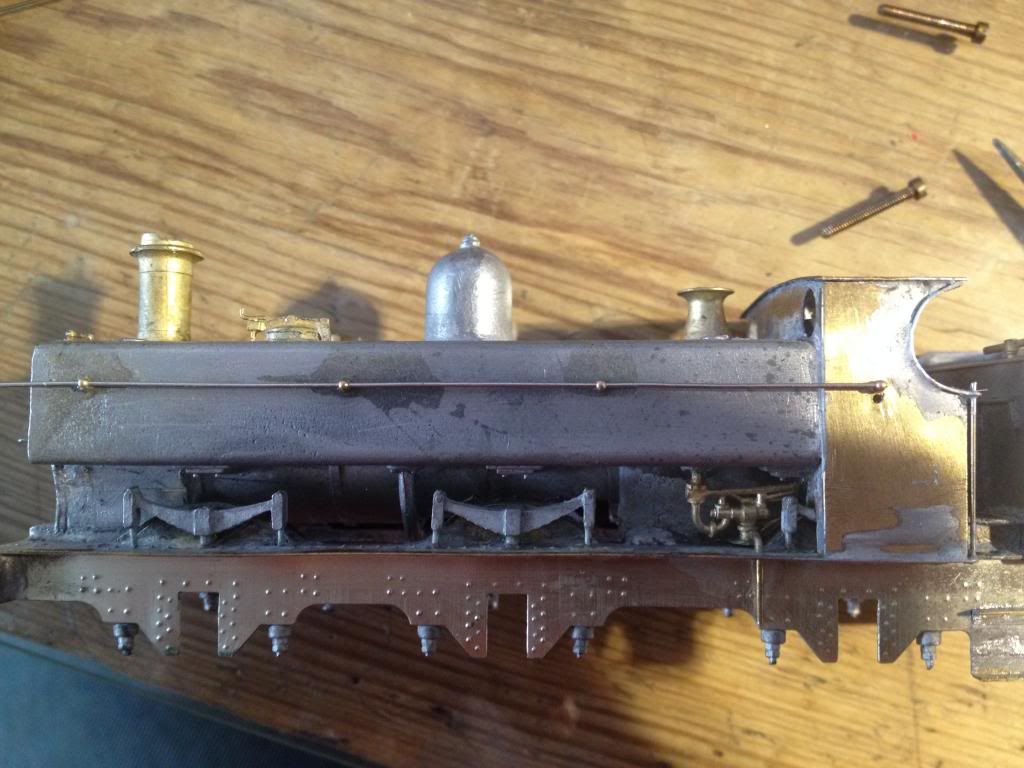
That's enough body work for the moment, lets look at the chassis.
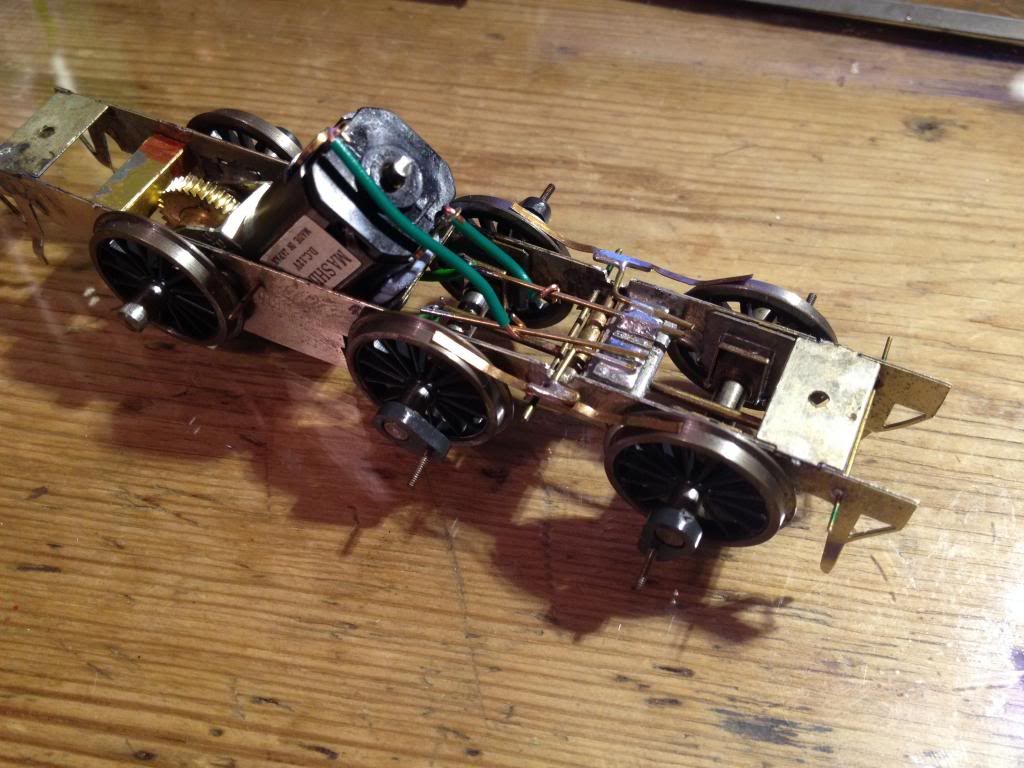
The green wires are there temporarily to test the pickups, everything else is as received.
Everything seemed to be pretty much in order, so lets check the gauge and quartering. One of the cranks was missing, no matter the front two axles can be quartered anyway. All the wheels were closer to P4 than EM gauge, quickly corrected. On to the quartering:
Assemble the rods, quarter the cranks by eye, stick it together, roll it along a bit of track, tight spot. Fiddle, better, fiddle, rolls nicely. Screw to body, half a rotation, tight spot. ######. Remove body, rolls fine. Ok, what's it hitting? Place body on chassis, rolls fine. Hmm.
Look at the chassis, hmm, that's not quite straight. Oh, and the other frame is even more banana shaped. Problem found. Screwing the chassis to the body twisted the chassis just enough that it wouldn't run. No problem, should be able to adjust this without too much disassembly.
Everything up to that was best part of a month ago. Exams got in the way but I was able to get back to this last night. "I should be able to just prod the frame spacers with an iron to get them in the right position" was the initial plan. "Well, if I take the brakes off there will be less resistance". "And the wheels and axles." It was at this point that I discovered two more problems. One, the position of the motor was causing the frames to bow outwards, two, a couple of the hornblocks were barely hanging on. The chassis was quickly reduced to its component bits. Oops.
gdrh
-
 5
5

5 Comments
Recommended Comments
Create an account or sign in to comment
You need to be a member in order to leave a comment
Create an account
Sign up for a new account in our community. It's easy!
Register a new accountSign in
Already have an account? Sign in here.
Sign In Now