

We needed a bridge !

Entry posted by Graham Walters
252 views
My foray into scratchbuilding has taken a step toward the ambitious lately.
I had a gap that needed a bridge, I first thought about an off the shelf solution, but what I wanted wasn't available and rather go for second best I decided to get out the styrene and build my own.
I decided that I wanted the bridge to be functional as well, not just a piece of decoration hiding a bit of MDF !, so it had to be capable of carrying some weight.
First I built a framework from "H" and "C" section Plastruct, adding cross members and diagonal trusses to give strength and rigidity, with function taking over in my mind I clad this framework with 20thou Plasticard, and then with a brick bond embossed styrene.
The result of all this solvent and styrene was a rigid and firm white bridge with four arches, an Olfa cutter was used to cut the arches.
I always find painting difficult, and usually regret the first coat ! this time I went for burnt umber, which didn't look very appealing, to soften that I dry brushed it with a Khaki colour, this again wasn't to my satisfaction, so once it had dried I set too with my home made weathering powders, made from artist pastels.
Brushing in in varying amounts, red, green, grey and black, and after spending 5 mins or so chopping some foliage up to make it finer, I ended up with what looked like a reasonable effort.
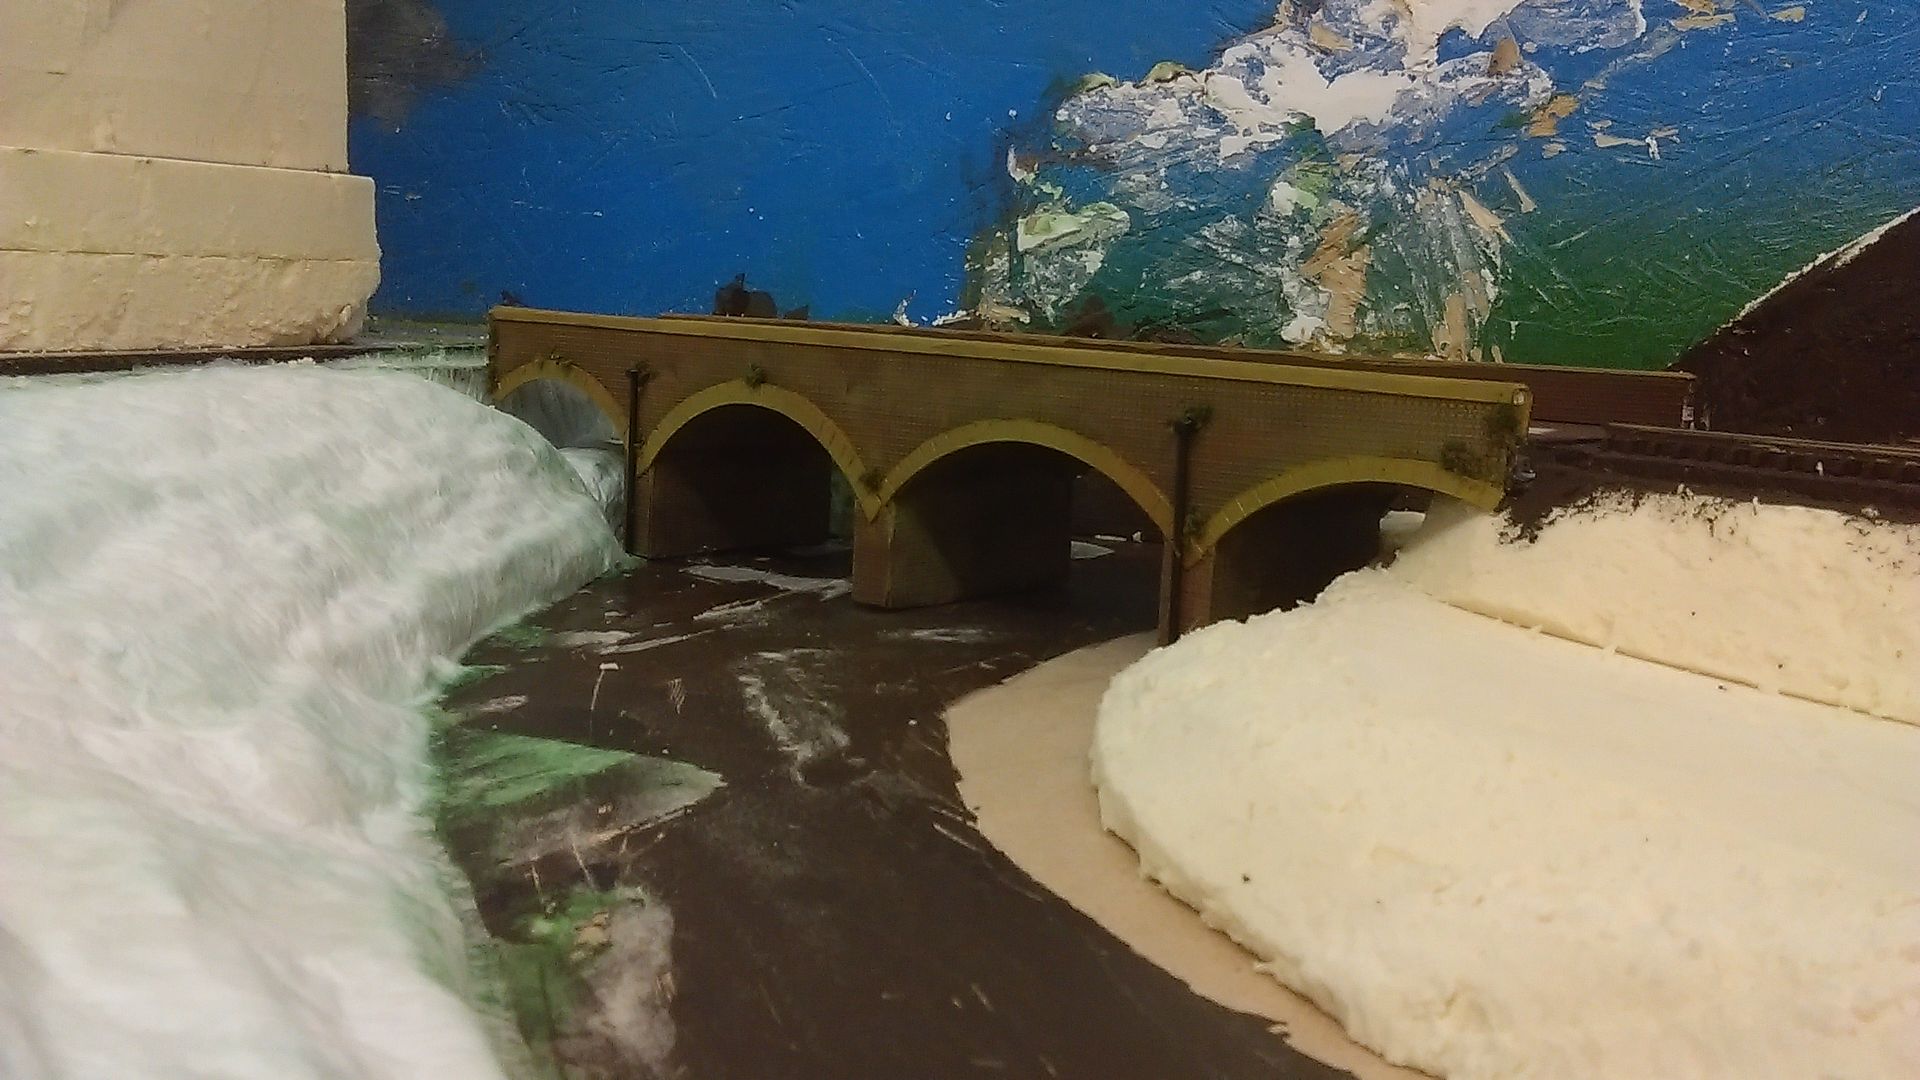
I think once some scenics are added around each end it will look a lot better, the plan is to have a road and a river going through each of the centre arches.
I like to think my scratchbuilding is improving, and as I find the right tools to do the jobs I need done it gets a bit easier, and a bit more realistic each time.
-
 3
3

2 Comments
Recommended Comments
Create an account or sign in to comment
You need to be a member in order to leave a comment
Create an account
Sign up for a new account in our community. It's easy!
Register a new accountSign in
Already have an account? Sign in here.
Sign In Now