

The Last Ashbury Carriage- Part I

Entry posted by James Harrison
919 views
Ending 2017 and beginning 2018 as I mean to go on, clearing some more of my longer-waiting projects, I've started on the last of the four cardboard ex-Metropolitan Ashbury carriage kitsI started last Summer.
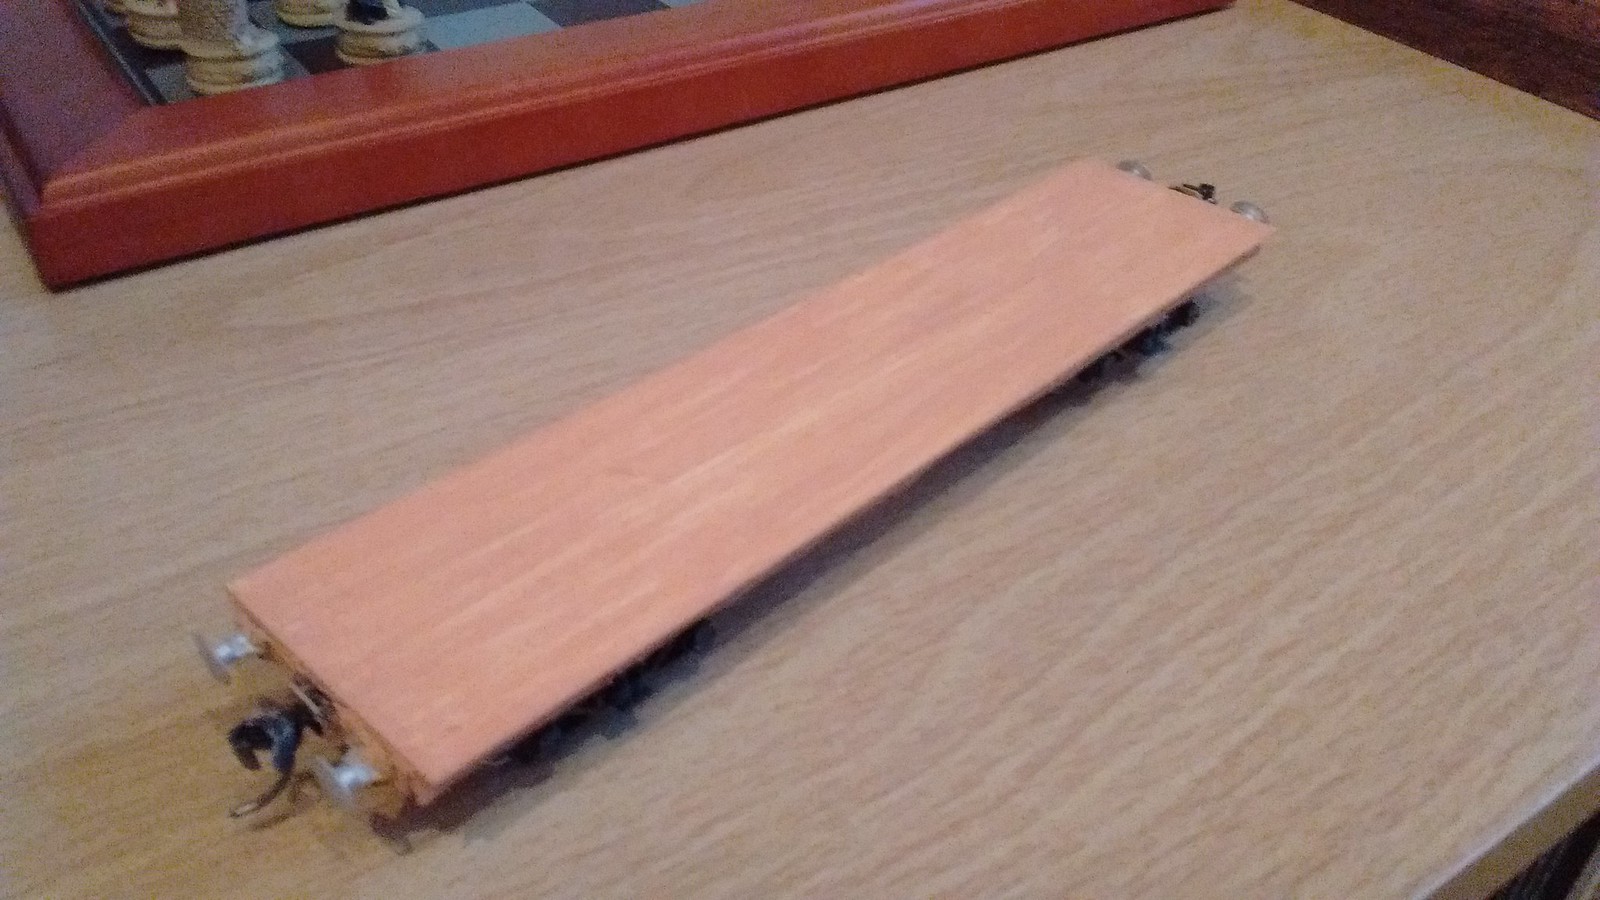
Carriage underframes; having started with the simple open box structure from the kit (a floor and four sides to fold up), I added a sheet of 0.5mm plastic sheet on top to brace the floor and provide the carriage footboards. I've also added the couplings (knuckle couplings from the Kadee range, same as now most of my coaching stock) and the buffers (I think these are from the Dart Castings stable- I could be wrong!- but they are intended for British Railways Mk.1 carriages, but don't look out of place for that).

Now from below; firstly you can see the original cardboard element of the floor and solebars. Left to its own devices that's not really a very strong structure, so you can see I braced it up with some 2mm square plastic strip running the full length of the carriage down both sides. At the ends, where the buffers and couplings are fitted, I put two of these in (making a 4mm by 2mm block) and then cut the middle out of that to allow a gap for the coupling. I also drilled 2.4mm holes through the blocks to provide a form footing for the buffers. The bogies are plastic kits by Parkside Dundas intended for one of their long bogie wagon kits; the reason I have used these particular bogies is that the original carriages had very short wheelbases on the bogies (of the order of 5'), which are pretty much impossible to source either as ready-to-run items or as kits. It is a case of using wagon bogies (which are shorter than carriage bogies), or using carriage bogies with a wheelbase of 8' or so. Which on a carriage of about 40' length looks pretty ridiculous. Finally, in the middle of the carriage, are two iron weights of 10 grams each. These are some of those self-adhesive balancing weights you can buy for balancing car or motorbike wheels.
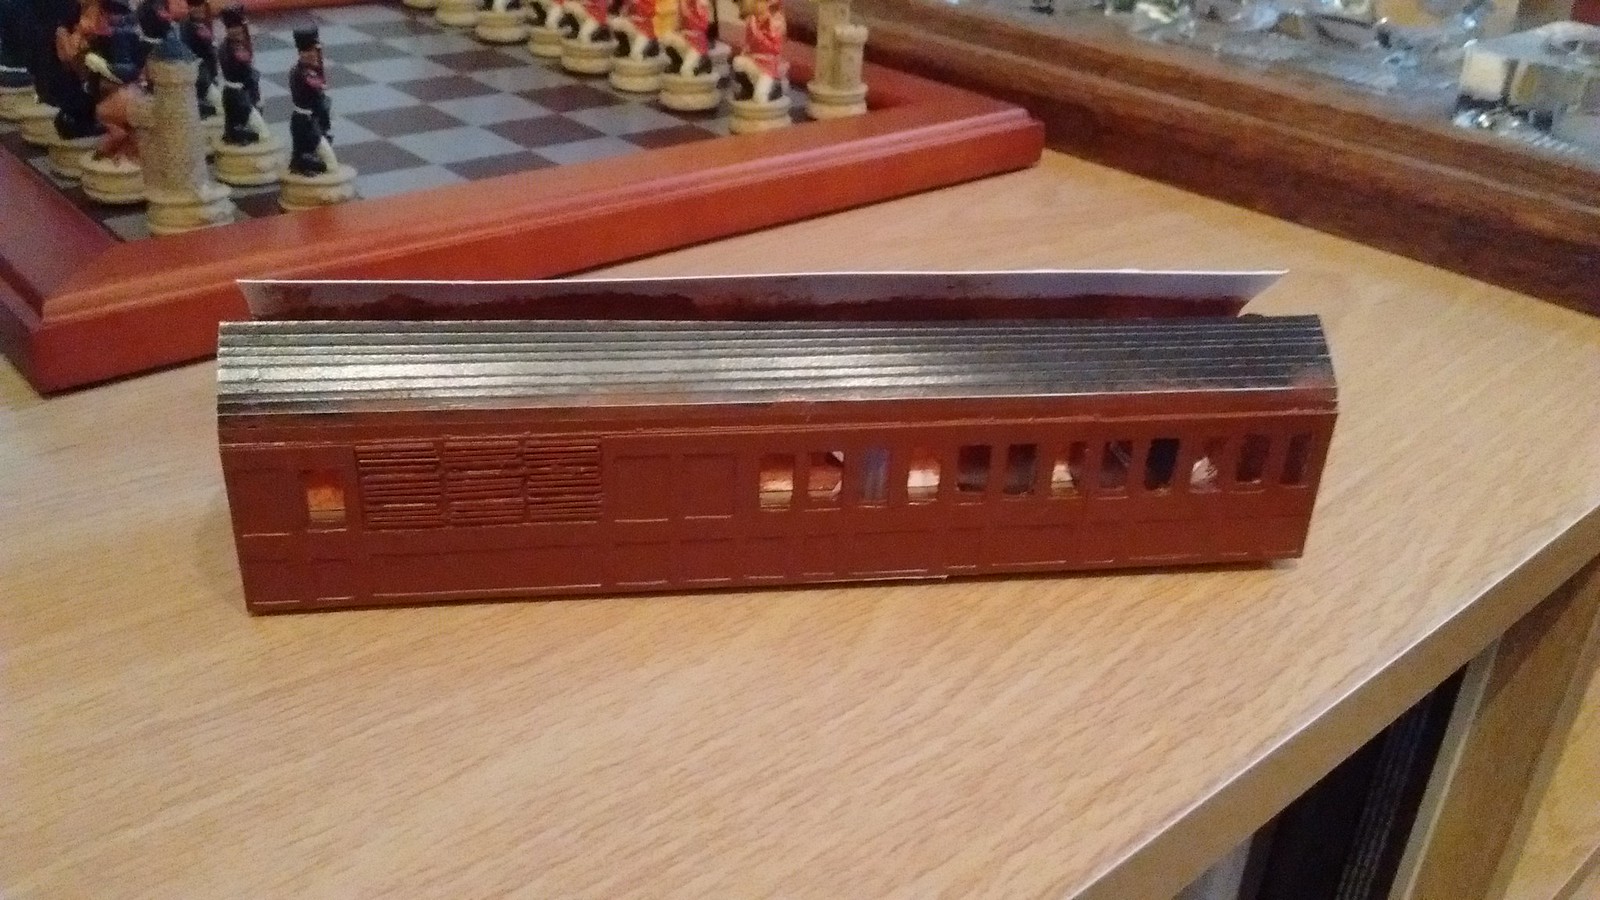
Coming up to the bodywork now, you can see how I've used two kits to create the panelling. I've also used 10mm lengths of 0.5mm square plastic strip to create the louvred vents. The sides and the roof are drawn as one piece and to create a nice even curve I scored the roof at approximately 2mm centresto induce a curve. I also know from previous experience that the roof is a little too wide, so I cut a 2mm strip out of it down the centre of the carriage.
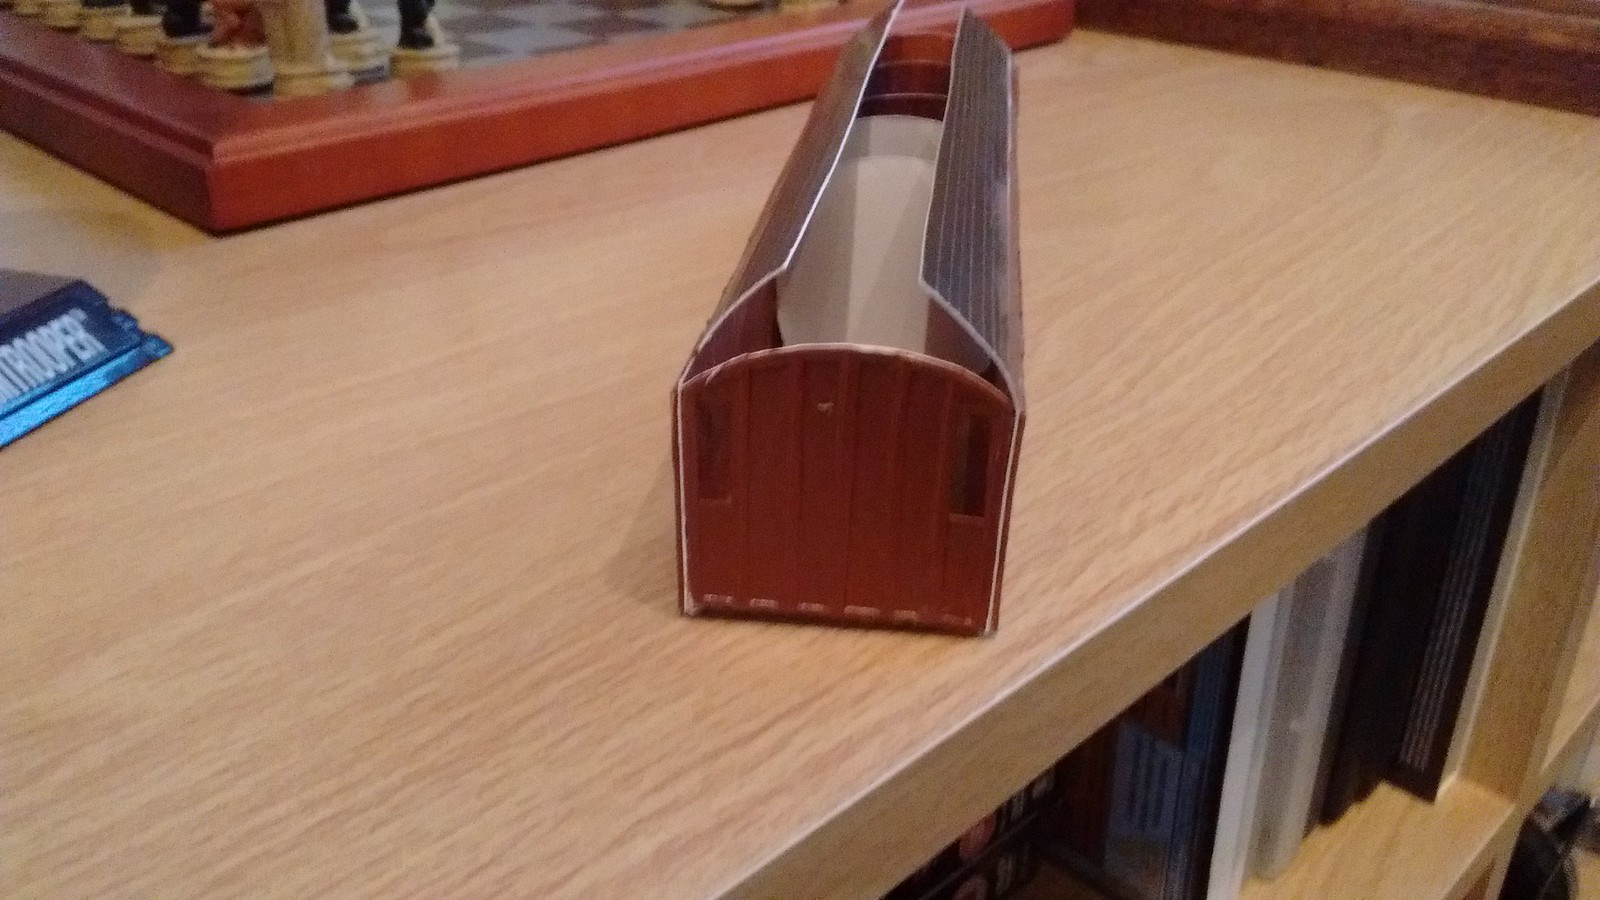
The carriage ends are separate components and fit inside the carriage sides.
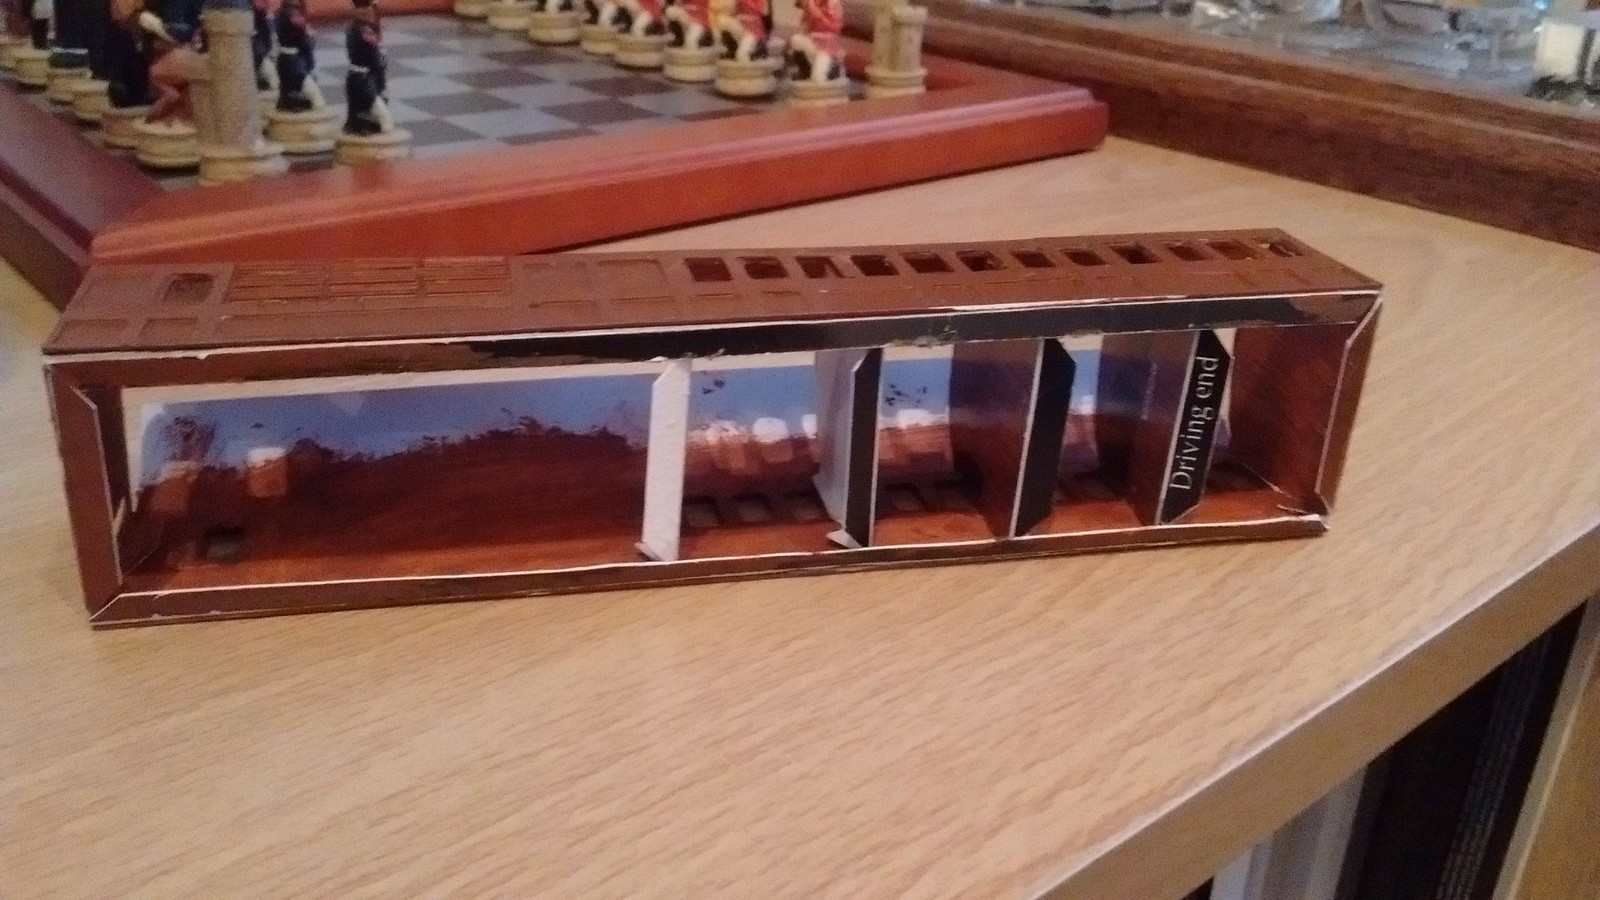
For the interior of the carriage, I am using spare ends from the main kit and otherwise useless parts from the second kit (bought for the panelling) to create the bulkheads between the compartments. These will be then be painted, and some seats built out of plastic sheet.
-
 5
5

2 Comments
Recommended Comments
Create an account or sign in to comment
You need to be a member in order to leave a comment
Create an account
Sign up for a new account in our community. It's easy!
Register a new accountSign in
Already have an account? Sign in here.
Sign In Now