Jump to content
 
  • entries
    129
  • comments
    741
  • views
    181,779

Ropley - It must be Spring


TomE

1,524 views

12042012-1a.jpg

Remember this part completed tree seen a few entries ago?....


Hi all


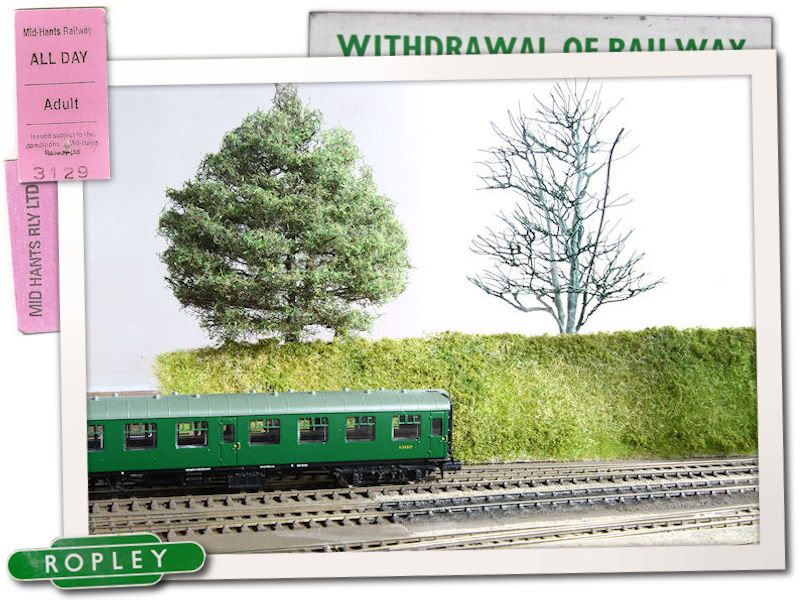
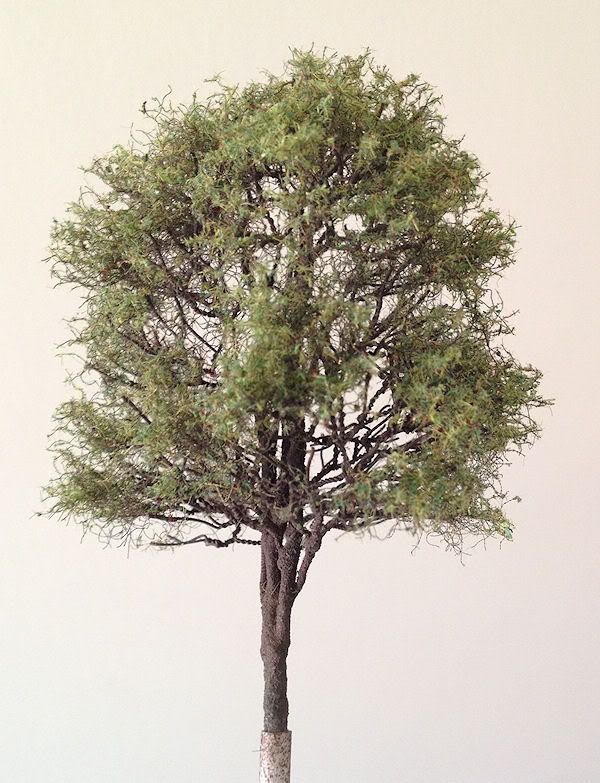
I've spent the afternoon finishing one of the many trees that will be required for the top of the embankment. The tree in question was seen partially completed a few entries back, and was been produced using the the twisted wire method, with some polyfibre teddy stuffing I found on the net for the finer branches.


I'm quite pleased with how this one has turned out, and I have to admit that for a short while I was tempted to leave it without any leaves and change the season the layout is set in!


IMG_1223b.jpg

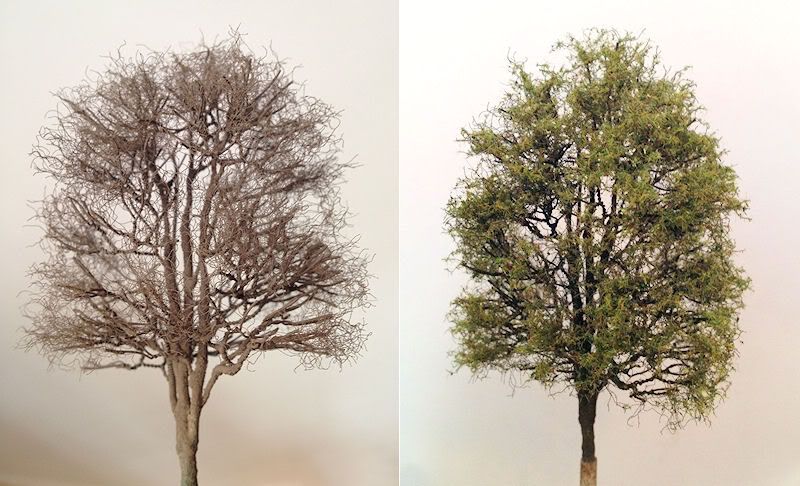
....Now its rather less bare!


IMG_1219b.jpg

Only a few dozen more to go!


The flock is the same Anita Decor stuff used on the other tree finished to date, but this time mixed with some Woodland Scenics fine turf to give a slight difference in colour, but not so much it will look out of place. This tree is about 4 1/2 inches tall, so you are seeing it much larger than in real life!


I do think this method produces some fine looking trees, even though it is quite time intensive twisting all that wire.


Cheers all,


Tom.

  • Like 14

14 Comments


Recommended Comments

  • RMweb Gold

Very nice Tom.What did you use for the realistic bark texture ?

  • Like 1
Link to comment
  • RMweb Gold

Thanks Rob.


The texture is baking soda. Once the wire twisting is finished, superglue is applied to the main trunk/s and then baking soda is applied on top of that whilst still wet. It sets instantly and creates a rock soild trunk.


Tom.

  • Like 1
Link to comment

Wow, I think I might give this technique a try at some point. Where did you get the wire from? And roughly how long did it take you to do this tree?

  • Like 1
Link to comment
  • RMweb Gold

Looking nice Tom - Impressed that you are happy to twist wire and spend this much time perfecting it...I have resorted to buying mine as I need between 50 - 100 and life's too short... :O


Nice photo again...lose that rapido and the blurring of scale is evident again.


Keep it up - inspiring stuff.

  • Like 1
Link to comment
  • RMweb Gold

Hi Steven.


I got the wire from ebay, but only because I couldn't find a suitably thin florists wire locally. I used 24swg for the main trunks, and 28swg (.38mm) for the wire which forms the branches.


I would have a read through this thread for some more inspiration. This guy has the method nailed, and some of the trees he produces are incredible!


http://www.modelrail...read.php?t=5015


This particular tree probably only took a few hours, but it was spread out over a few weeks.


Cheers,


Tom.

  • Like 1
Link to comment
  • RMweb Gold

Looking nice Tom - Impressed that you are happy to twist wire and spend this much time perfecting it...I have resorted to buying mine as I need between 50 - 100 and life's too short.


Thanks Pete! Luckily I only need around 20 or so trees for the section I'm modelling. About 3 less than planned since they cut down some to make way for the new footbridge! If it were much more than that I probably would have looked for a commercial soloution also!


Tom.

  • Like 1
Link to comment

Great work Tom. I've been reading back through your blog for inspiration, I've just ordered some of that Treemedus earth and I've dug out my powders ready. Thinks for the tip off, it really does look great.

  • Like 1
Link to comment
  • RMweb Gold

Thanks Bryn!


Good look with the Treemendus Powder. How were you planning to fix it in place? I've only ever used Johnson's Kleer dripped on to it with the end of a paint brush, which it seems to take really well with no disturbance, but i'f you are spraying it you might need to be careful it doesn't blow it all out of position, its quite fine stuff!


Tom.

Link to comment

I've still got a bottle of Kleer somewhere, so I think I'll stay with your tried and tested method. What's it like around point mechanisms?

Link to comment
  • RMweb Gold

I've found that if you apply the Kleer close to the point, capillary action will draw it through the ballast without you actually having to apply any around point blades or other sensitive areas. If it doesn't quite make it, just add another drop and it will eventually! If you do get any where you don't want it, then a piece of kitchen roll comes in handy for soaking any excess up!


Tom.

  • Like 1
Link to comment

Hi Tom

I like the tree - nice open look to it.

Can I ask what method and type of glue you used to attach the flock to the polyfibre.

Thanks

John

  • Like 1
Link to comment
  • RMweb Gold

Thanks John!


For the polyfibre I use superglue. A dab on a few branches at a time then a small clump of fibres is pushed on. Once dry, the bulk of the fibres are pulled away leaving just those which took to the glue. The fibres can be on the curly side, but if you stretch them out a little, they become straighter. The flock is attached using spray mount applied to the outside edges only, so you don't end up flocking the entire trunk at the same time!


Tom.

  • Like 1
Link to comment
  • RMweb Gold

Some fine work there Tom. Particularly as it's in 2mm.

  • Like 1
Link to comment

Create an account or sign in to comment

You need to be a member in order to leave a comment

Create an account

Sign up for a new account in our community. It's easy!

Register a new account

Sign in

Already have an account? Sign in here.

Sign In Now
×
×
  • Create New...