

Moving to P4 (Post 16 (Cambrian wagon complete))

Entry posted by Knuckles
1,036 views
Ok progress report.
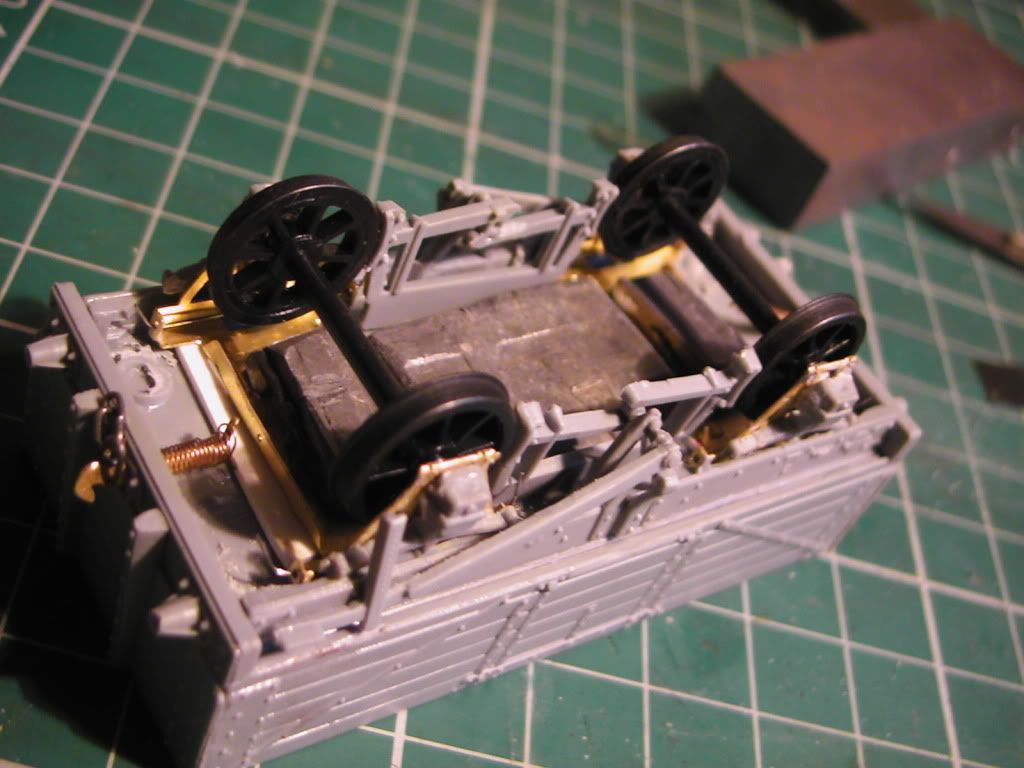
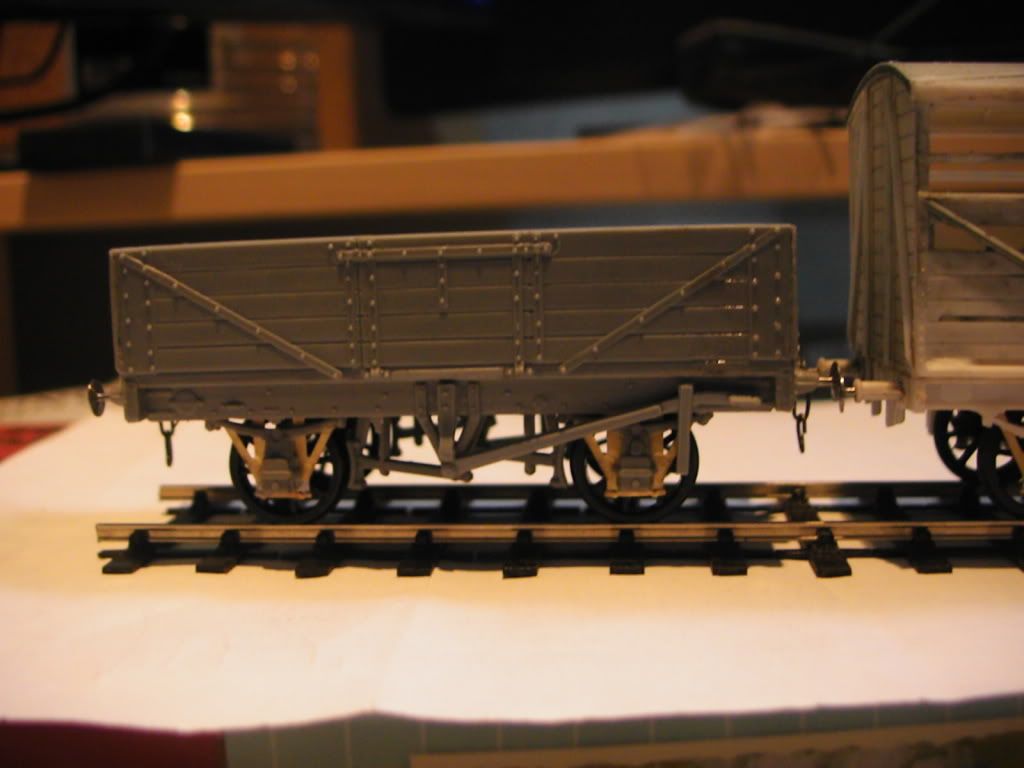
I've done abit of putting together. I didn't realise that I'd have to remove 80 or 90% of what I added with the inside lamination thingies / solebars? Sides of the truck frame - that'll do! Bill's sprung W irons were in the way. Rather than being carefull I bastardised them with a mini drill. Was fun but in hindsight I think I would have had a better more neat job if I only added the middle section that's left. Good thing is I know for the future now when making these Cambrian wagons.
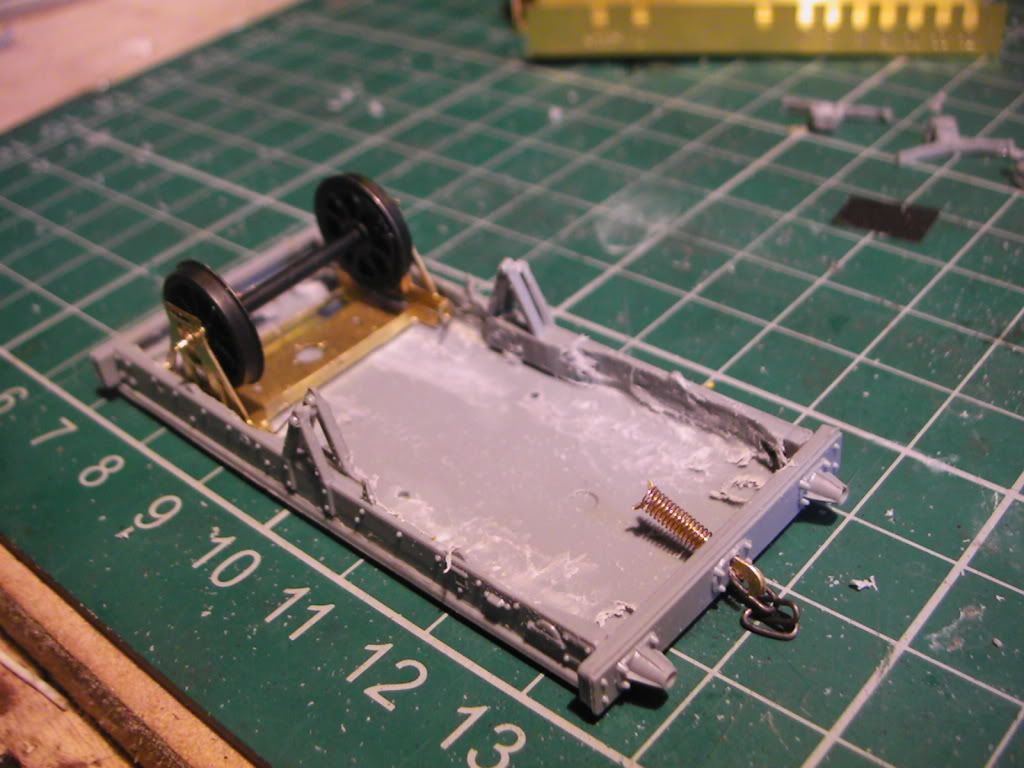
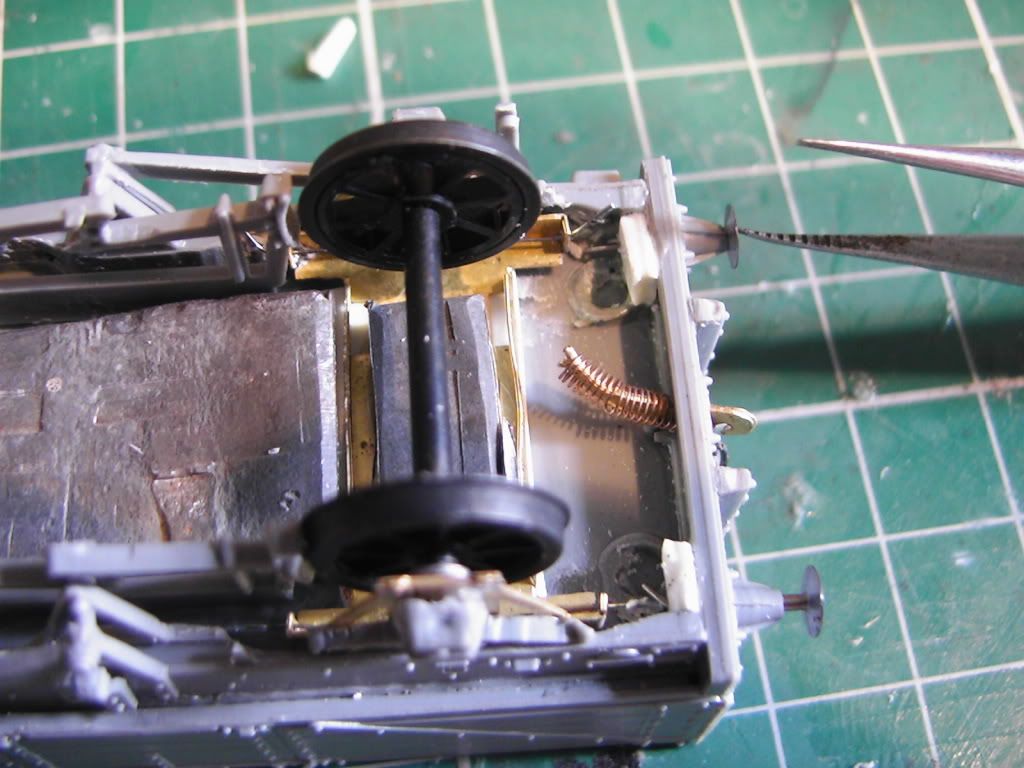
Yes, as usual I broke the axlebox and springs off again. In hindsight I think going the white metal route might be a viable option simply for durability. Insides were destroyed with a dental buur for sprung axle's working clearence.
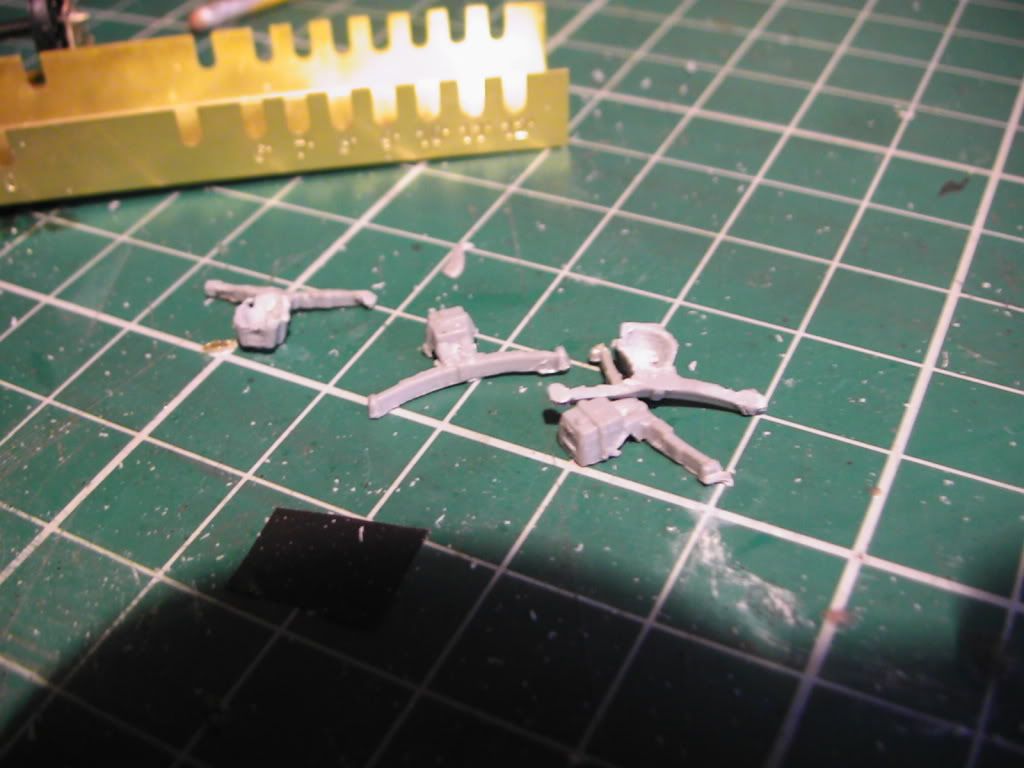
Plonked just to look at.
I thought seeing as I'd almost buggered them I would try one of the other methods recognised in the S4 digest sheets. Glue them direectly to the W-Irons, this time in one piece.
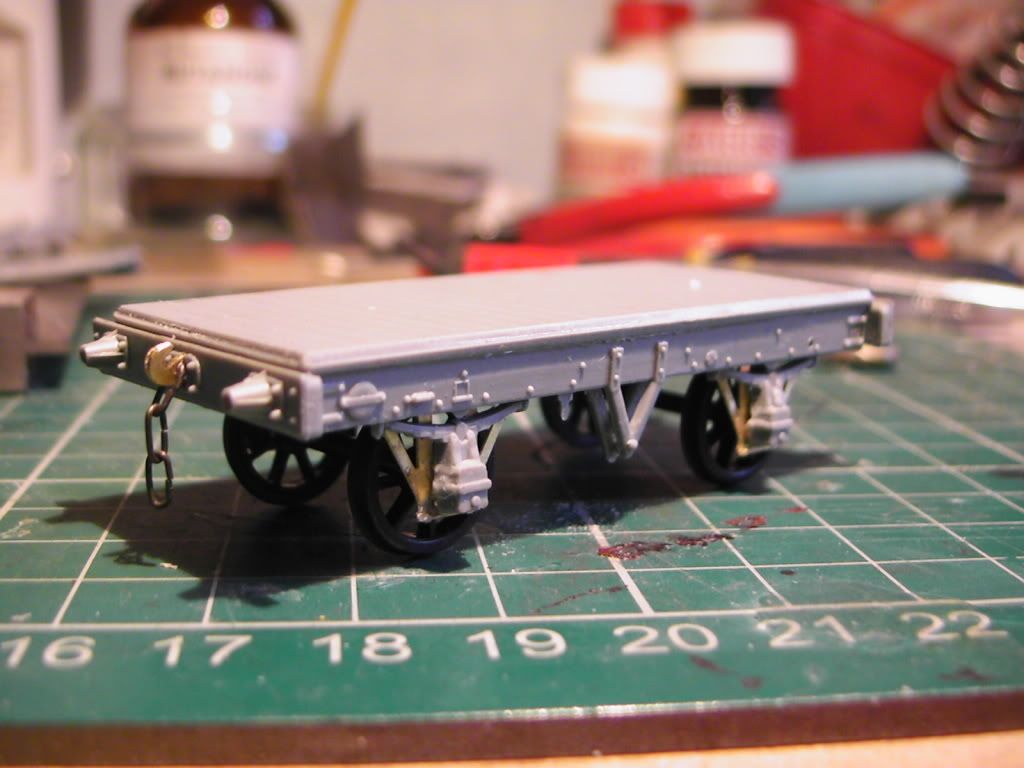
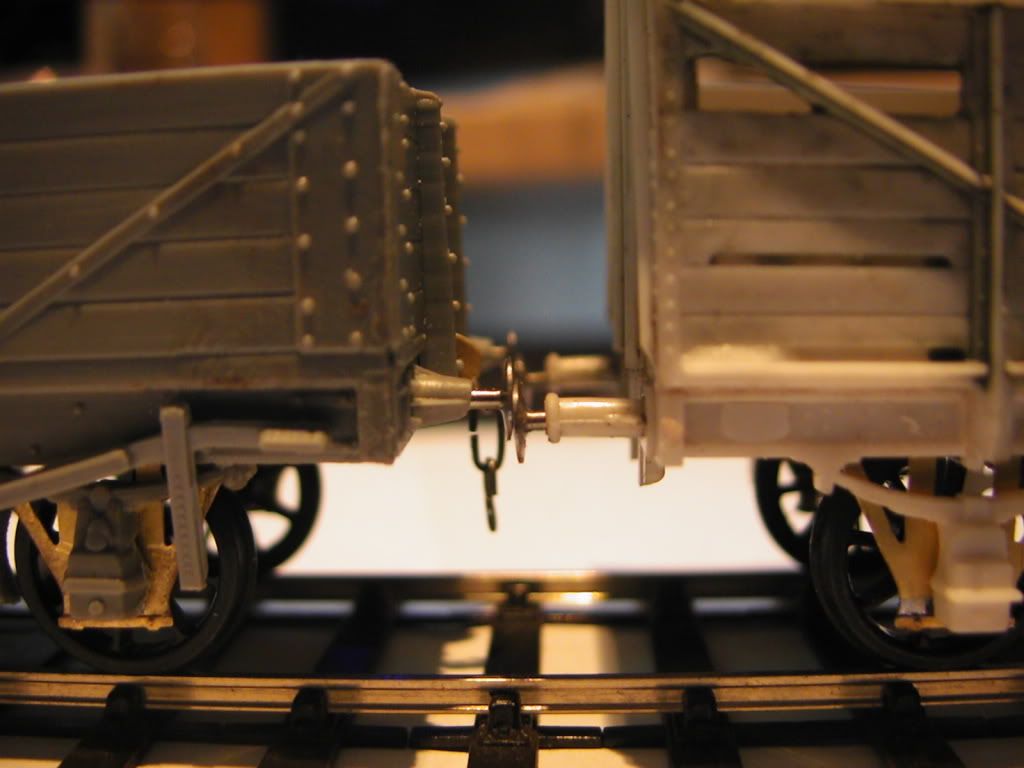
Ride height was too low so I use some scrap plastic card, I think it was 1mm but unsure. I think here I should have used that buffer gauge but unsure. See last 2 pics.

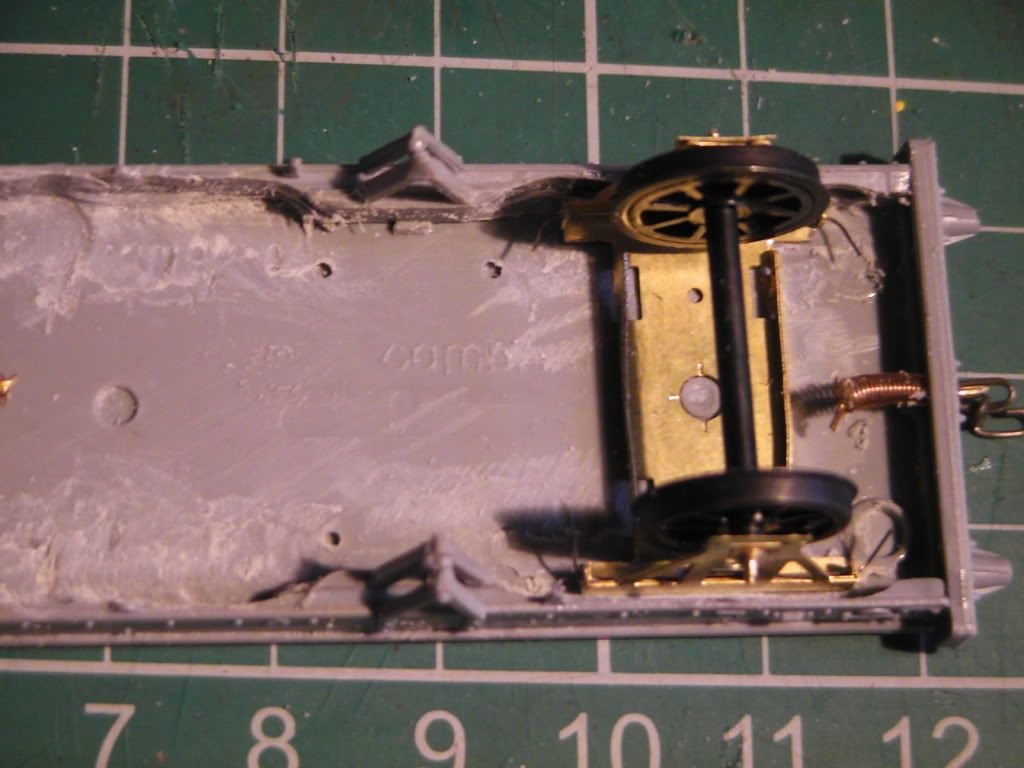
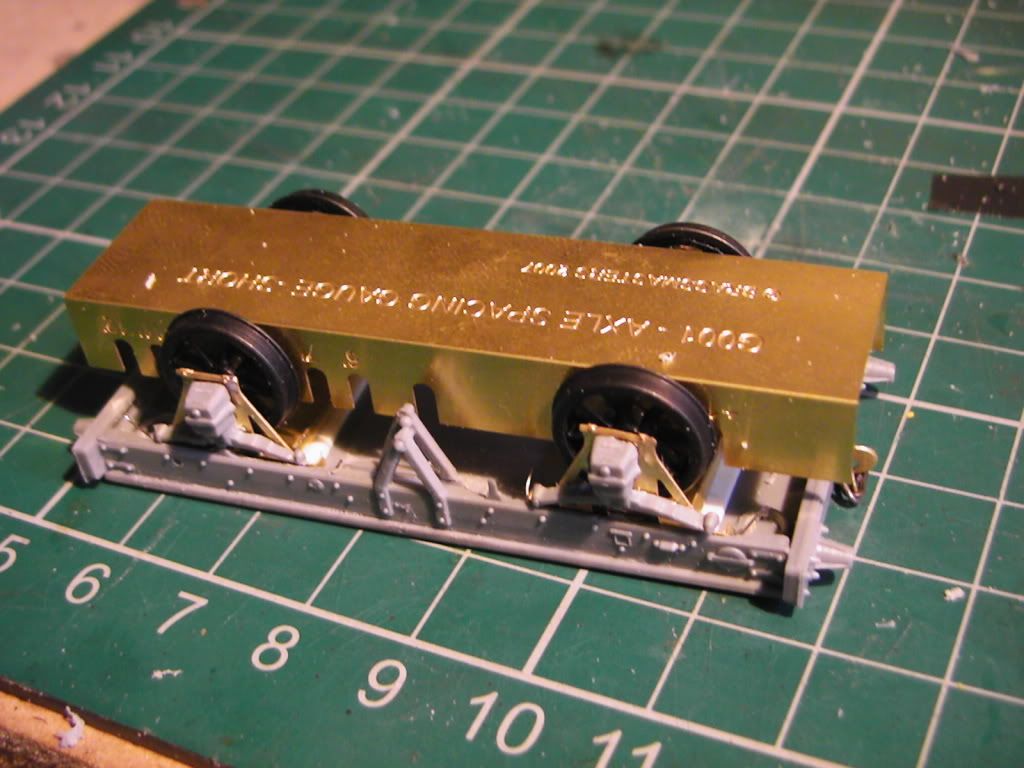
The Brassmasters axle spacing gauge that was reccomended is a real boon. However it doesn't seem to position things perfectly and there is still a degree of wiggle testing. Any advice here? I glued the units on this time and tweaked it as it was drying. can't have a 3 foot bolt through the floor this time.
Not far off completion now.
Lead weight added again. The truck now weighs 32grams.
1) Is this acceptable?
2) More importantly, is this acceptable and compatible with the other wagon that weighs 45 grams?
3) Looking at my cattle wagon in previus posts I need to add couplings. I didn't think and added wight where the coupling hook needs to slide through. Is it acceptable to NOT have them sprung and / or should I remove the lead to provide a slot. removing some lead will bring the weight down to I guess 40 grams or less. I need much advice here. I plan to have working 3 links and Dinghams so weighting them and knowing if I need sprung couplings and all that jazz is important.
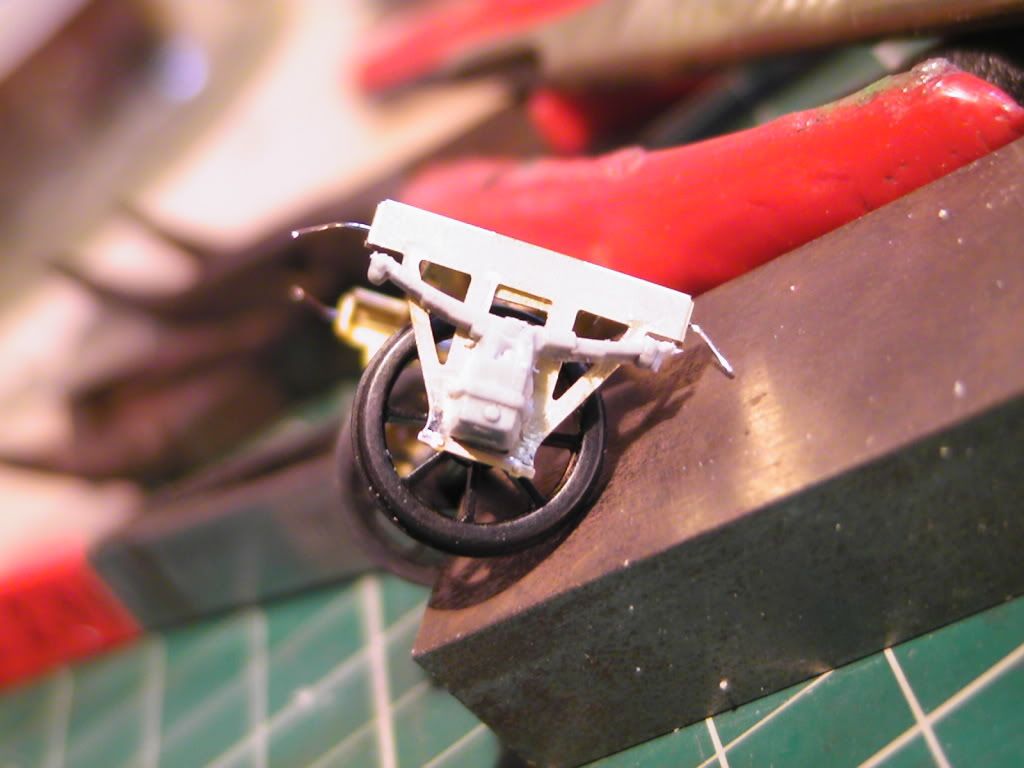
More springy buffers added. I'm loving these. I drill a 0.5mm hole 1st for the thin part of the buffer, and a 1mm hole for the neck and spring to butt against.
With this model the buffer beams were half hollow and way too thin so I provided more body by adding plastic cube scraps from 1.5mm plastic card. Did the trick. Ends slightly bend to retain them.
Buffer height slightly different. Probably a scale 3-5 inches. I know the real railways didn't ALWAYS have matching buffer heights becasue I've seen them in photographs and been to steam railways etc. Any advice here? I'm not to bothered becasue it look sfine at most viewing distances, further more it might be prototypically correct for all I know. 3rd reason is it's still early days for me. Any ideas? 
Finished minus paint, cattle wagon just needs couplings and a bar joining the W-irons so I guess you coule consider that complete.
Has took about a day and a half for this latest wagon. I've enjoyed doing it on the whole.
Yay.
3 Comments
Recommended Comments
Create an account or sign in to comment
You need to be a member in order to leave a comment
Create an account
Sign up for a new account in our community. It's easy!
Register a new accountSign in
Already have an account? Sign in here.
Sign In Now