

Moving to P4 (Post 17 (2nd Cambrian Wagon Complete))

Entry posted by Knuckles
1,010 views
The cattle wagon is Dapol and the other Cambrian, I haven't made a Cooper Craft kit yet, any good?
New update and a new wagon. Construction was almost the same as before. I learnt a lesson from the previous truck that has led to easier and more accurate placement of the W iron etches. On the last truck they might be too far to one side by half a mm or so, it runs great with the shunting finger and gravity roll but in a train with energies bing pulled forward it might be a problem - will see when it comes to it, if there is a problem then I will have to scrape the etches off, clean the serfaces and have another go.
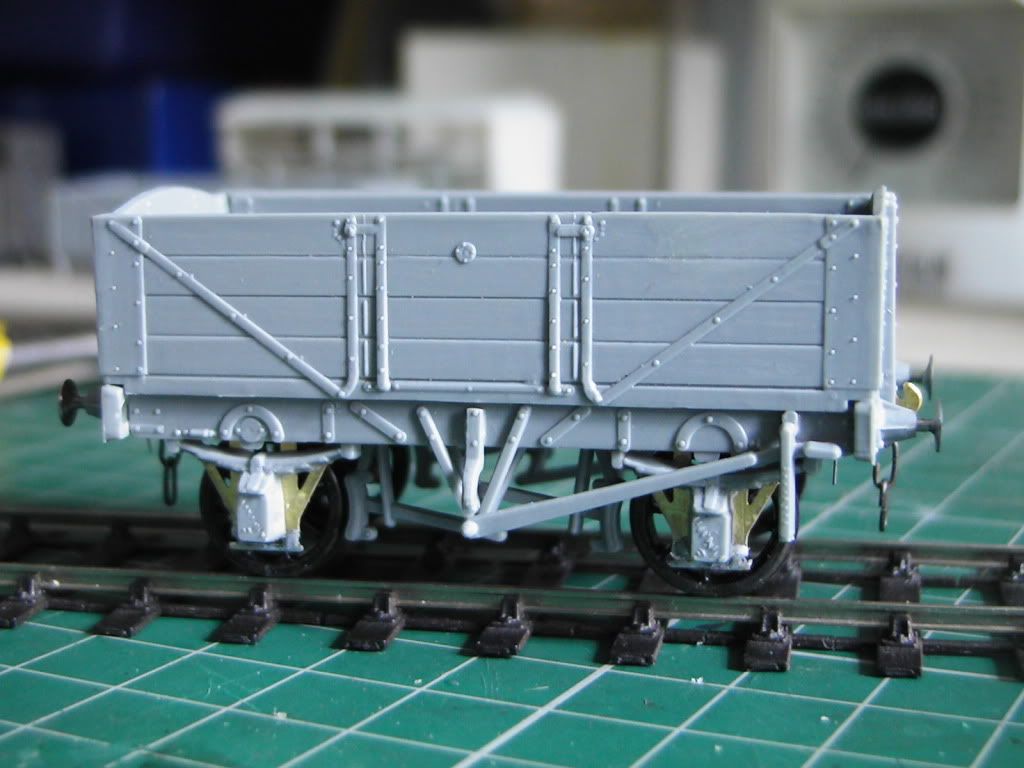
This is the new truck.
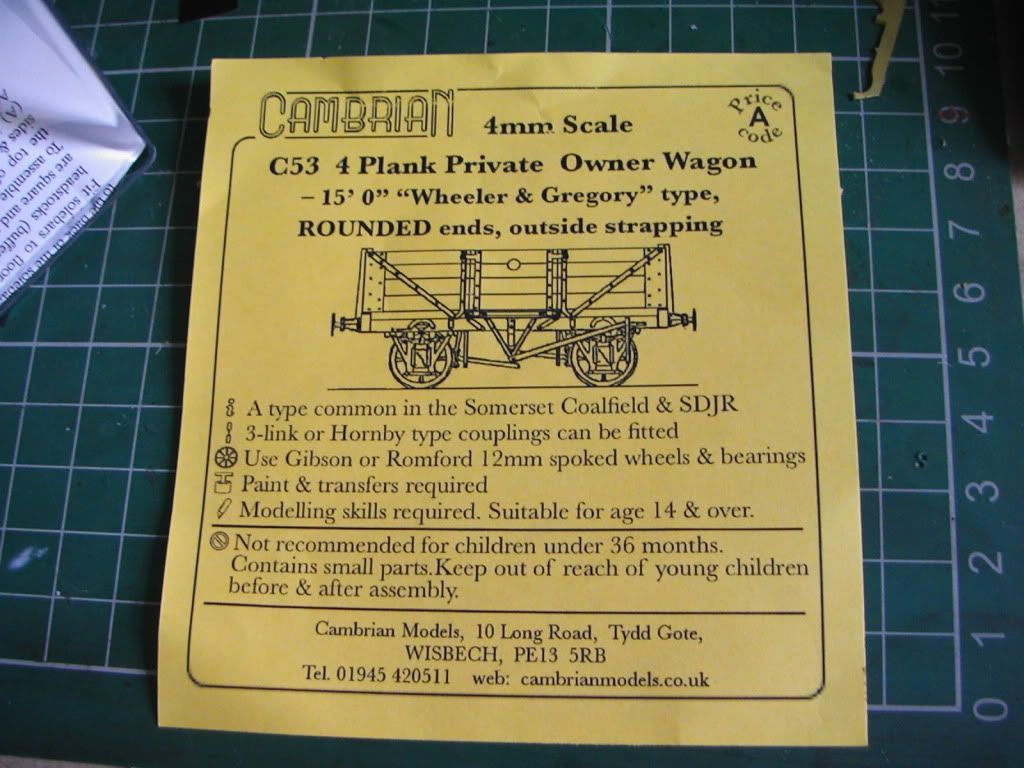
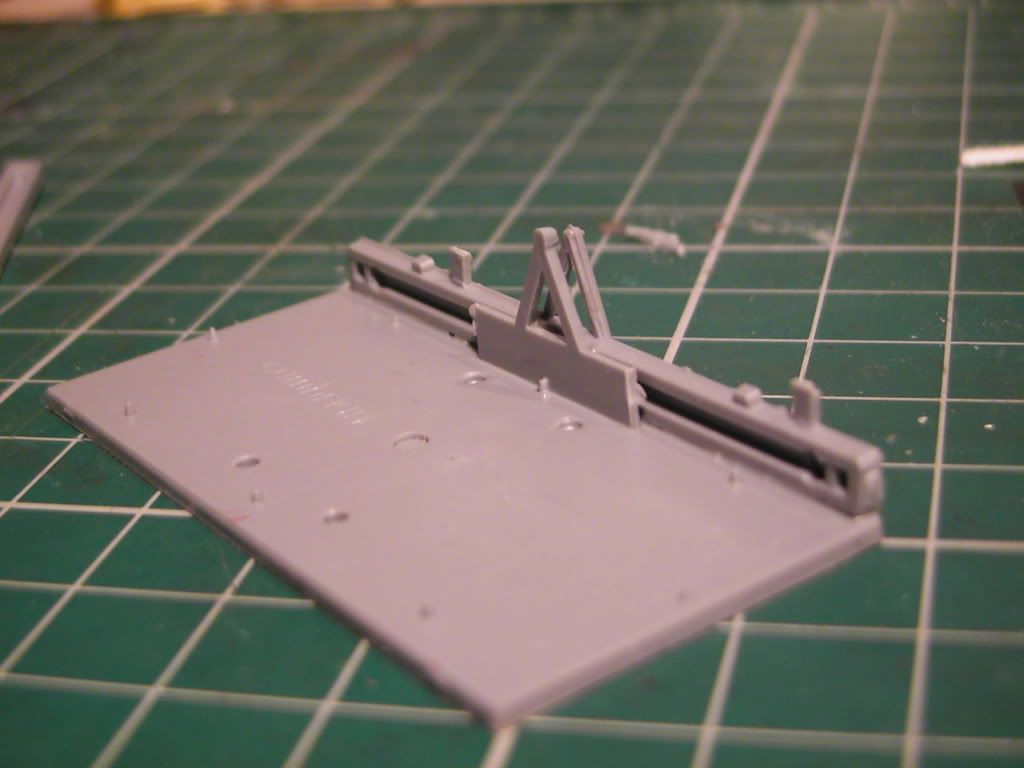
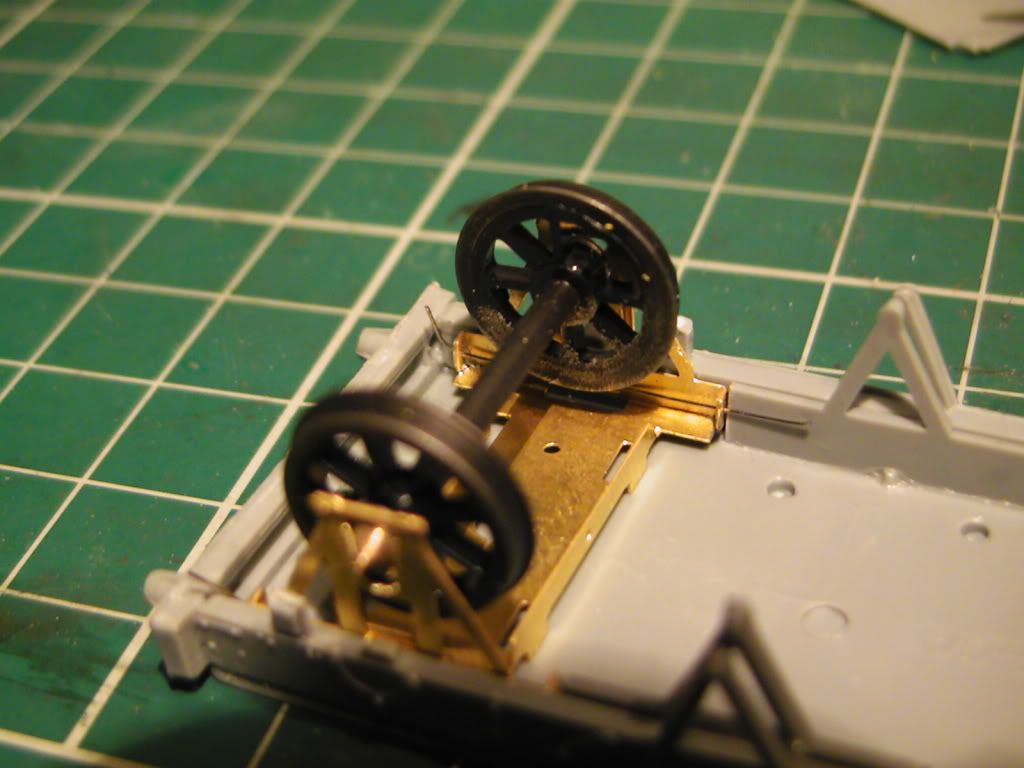
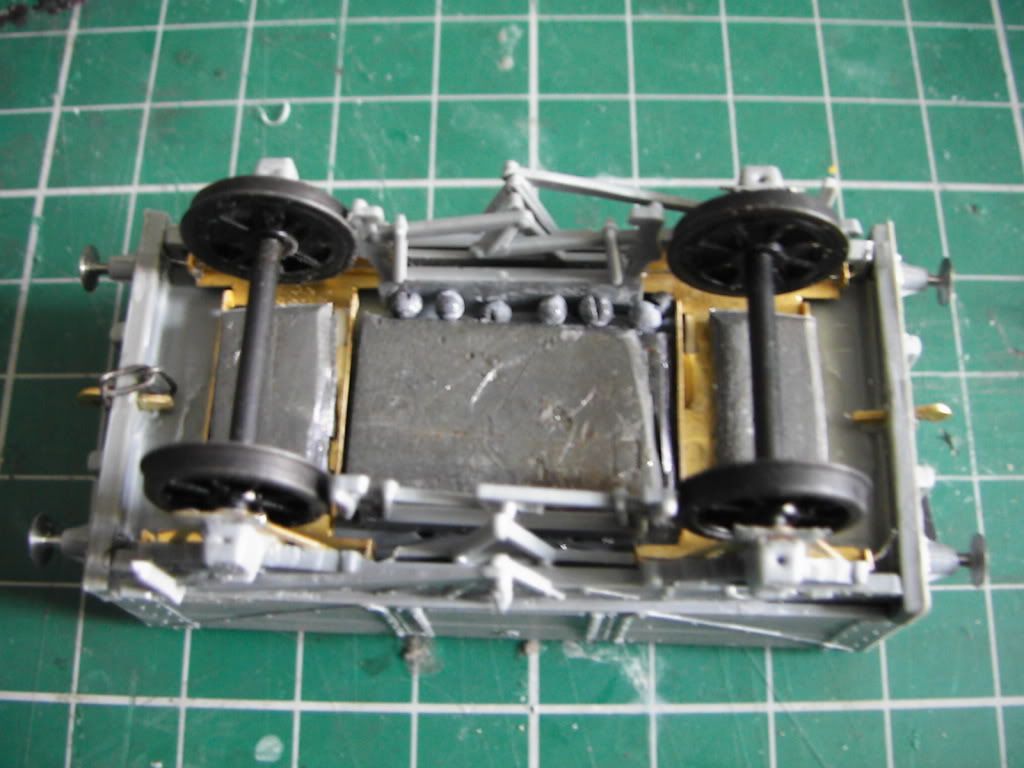
This time I didn't bother doubling up the solebar thickness (is it a solebar?) I just cut the W iron and axle boxes off and left that 'V hanger thingummy' for the brakes. Thus.
After fitting both sides by some happy reason I cannot name the etches got themselves comfortable.
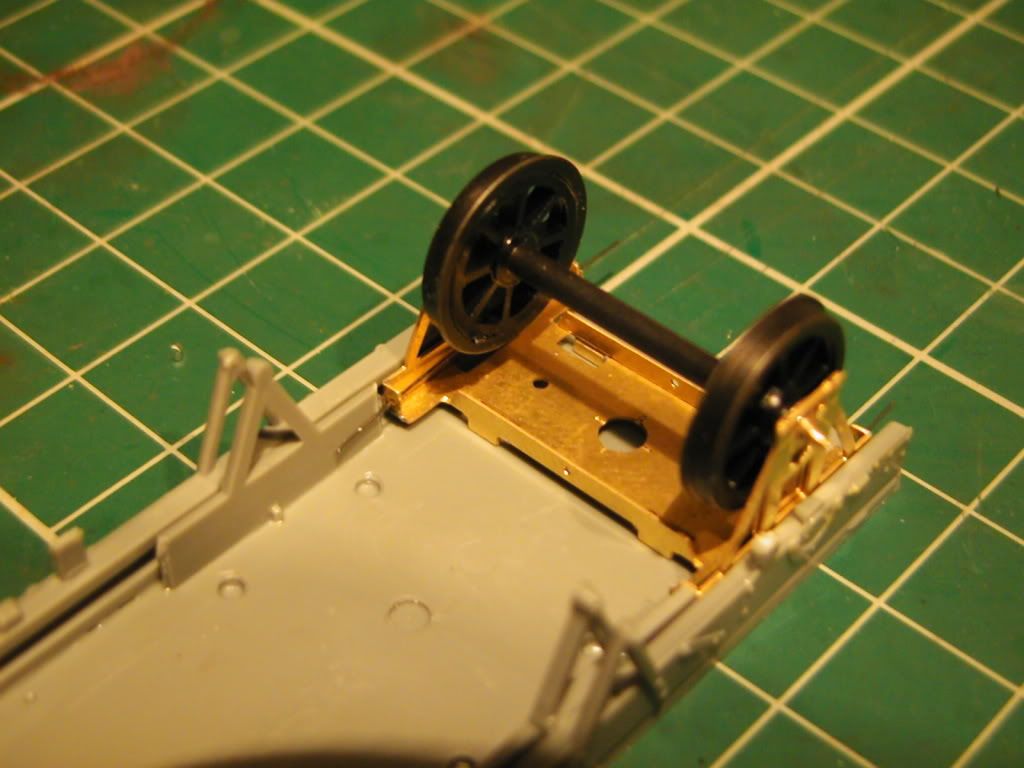
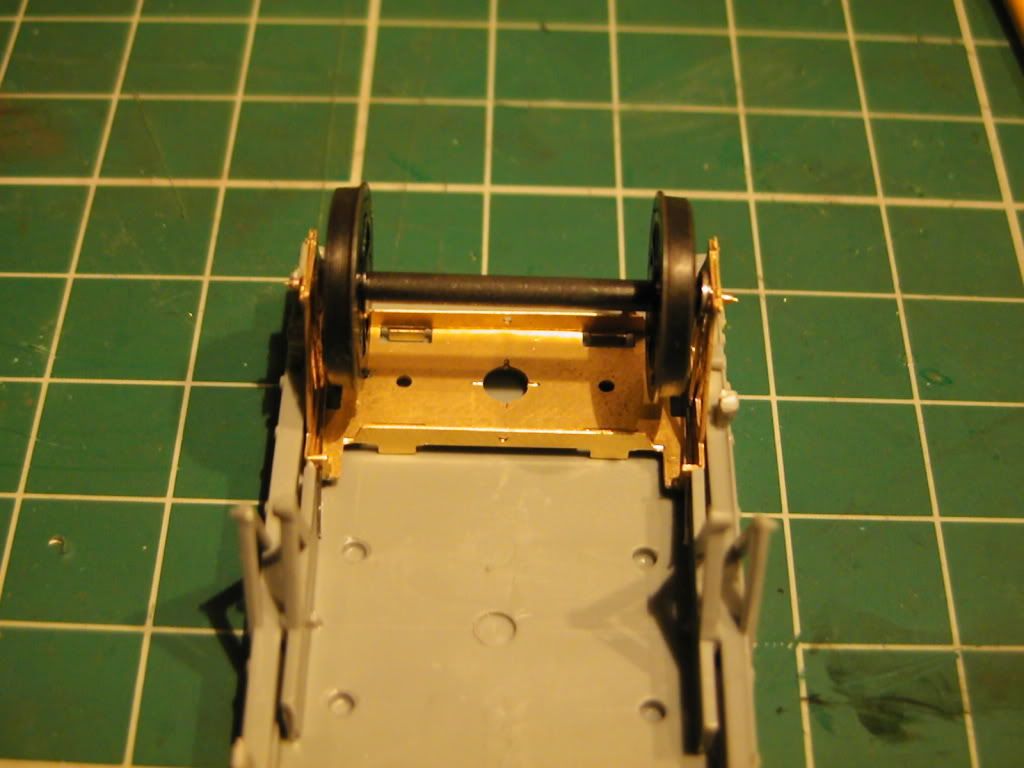
Being a shorter wheelbase than the last one, I encountered a problem. The springs were in the way of the buffer beam.

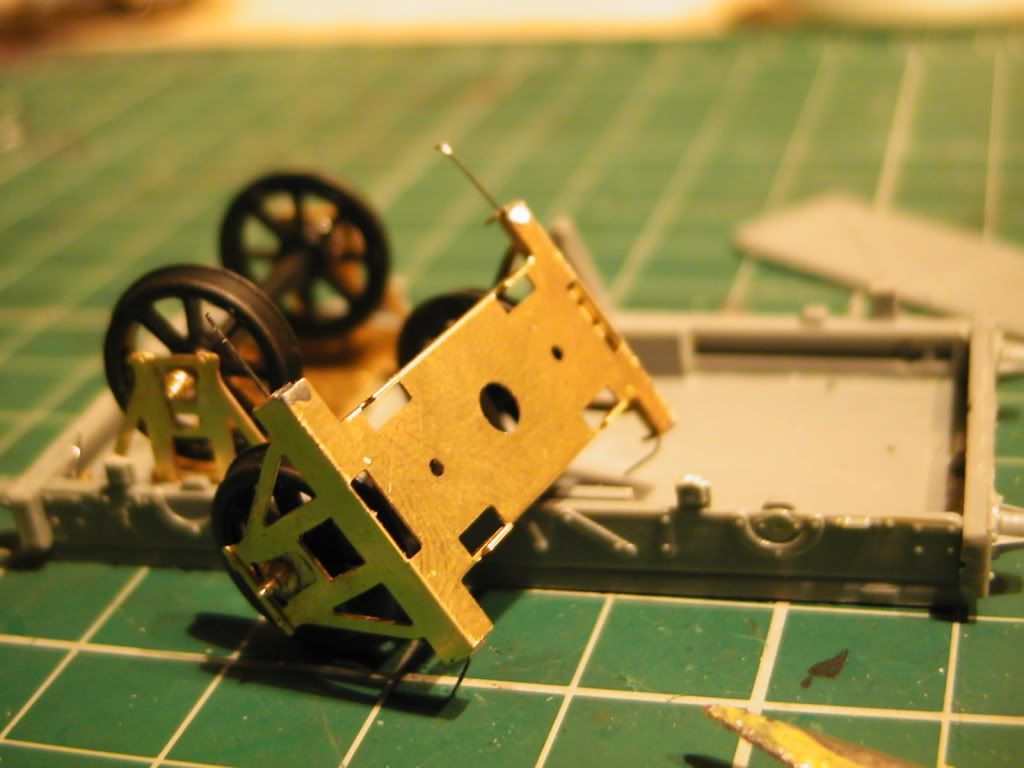
This was easily remidied by bending one side of the springs only. On the last truck I bent both sides to retain them as they kept escaping, but doing one side here workes great.
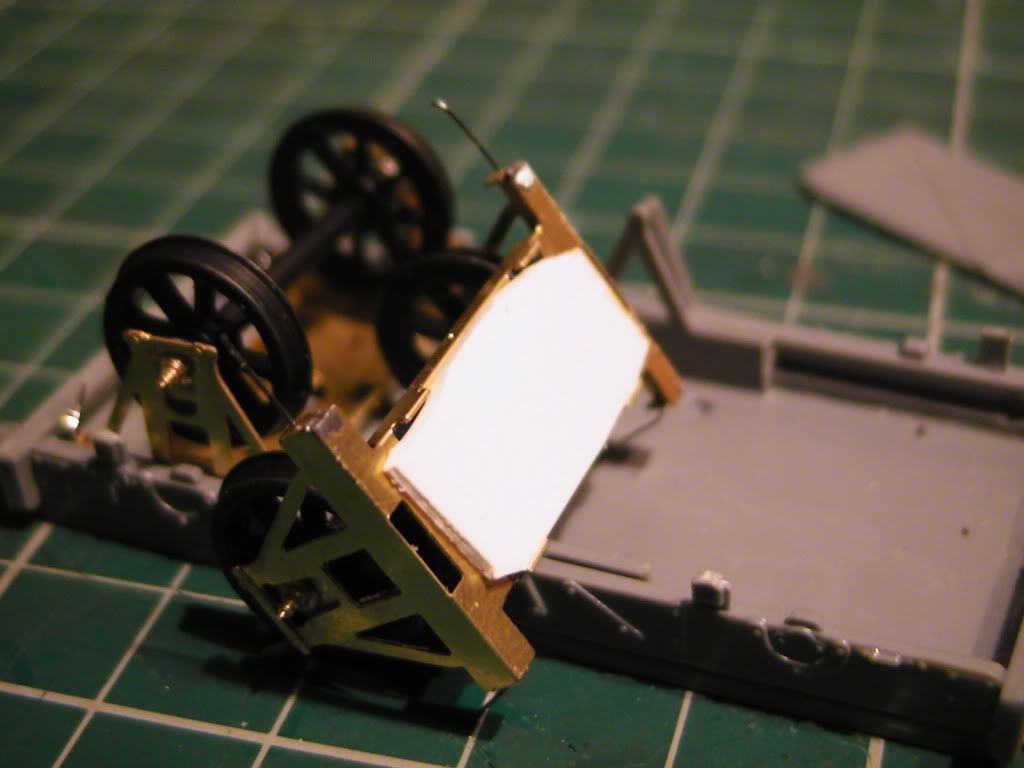
Rather than filing off the tabs and then gluing plastic card for the running height on the wagon floor. I this time retained the tabs and just glued a peice of plastic card inside becasue the tabs were about the same height. Plastic was the same thickness as the last truck, so I think 1mm.
Almost finished with no weight, sadly this time I haven't managed to fit sprung buffers due to there now being almost no room, I even cut the springs in half but still no room, so I have had to just glue them solid.  For those that are in the know (not me!) will it make a difference operationally? Same for the Slaters couplings, I haven't sprung them this time but super glued them. I'm only used to fat tension locks being the buffer so I don't know, I'd like to have everything sprung if possible. More fun that way too.
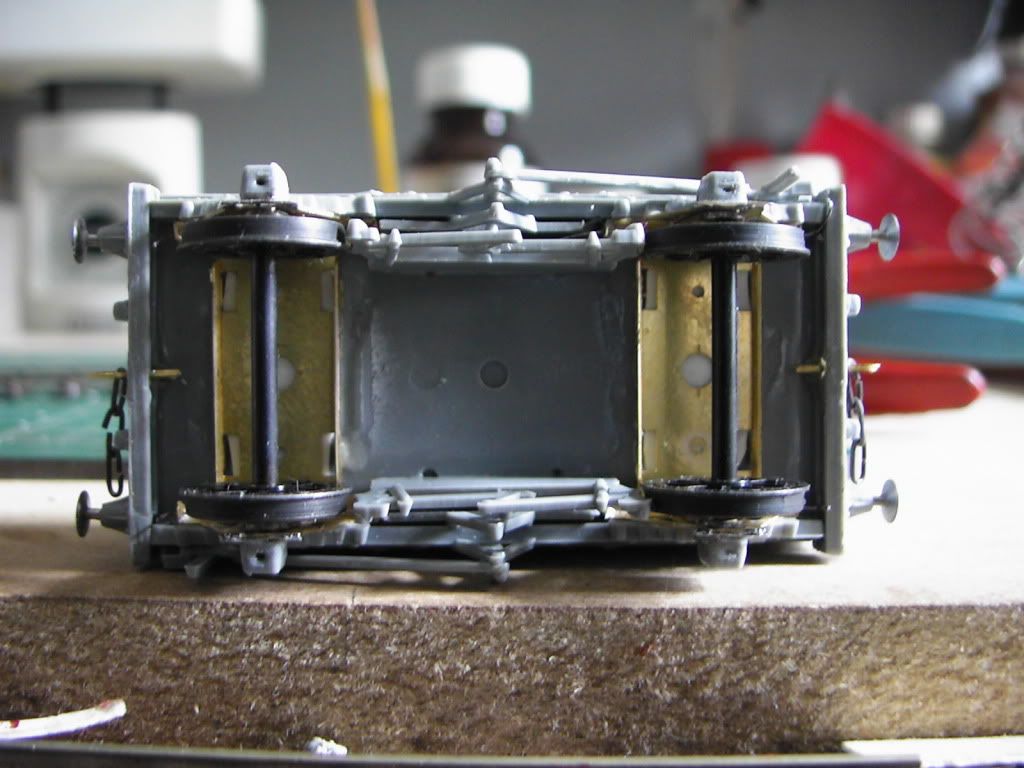
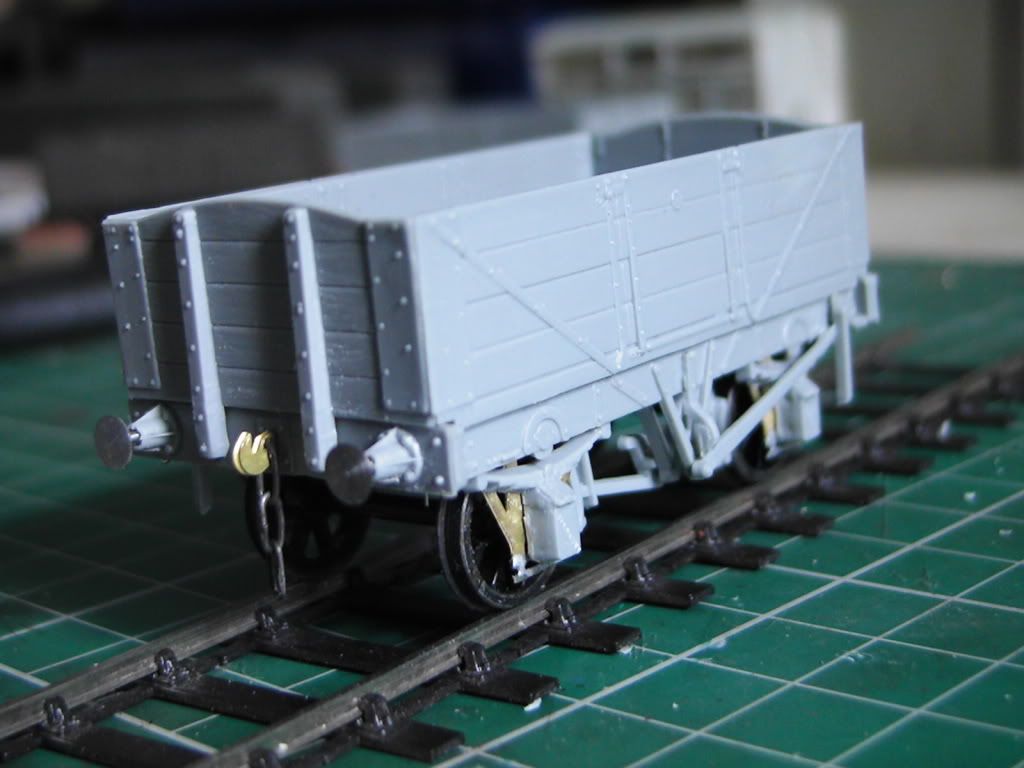
Lead added, weighs about the same as the other, roughly 32 grams. Going to try to make 30-40 grams a standard becasue that seems managable. Will that difference between weights make a difference? I'd like to do the S4 Digest's reccomendation of 50Grams per wagon but unless they have loads this I don't think is realistic unless it's a white metal kit. Suggestions?
Finished! The bottom of the W iron I haven't folded up because the axle box looked too low. I don't think this is an RCH wagon so that may be the reason. It'll do. The curved ends ads loads of character I think.
Been having a play with my cobbled up shunters pole and that turnout (that still needs some form of blade joining)
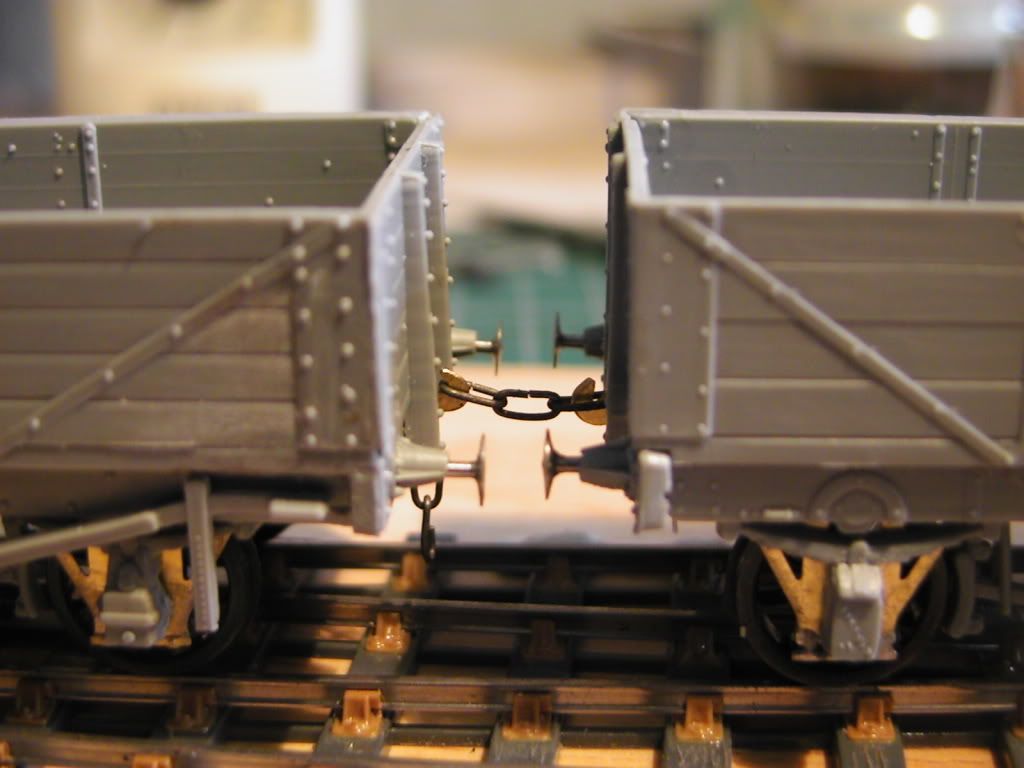
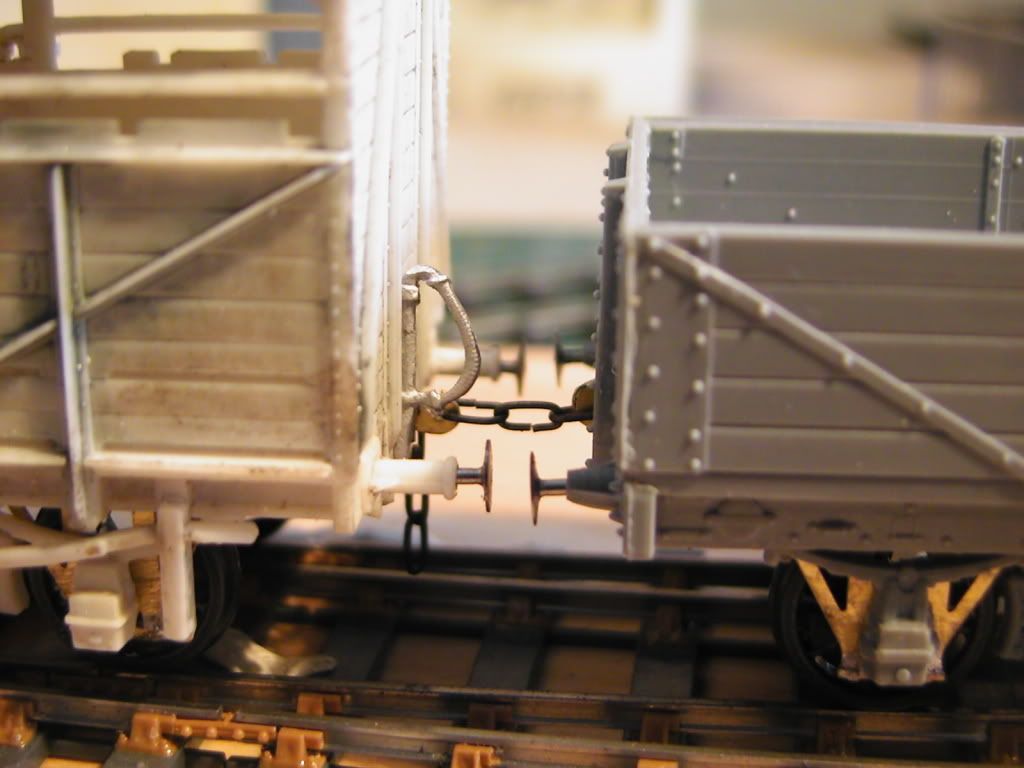
No tension

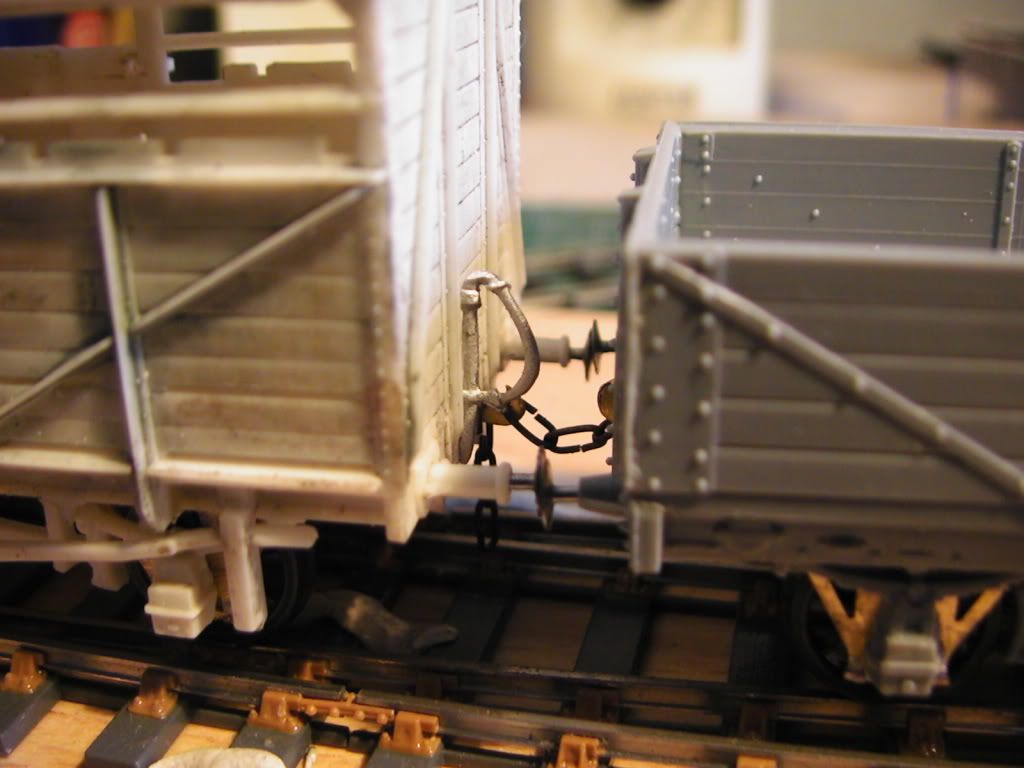
tension
You may also notice I have added some white metal vacuum brakes to the cattle wagon from Wizard Models / 51L - Universal type. Unsure if they are prototypically correct but I'm not to bothered, they look miles better than Dapol's moulded 'triangle'
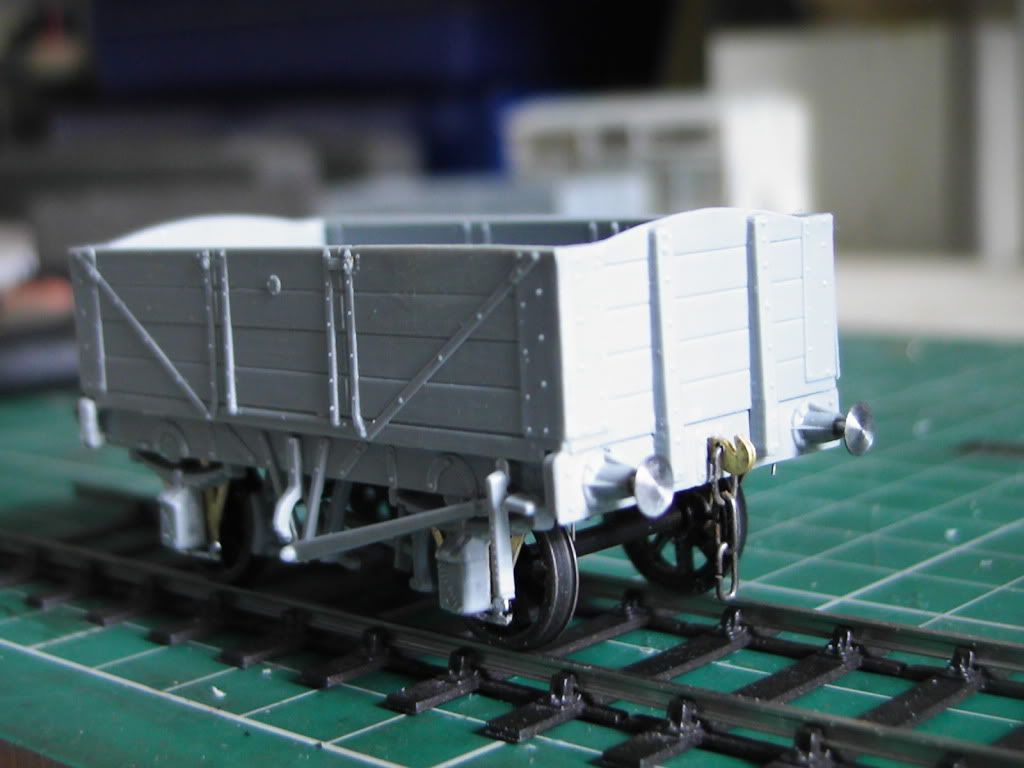
Together.
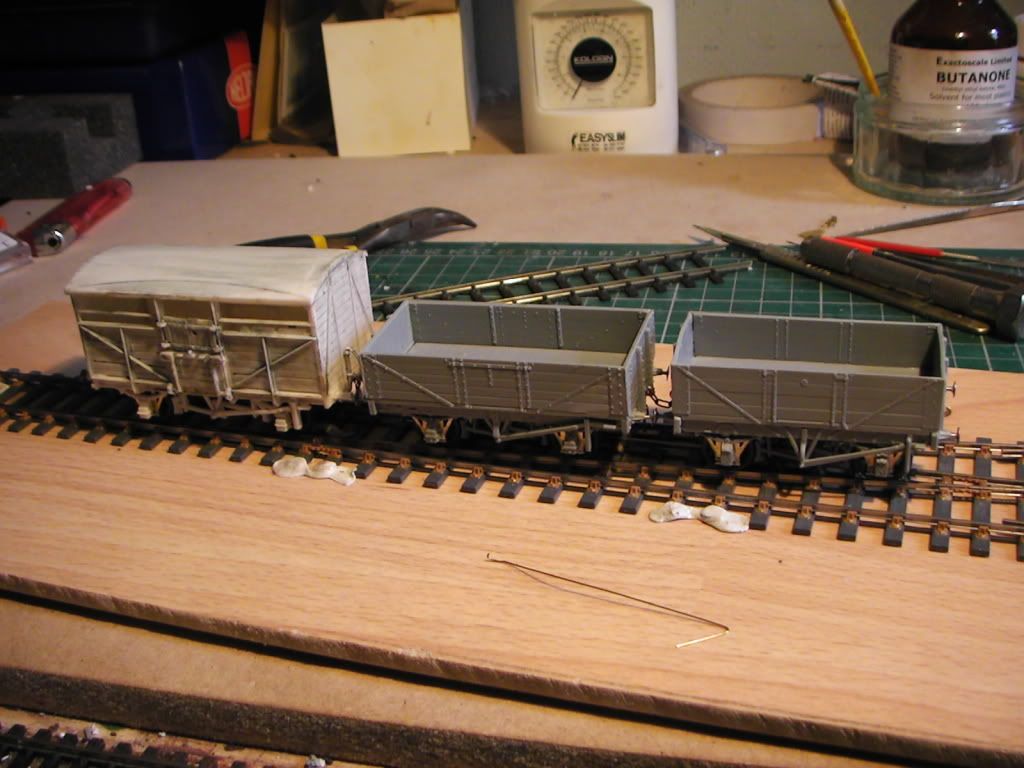
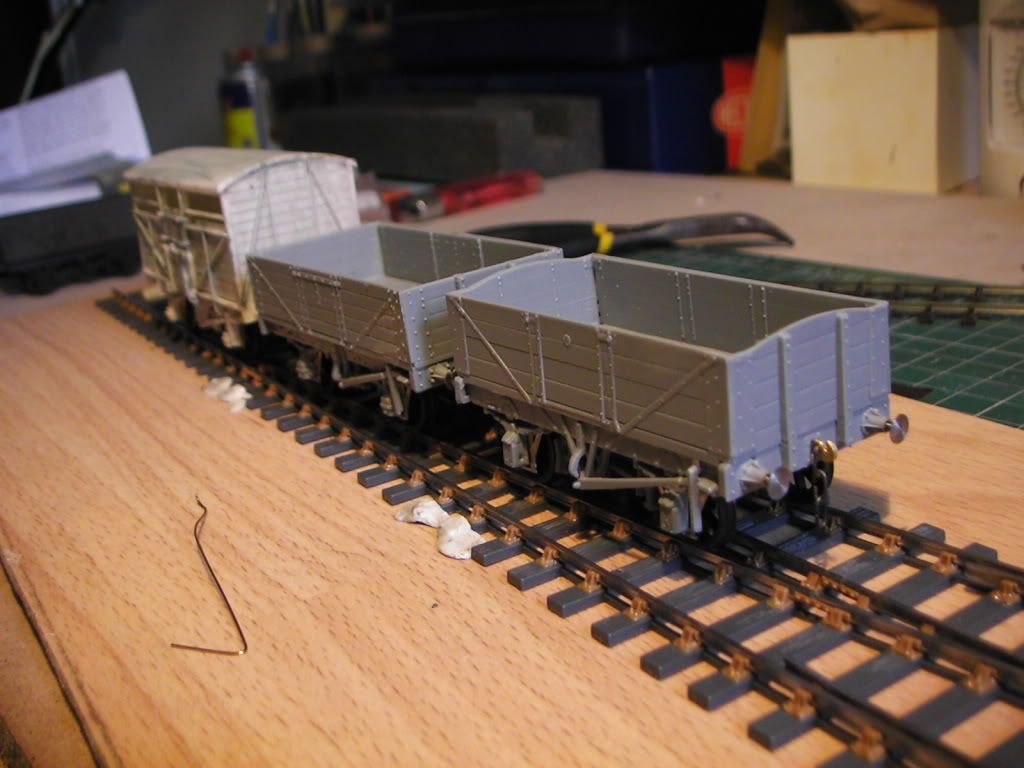
Happy days.  The next wagon I do will feature the use of Paletine Models baseplates. castleb suggested them, and I think yes is my answer. I'll be interested to see how they go.
You bored of wagons yet!? 8-)
-
 1
1

8 Comments
Recommended Comments
Create an account or sign in to comment
You need to be a member in order to leave a comment
Create an account
Sign up for a new account in our community. It's easy!
Register a new accountSign in
Already have an account? Sign in here.
Sign In Now