


Entry posted by Pugsley
801 views
The second bogie has now reached a stage where I could plonk the loco down on the pair of them to see how everything looked and worked, so I couldn't resist giving it a go! It has highlighted a couple of minor, related, problems that are going to be fairly easily corrected. The bogie pivots need to be cut down a bit further as they currently hit the centre traction motor on each bogie, and the loco isn't quite heavy enough for everything to sit right. The first problem can be cured with a big file, the second with some of this:
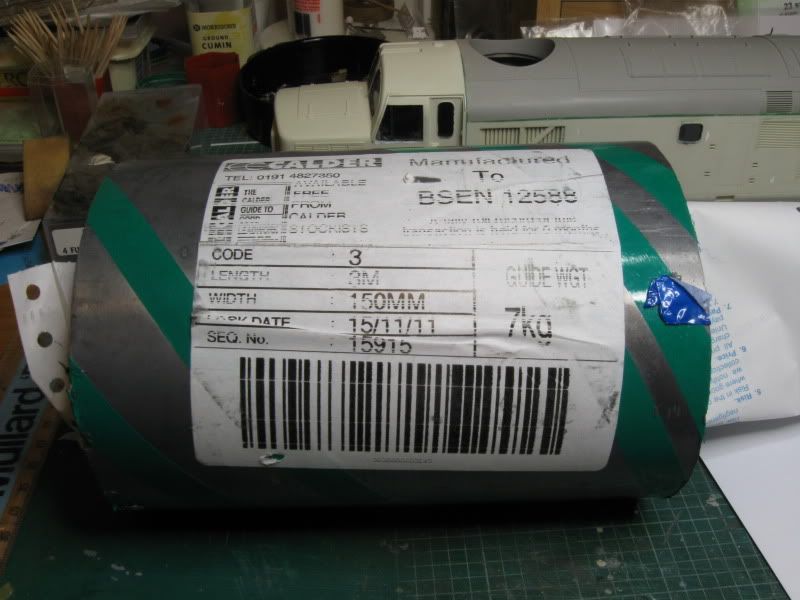
Which I think has to be the most economical way of buying lead for weighting models, admittedly it did cost £23 but I won't need to buy any more for a very, very long time!
The threaded adjusters on the secondary suspension have also proved their worth - I've had to jack the side closest to the camera, in the photo below, up by about 1.5mm to get everything sitting level. It might need a bit of further adjustment when I set it up on a marble surface, instead of the cutting mat, but it's pretty much there. This pic does show it riding too high though, which is a combination of the two problems mentioned above.

It looks quite imposing from this angle, which also slightly shows the rippled sides, which could create some interesting photo effects, once the loco is finished and I build a photo diorama for it. I also need to fettle the fit of some of the springs, a couple of them sit at funny angles, which is due to being slightly out when the pilot holes for cutting the mounting studs were drilled. If I were to do this again, I'd make a little jig for getting the drill centred in the cast springs, which were used to form the mounting studs.
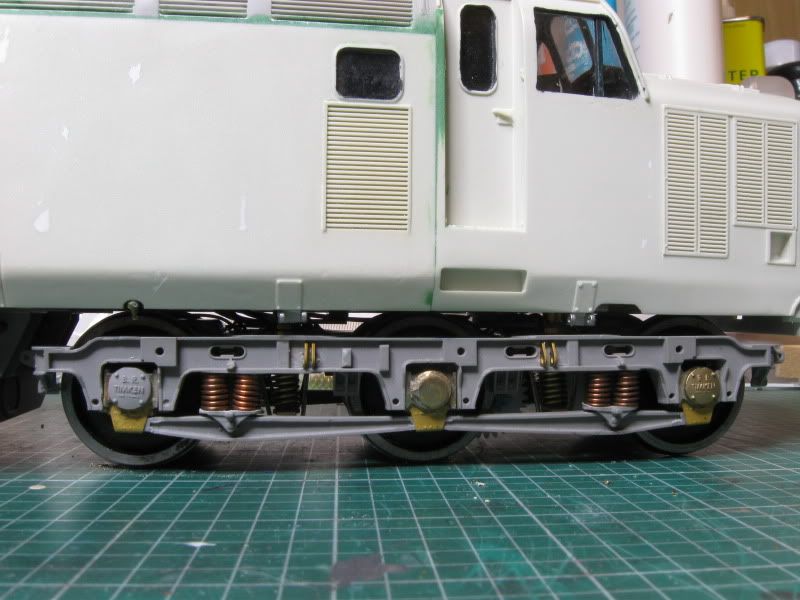
I've also made a representation of the encoder fitted to the refurbished examples, which is fitted to the centre axle, on the side opposite to the speedo, on the No. 2 end bogie. I did toy with the idea of not bothering, but decided that it would only irritate me in the future if I didn't do it. The picture above also highlights the lack of brake gear, which will be added once I've cast the necessary bits in resin.
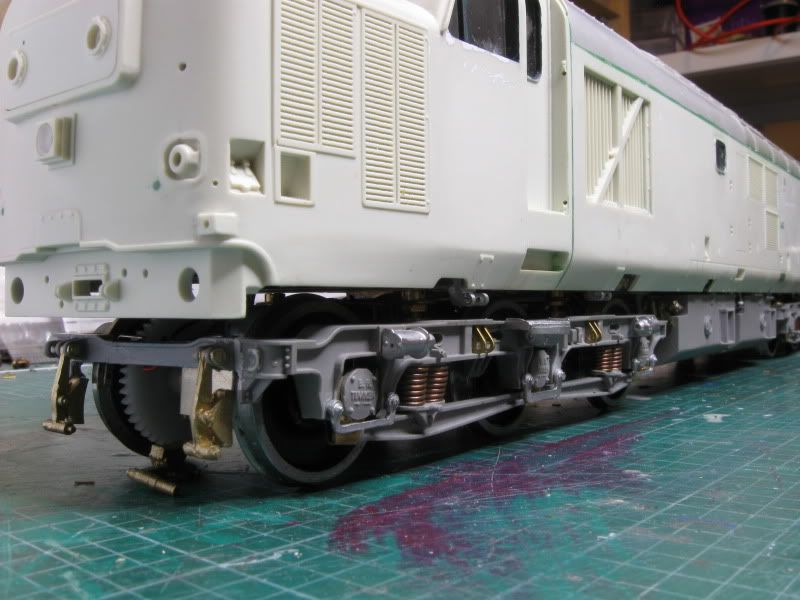
Once the bogie is fitted, the mechanism is pretty unobtrusive. The final drive gear on the leading axle does show up quite well at the moment, but once that's been coloured black with permanent marker, it shouldn't really show.
I've also uploaded a video to Youtube, showing the suspension in action. I've probably built in a bit too much travel to the design, I don't think there's that much movement in the real thing, but it should cope with whatever rough track is thrown at it. The drivetrain might be a little noisy in operation, but I do plan on fitting a soundchip, so it shouldn't be too noticeable, with a bit of luck.
http://www.youtube.com/watch?v=gQLQNdcBNHA&feature=youtu.be
It appears to work like it should - the bogie moves around with no noticeable movement of the body (until it reaches the really big drop, but that's to be expected!), so I'm happy with what I've achieved. Next steps include casting the brake shoes and fitting the rest of the detail parts onto the bogies. Once that's done, it's time to crack on with the body.
-
 5
5

8 Comments
Recommended Comments
Create an account or sign in to comment
You need to be a member in order to leave a comment
Create an account
Sign up for a new account in our community. It's easy!
Register a new accountSign in
Already have an account? Sign in here.
Sign In Now