

MGR Wagon (HAA) Making Coal Loads

Entry posted by Jaggzuk
2,764 views
After a post Christmas trip to the NRM at Shildon end of year toy fair with my 3 year old son, I came away, with among other things, two boxes of the triple Railroad MGR wagons. Even though these are Railroad versions, I was impressed with the level of detail, ok they are missing the fine level detail some wagons now have and the chassis lacks and painted details, but I think with a bit of a paint touch up and some weathering they will be great addition to my railway (once built).
The key bit that was missing though was a good realistic coal load. While I was at the show, the in-house Shildon Model Club layout “Shildon” was being operated with some modern stock. Whilst we watched one of the Ops got out a box of coal loads and began dropping them in to a rake of HAA MGR wagons. He showed me that they were home-made from shaped pipe lagging covered in grit blast grit. With the wagons also being weathered they added a great finishing touch.
So, I cannot take the credit for the idea, but I thought I would share how I made the coal loads and what they look like when finished. I have to say that I am really pleased with the outcome and the way they have enhanced the wagon. Plus this was the first railway modelling session I have had with my son. He painted on the glue and helped to sprinkle the coal dust… our model railway hath started!!!
So here’s how I did it:
1) Starting point, 10mm dia. Microbore foam pipe lagging (15mm dia pipe lagging would also work)
2) Cut it in half long ways and angle the ends so it fit snuggly in the hopper, no need for a lift out loop as pushing down on one end pops the load up out of the wagon for removal.
3) Cut, scrape and pick off the foam to required coal load shape, thus creating a unique load shape every time.
4) Sprinkle on black grit to represent the coal over PVA wood glue. Make sure that the surface of the foam to be coated with glue is fully roughened to create a good key – remove all shiny surface.
5) Leave to dry; the load will become quite stiff and robust.
I found that I could create each load in about 10mins, with small hands help!
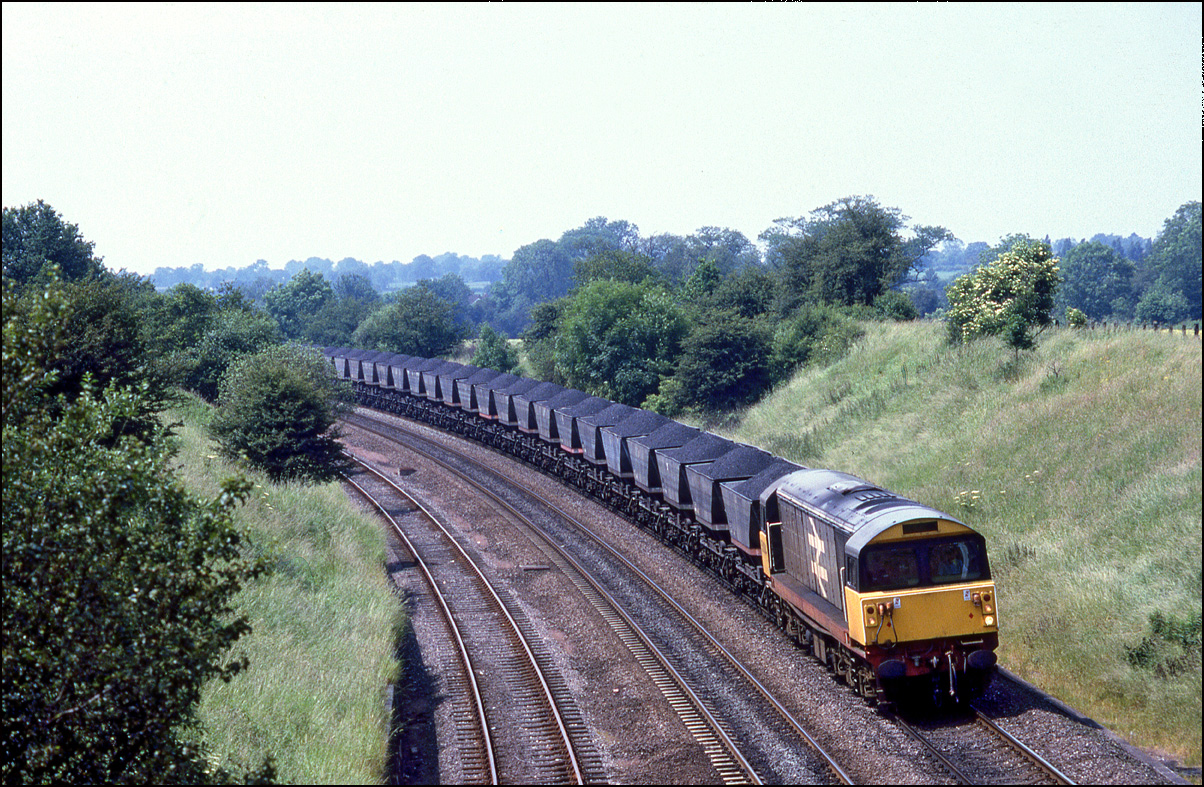
I researched photos on the web of MGR wagons to get an idea of the way coal loads looked in real life. What I found was that there were a number of key visual points to bear in mind.
-
Auto load, which creates a uniform section, sloping sides and a flat top.
-
Manual chute, typically three/four mounds.
-
Track side bucket loader, creating various mounds and levels of loading from flush to high peaks. In some cases the bucket of the loader was used to flatten the coal load down to maintain loading gauge and reduce loss due to air flow.
-
The final visual point to note is that MGR wagons carried power station coal and this is typically transported in a pre-crushed state and looks very fine, no large lump coal! Hence, track ballast is too coarse in my view. I crushed a lump of ‘real’ anthracite coal using a hammer to a fine grit/dust. Which when stuck to the foam, I think looks perfect as it has a lovely black sparkle effect like the real thing.
Useful links to photos of real wagons
Shows the fineness of the MGR coal load - http://paulbartlett.zenfolio.com/brhaatopskip/h119292E1#h119292e1
Auto loaded coal load - http://www.flickr.com/photos/55879910@N02/6277683605/in/photolist-ayJLCe-gyFia4-dUTfzq-bsFEwK
Large heaped coal loads - http://www.flickr.com/photos/55879910@N02/9558916762/in/photolist-fyFWVG-dnewHu-gJqVHV-g8GVdB-dvPq5E-e45QLz-e49q2D-akoVz5-b9DEm4-iu7kDD-dcepw2-9sMB4m-e5GUBg-dUKfeY-cWGf97-dNmSYp-d1Tqrs-fq9nxU-foCt9R-foSK4Y
High peaked load - http://www.petertandy.co.uk/58023_mgr_hat_3785.jpg
Load flatten with loader bucket - http://en.wikipedia.org/wiki/File:Penmanshiel_Tunnel_(coal_train_on_new_alignment)..jpg
Railfreight wagon with coarse coal load - http://paulbartlett.zenfolio.com/brhba/h3c33f975#h3c33f975
Side view of coal load - http://paulbartlett.zenfolio.com/brhda/h1cb3829#h1cb3829
I hope this article is of use and inspiration to people
Views of my efforts (click images to view larger versions):


-
 3
3
-
 1
1


..jpg)
3 Comments
Recommended Comments
Create an account or sign in to comment
You need to be a member in order to leave a comment
Create an account
Sign up for a new account in our community. It's easy!
Register a new accountSign in
Already have an account? Sign in here.
Sign In Now