


Stephen 28
-
Posts
63 -
Joined
-
Last visited
Content Type
Profiles
Forums
Blogs
Gallery
Events
Exhibition Layout Details
Store
Posts posted by Stephen 28
-
-
Don't get me wrong, the Dapol jinty is a beautiful model, and I would buy another tomorrow if it fit my layout plans, with or without the sand box filler parts fitted. I just thought it fair to alert buyers to the 'missing' parts. The quality is far better than I could produce from a kit and I can enjoy running trains which is an aspect of the hobby I particularly enjoy. My first O gauge kit build is approaching its eighteenth birthday and is still not complete.
-
I now have examples of the Dapol Jinty both the BR crest versions and neither has had the sandbox filler in the 'keyhole' fitted. My mate has the LMS version and that does have them. I have emailed DCC supplies as the Dapol spares people and await a response.
-
Any plans to do the Kitson and Horwich 0-4-0STs in 7mm in the near future?
-
All together now - Co-Bo, Co-Bo, Co-Bo..... (fades to embarrassing silence) just me then?
-
Hi Don, a lot of o gauge operation can be squeezed into a small space - try drawing Dolgelley out as a schematic then remove everything that doesn't add to the operational interest. The result may be smaller than you think. Something like Frank Roomes Lutton branch or one of the many Ashdon and Midport layouts.
-
 1
1
-
-
Outstanding modelling, this layout just keeps getting better and better.
-
They look good to me Richard, nice variation of colour and tone but all recognizable as the same type of wood. Very nicely done.
-
Bonjour, c'est Routier du Nord ici! Mon ami Kevin 'e say ze ideal Norfolk line ees at Mont St Michel, naughty boy! But 'e has raison, oui! Go to where ze createurs des chateaux com from, n'est ce pas? Forget you obsessions wiz Wells et 'Unstanton - pouf! I geef you Andelys, Entretat, Carteret - formidable!
]http://forum.e-train.fr/viewtopic.php?f=5&t=76745
 IMG_0976.JPG
Superb, even more distracting and off piste than the usual Castle Aching topics, especially when only possessing very rusty GCSE French so roughly one word in three making sense. Some lovely termini and track layouts obviously designed with model railways in mind - more zig zag reverses than your average line.
-
2
-
-
Fantastic modelling there Andy, wonderful realistic grouping of buildings. Blooming marvellous it is.
-
A slight revision to the far end composition of building with the card mock ups, still mulling it over and refining it. Your comments would be really very welcome...! Ned has made a brief appearance, and groundworks under way.
Wow! Having just read through this thread from the beginning I am in awe of your modelling skills. The photo of the yard entrance and lean to office has such wonderful colour and weathering. Superb.
-
I hope Nearholmer will allow a small hijack from me.
This thread has been nagging away at me as I have had a half baked idea in the back of my head for a while now ( I even started collecting a few kits - any excuse eh ? ) .The images here only make me more encouraged to think more seriously about the idea.
My day job has me striving more and more for realism and increased detail and while I enjoy that I can't help feeling that something so much simpler might be more enjoyable for my own 'layout' - really more of a moving diorama / No, a moving collection I guess.
The last few pictures here have tipped me over the edge, so I wanted to prove to myself it just would not work!
So I grabbed some cork and some OO setrack - and of course it just looked like what it was. So I roughly sanded the edge of the cork, flooded it with a thin dark umber wash followed by a pink ( yes pink ) drybrush - hmmm. Then I painted the track a dark flat brown and polished the rail top ....
My half baked idea is to collect and build Airfix and Rosebud / Kitmaster kits ( make a few Ratio items too ) , motorise a few locos , paint ( simply ) some airfix figures complete with their bases.
Moving version of scenes inspired by these box tops ...
Sorry again for the hijack - I won't make a habit of it I promise.
I'm glad it's not just me that, having lost my direction in terms of what to model, has found a respite in building these old airfix railway kits (albeit the current Dapol iteration for economy reasons). There is something very satisfying in tackling again a kit which you had in childhood but with your fully developed modelling skills, and they make up into pretty good models too.
-
1
-
-
Hi Jerry, not sure if it will contain anything you don't already know, but the March 2017 edition of Steam Days magazine has a fourteen page article on Bath "Green Park" as they call it. Half a dozen pictures are from MR/S&D days, including a very nice one of a Johnson Single awaiting departure from Bath.
Stephen
-
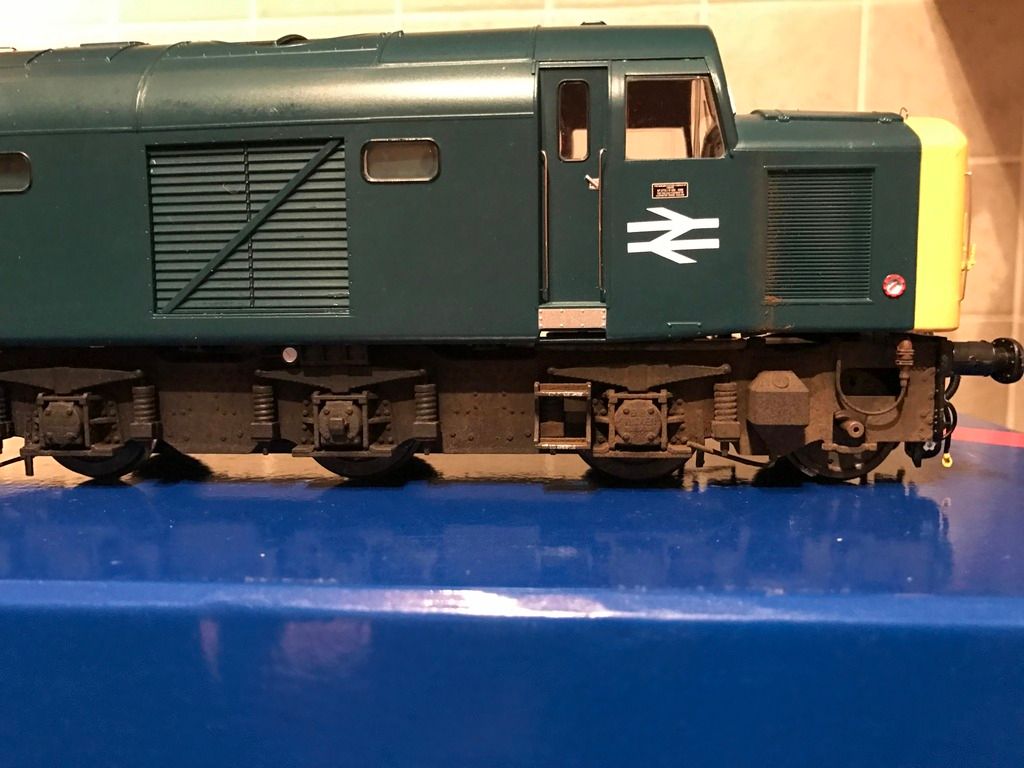
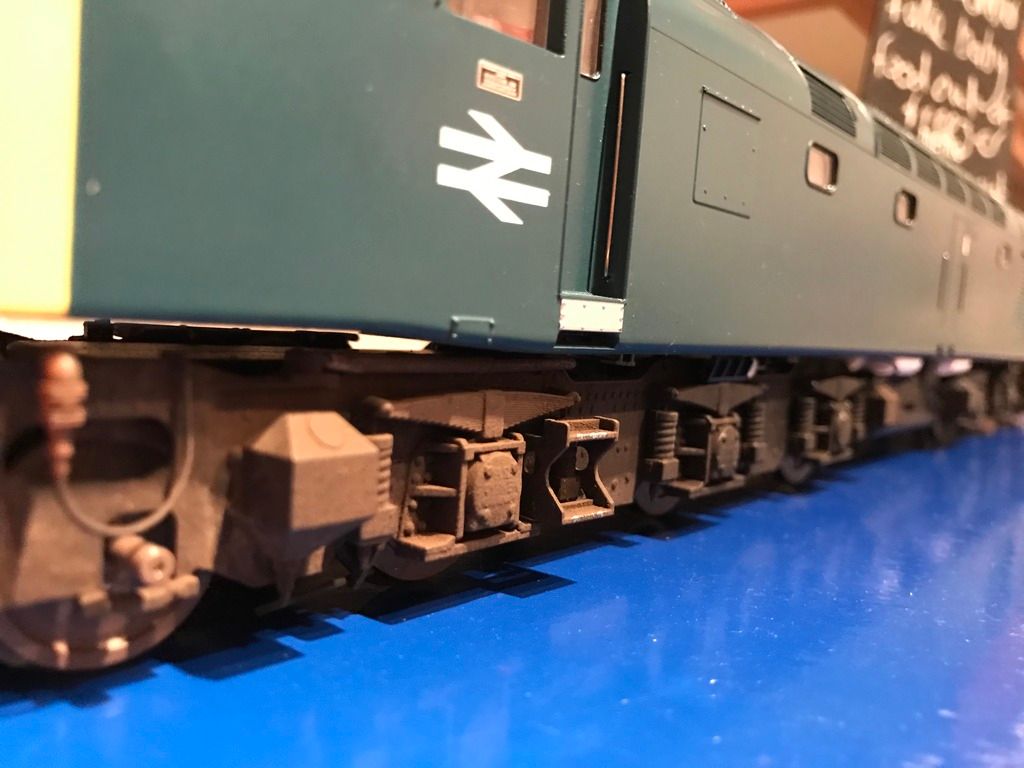
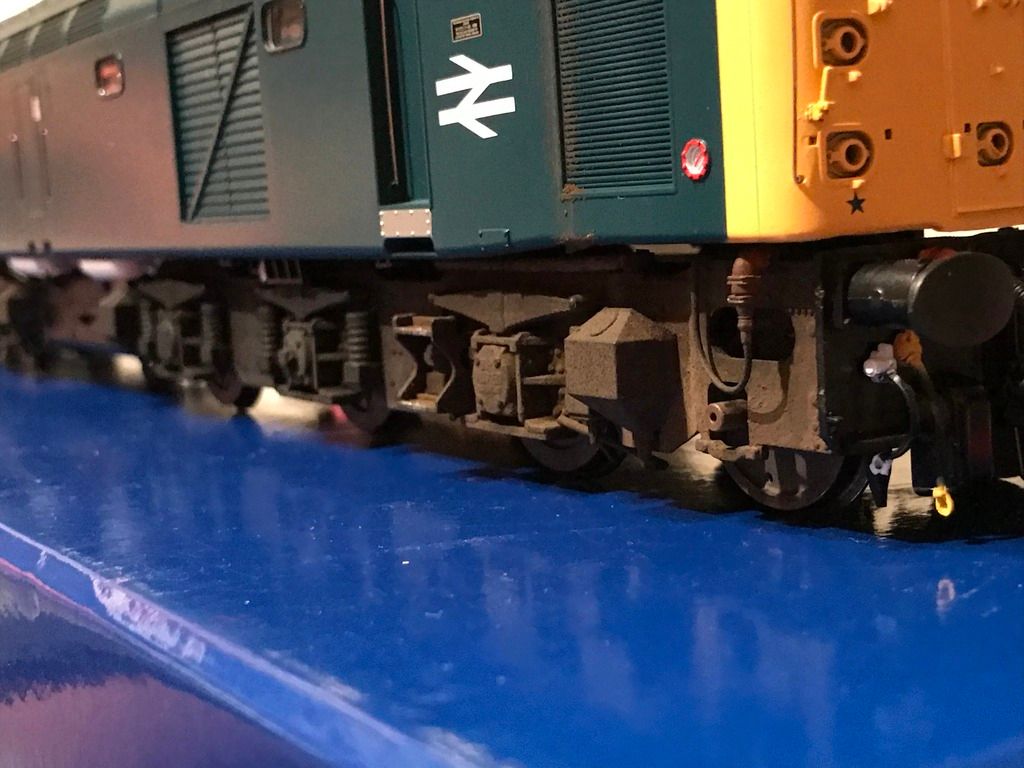
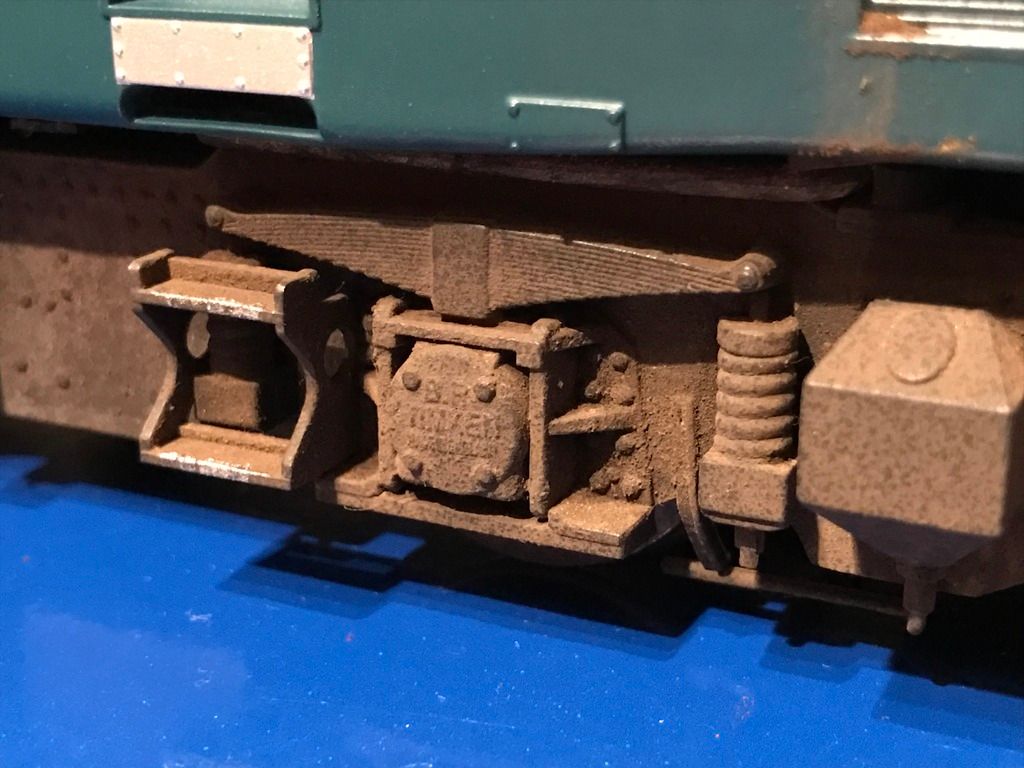
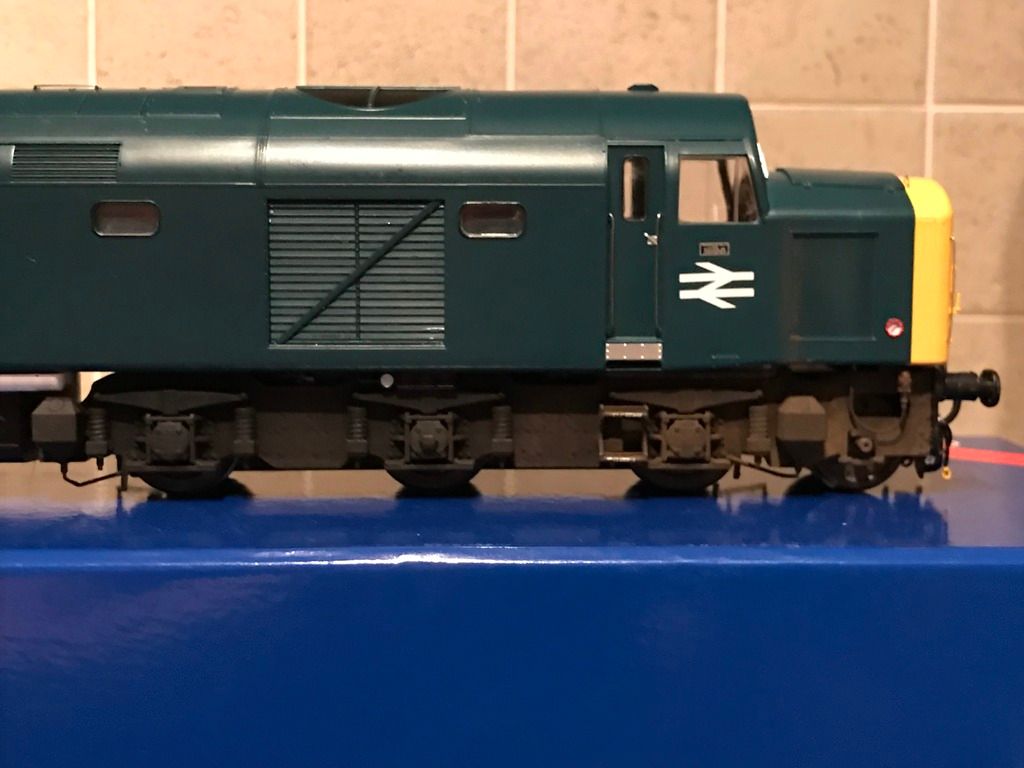
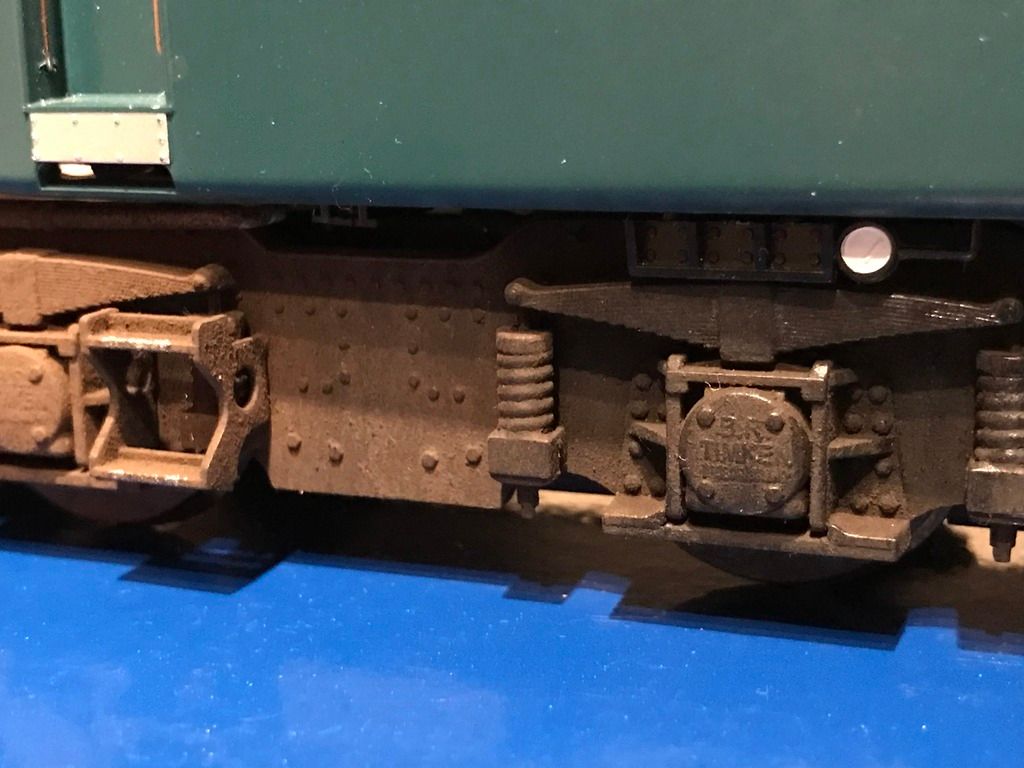
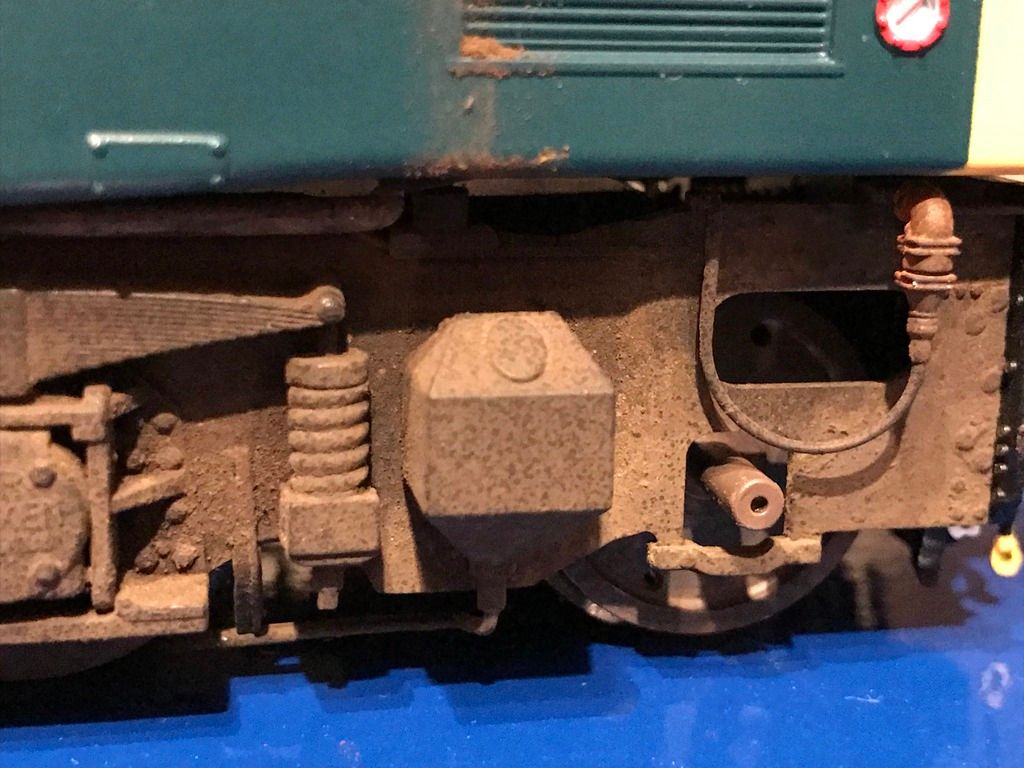
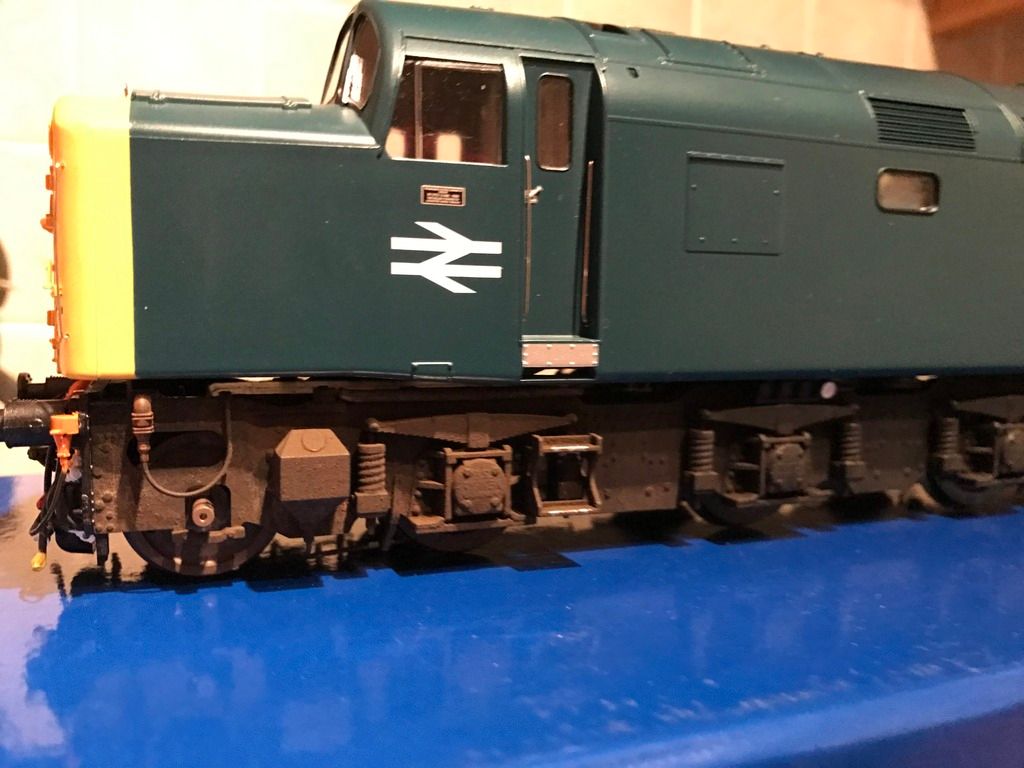
Thought add ad this here to as it'll be getting fuelled at KX but D270's bogie side frames are finished and fitted.
Cheers
That is some of the best weathering I have ever seen, and I think THE best on a diesel. That second last picture is incredible, up there with Martyn Welch for realism.
-
If I fit a backsene it will run down the left hand side in this view. Operating headroom is better on the right.

The backsceen can run round that curve in the foreground and stop at the pillar. IF I do it it will comprise a long row of buildings - very shallow flats and varying in height - and I can arrange them so that they are pegged into holes and supported at the back by timber uprights. This will make them easy to remove either singly or in groups. As I think about this it becomes more and more appealing.
After all the rest of the layout can only be viewed from the front.
Chaz
Sounds like this may be the best compromise, especially as it shields the storage yard from view.
Stephen
-
I agree with Don, a movable backscene for photography to preserve the option to view the peninsula from either side.
-
3 simple steps:
1) Take a plastic container with a lid (M & S deli filler tubs are ideal - eat the contents first!)
2) Put an inch or so of water in the contained along with a chunk of DAS and replace the lid
3) Examine it every couple of days and chop up the chunk of DAS as it softens and stir it until such time as it forms a slurry. If it looks like it's going to be too thick, add more water. If it gets too thin add more DAS and wait another day or two for that to soften.
The consistency you make it depends on what you want to use it for. If it is simply to form a thin layer of 'ground surface' make it the consistency of thick paint and apply with a soft paint brush (I use a No 9). If you want it to make the ground cover over the scenic base, then make it more the consistency of thick plaster and apply it with a spatula. Either way you can mould and shape it and also add powder or artists acrylic paint as required. I also add a wee spot of PVA, just to help it adhere to the substrate. You can easily blend new bits into old bits by soaking the old part to soften it first.
HTH,
Jim
Brilliant Jim, thank you.
Stephen
-
The ground surface is my usual DAS slurry.
Jim, I'm sure you have told us before but I cannot find the information - how do you turn the DAS into a slurry?
Thanks
-
What are peoples thoughts on wagon weights, having trawled this and another forum together with the 2mm archive I appear non the wiser using a digital scale I note that some wagons come in @ 4 grams while a rtr conversion using drop in wheels is 5 grams with a etched example @ 7 grams. I only run short trains so additional weight should not be a problem

Nick
I have a roll of lead flashing approx 1mm thick and for 2mm scale models I glue under the chassis a piece 6mm wide x half the wagon length over headstocks. This gives a nice weight to wagons, tends to fit between brakes, couplers etc. and includes a bit of proportionality - the longer the wagon the more weight added. Works for me on both fully etched and plastic body/etched chassis wagons.
-
That would be my guess too. It looks rather unlike any GCR carriage I've seen, with those recessed doors.
The first two letters of Metropolitan are visible on the coach partially obscured by the GC train.
-
no he is thinking of the Queen version which is on the idiot box frequently
Oh no, the proper 1950s? one, although I was taken to see the modern one as a treat for my eighth birthday!
-
That's surely long before your time?
Jim (for whom it is not!)
Black and white repeats back when there were only three channels and it beat the test card for entertainment value.
-
1
-
-
Toto, I've got a feeling we're not in Kansas anymore.
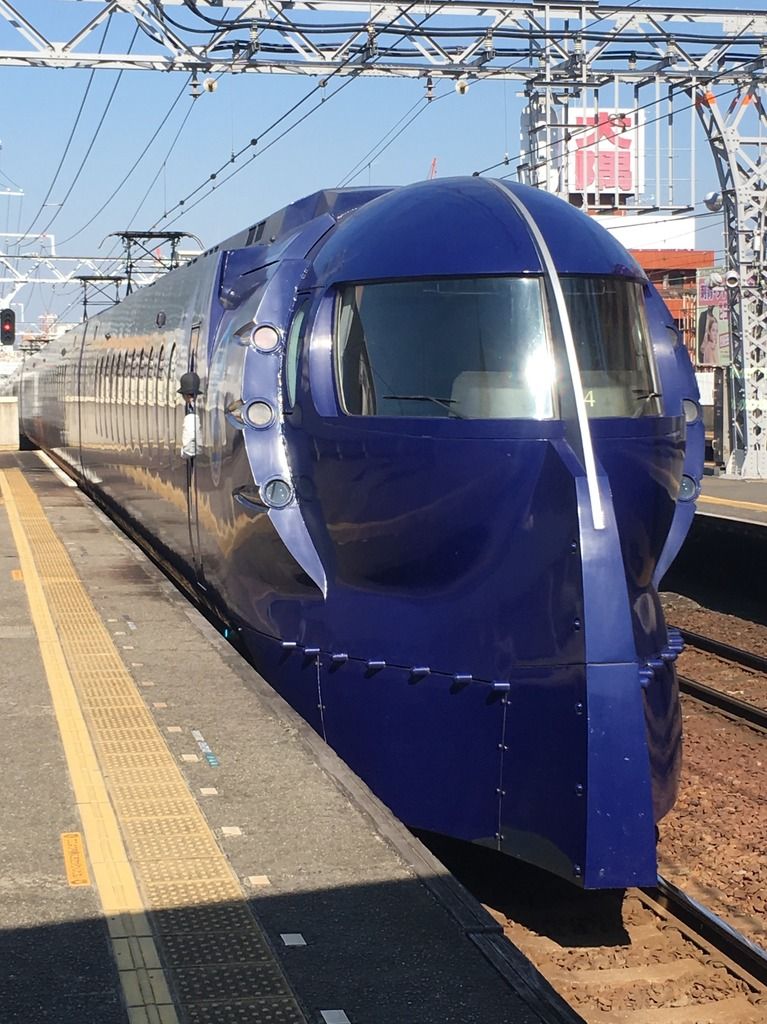
(Greetings from Japan)
Pix
I always think these units have an air of Flash Gordon about them, is it just me?
-
For the last appearance of our 7mm club layout "Regis Bay" I finally got round to painting the test etch of 11001.
With no 4'6 Boxpok wheels available these are made from a two layer brass etch set into Slater's USA 0-6-0T wheels. This involves quite a lot of work, especially as the Slater's moulding includes the large balance weights of the USA tank but the result is good.
The other end of the frames, showing the massive crank and connecting rod, there is a coupling rod hiding behind this.
View from the top shows the unique feature of 11001 - this was I believe the only British loco with divided rod drive. In order to reduce the load on the driving crankpin there is no coupling rod between leading and centre drivers, the leading crankpin is driven directly from the connecting rod. This was done on the largest US steam locos capable of several thousand horsepower from two cylinders but seems like ridiculous over engineering for 500hp - I suspect another one of Mr. Bulleid's bright ideas here.
View from underneath, no brake rigging - at the time of building I didn't have any details of it and it';s hardly visible anyway. The motor/gearbox is Slater's with a Mashima 18/33.
Construction is split in the usual way, battery boxes and inner cab floor remain on the footplate.
Not much to do to get this kit out, all the mouldings are done, just needs production etches and a rewrite of the 4mm instructions/parts list.
11001 looks an absolute beast, might scare the terriers clean off the layout.
-
1
-
-
Hi Richard,
Having just finished reading this thread from the beginning I wanted to say you have a fantastic railway. Also your work rate is inspiring, more power to you and I look forward to future updates.
-
1
-


Dock Green
in 7mm+ modelling
Posted
Lovely work there as usual Chaz. The glimpse of your old home layout is intriguing, do you have any more pictures of it that you would be willing to show us?