


jwealleans
-
Posts
7,529 -
Joined
-
Last visited
-
Days Won
1
Content Type
Profiles
Forums
Blogs
Gallery
Events
Exhibition Layout Details
Store
Posts posted by jwealleans
-
-
I added those rods to my J21 using the square wire Wizard Models sell for point rodding.
-
 1
1
-
 1
1
-
 1
1
-
-
Outstanding, thanks very much indeed.
-
3
-
-
@russell price Are you still able to give rough dates for motors? I have a Series V which is stamped 2158 and I'd be interested to know how old it is.
-
6 hours ago, Jesse Sim said:
I’m now finding myself on the hunt for another C1.
You can never have too many. Don't forget that it was only in 1937 that the LNER had more pacifics than C1s and if you take all the Atlantics together I'm not sure they ever had more Pacifics before the War.
-
9
-
-
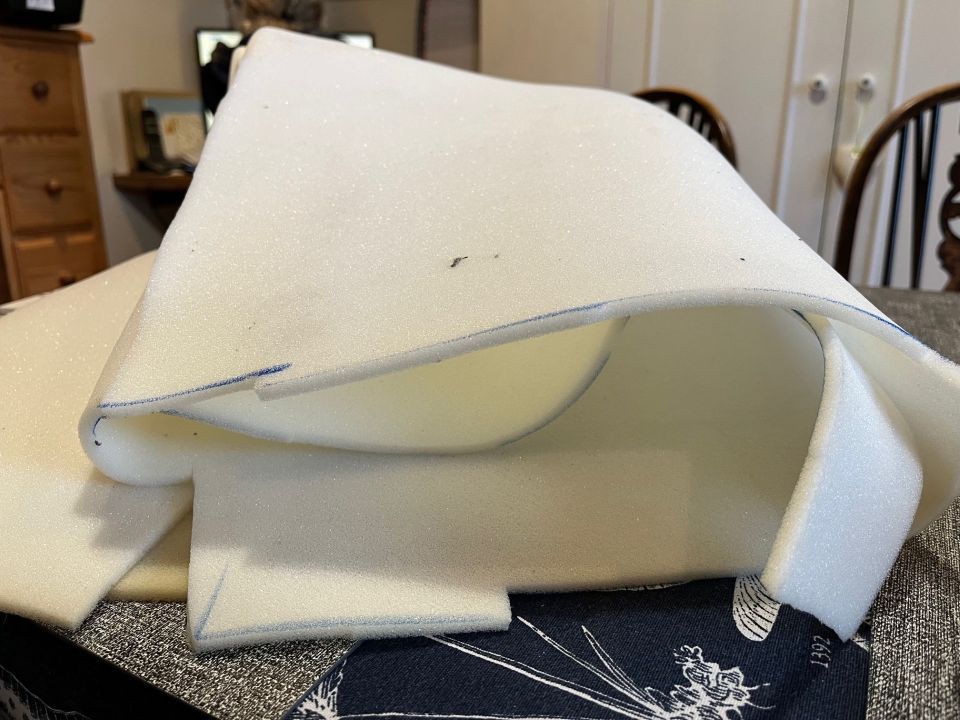
6 hours ago, Jesse Sim said:
i though you might have created a hole in a big piece of foam.
I did. At the edge.
-
1
-
-
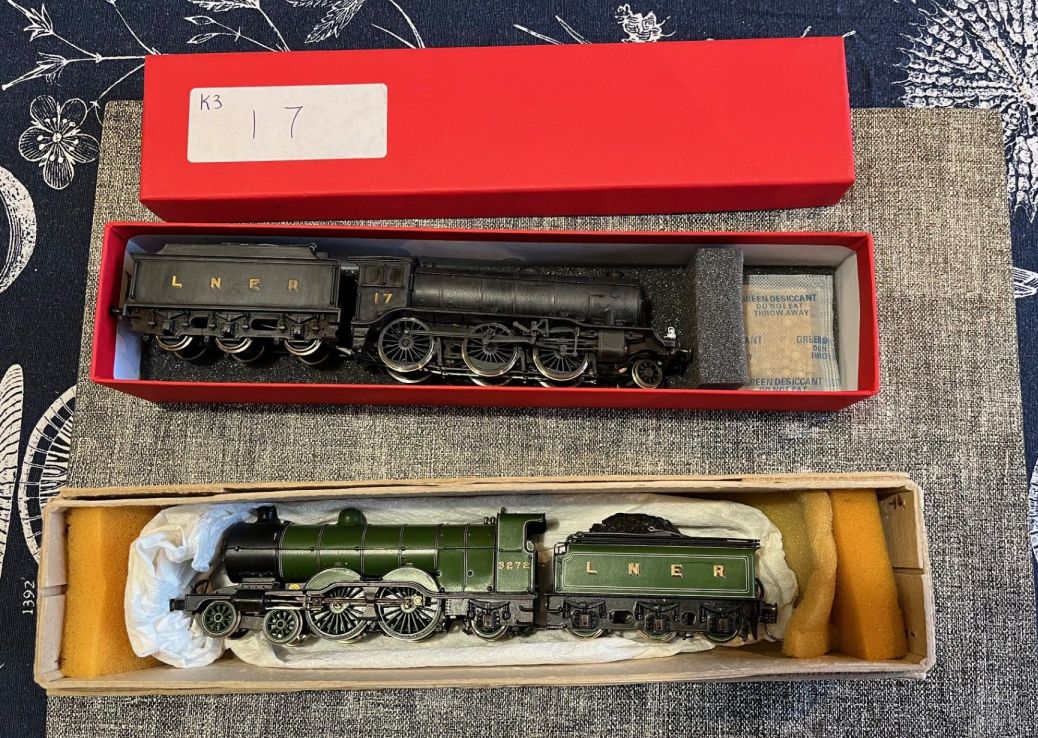
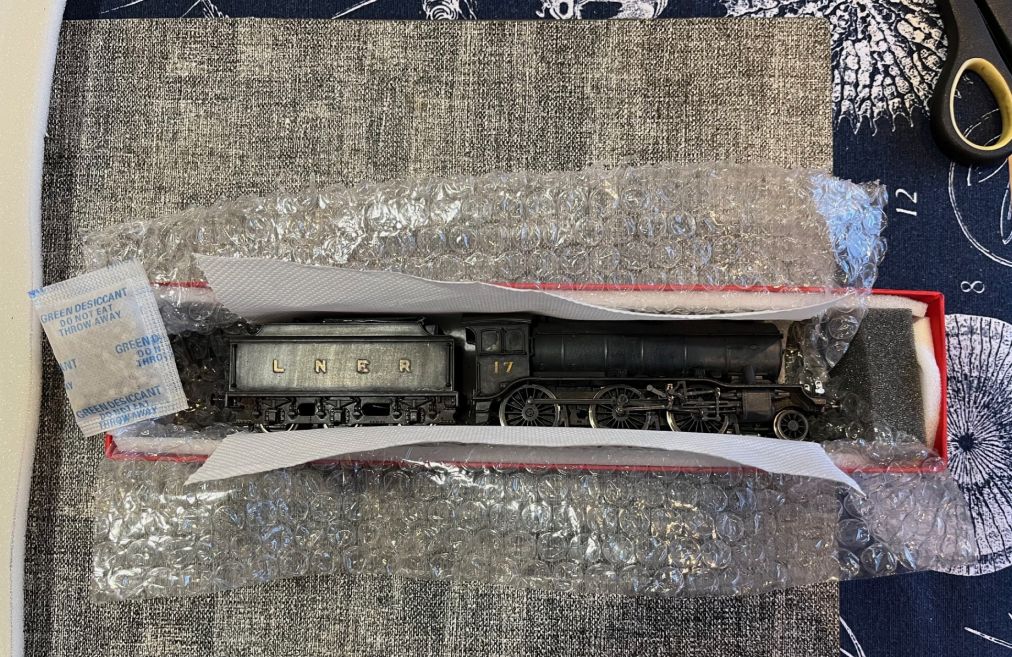
I have had a request from a young Australian reader to show how I make up loco boxes for my kit built locos. I don't think this is terribly revolutionary, but no-one knows everything and maybe it'll be of help to someone, so here we go. Given that my stock travels a fair bit, it's important that it's protected and not too badly shaken about in transit. I try to have this kind of arrangement for all my exhibition stock. RTR locos usually travel in their original boxes, unless these become damaged or unusable for some other reason.

These are tonight's subjects, K3 17 (Bachmann/Wright) and C1 3272 (scratchbuilt, Mike Shepard). 17 came to me from Tom Foster and 3272, by the good offices of Roy Mears, from Hitchin.
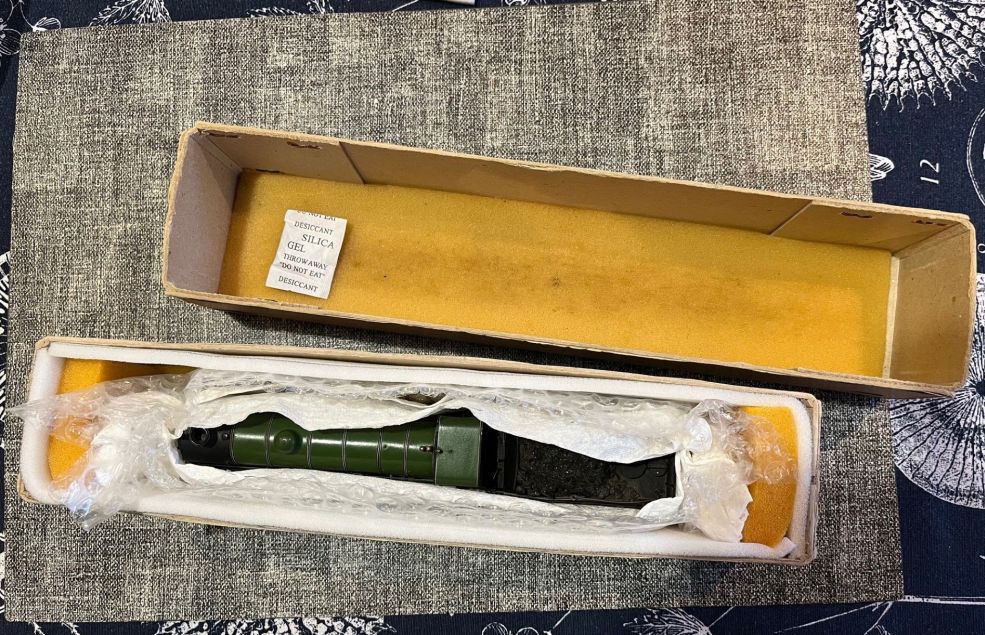
I buy boxes at shows from Cheltenham Model Centre if I need any, although other retailers sell similar ones. 17 has one such box which came with it from Tom. 3272 is in the box it came in, which is that from an ABS V4 kit. These are a deeper box, so the engine can stand upright rather than lie on its side. Coopercraft used to do this size of box in dark blue and white and I have quite a few like that. NuCast and SEF boxes are very similar. I'm not sure upright or prone makes much difference if the box is properly padded.
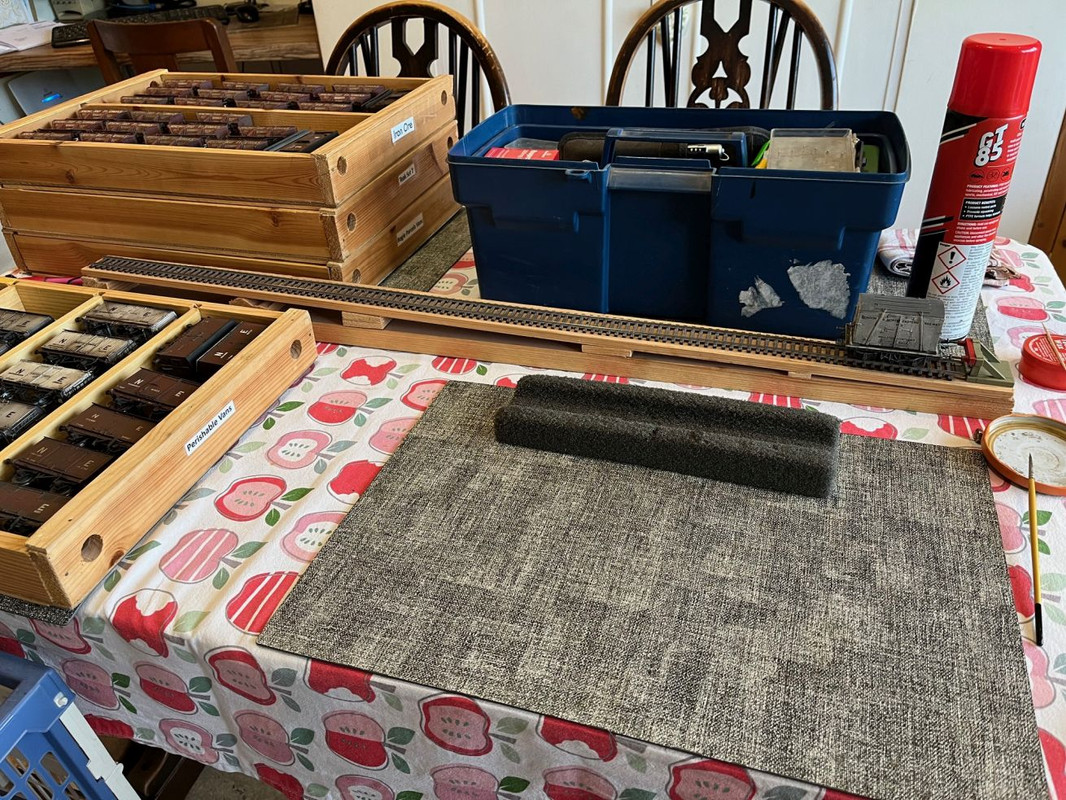
I use upholstery foam as the basic material. 1/4" or 3/8" are equally good. I used to get it from a local upholsterer but they have since closed so I ordered this last lot online. You can buy it by the metre and it's not expensive. From memory this piece was 2m x 3m originally and it's lasted several years.
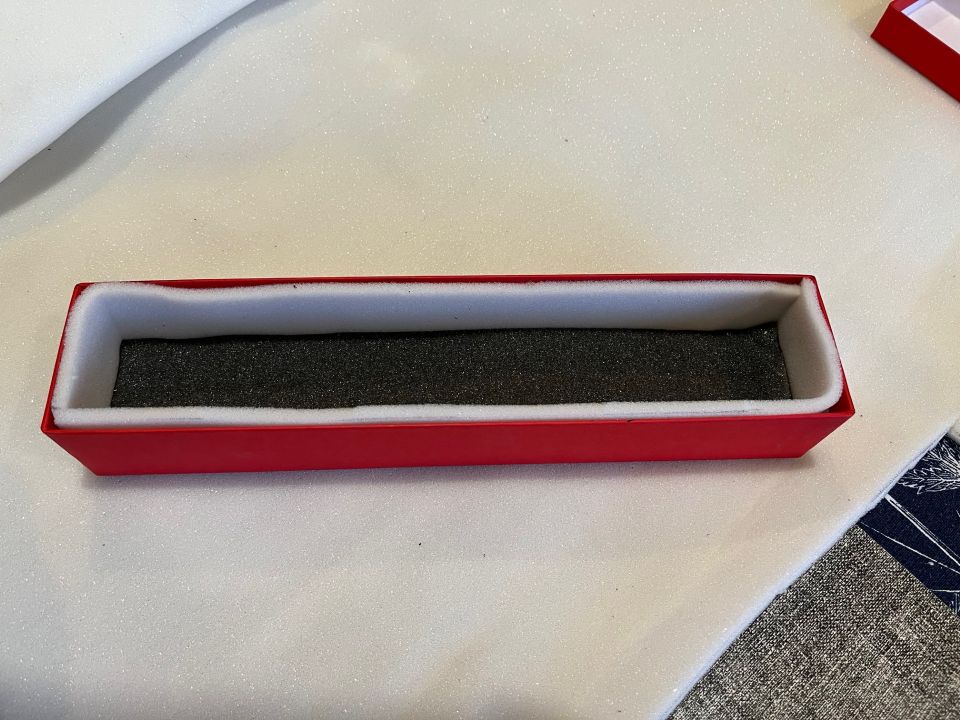
The Cheltenham boxes come with a foam bottom insert so I keep this. It's easy enough to make one by this method if your box doesn't have one.
This part is as simple as drawing round the box and cutting it out. Make each side piece long enough to do side and end so you don't have any fiddly little bits. Put the side pieces in and use the bottom piece to hold them in place. You can use double sided tape or tape loops to hold everything in place if you're especially tidy minded, but the idea is that the box will end up so full that nothing can really move about.
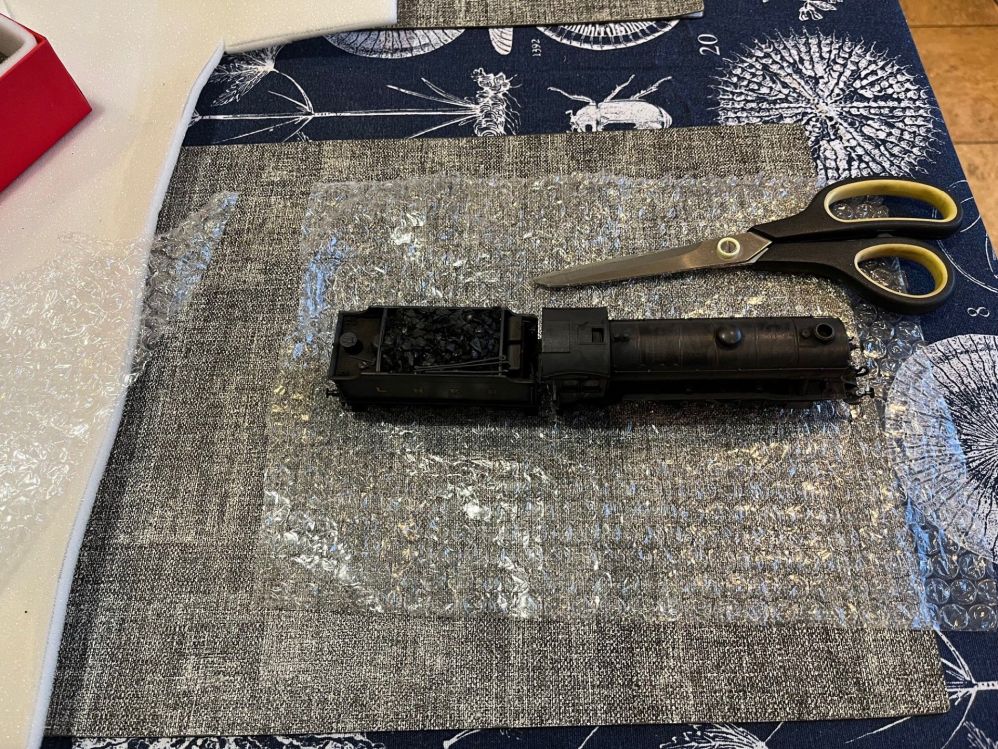
One of the problems with snugly packed locos is getting them out of the box. I make a cradle of bubblewrap longer than the loco and wide enough to allow me to pick it up out of the box. Now, I have heard of paintwork being marked by bubblewrap if left in contact with it for a long time, so although that has not happened to me to date, another layer is needed. I keep the acid free tissue which kit etches come in for this purpose, or you can just use kitchen roll.
17 snugly packed away. I have kept the larger foam pieces which came with the box to prevent it sliding lengthways. These are easily made from packaging or even rolled up kitchen roll or offcuts of your thin foam. I also always keep the little desiccant packets which seem to be included in everything these days and slip one of those in.
3272 equally snugly packed showing that it stays upright. Again I've kept the existing packing in the lid, the larger pieces at each end and a desiccant packet In each case just pulling up the bubblewrap at each side of the engine makes a cradle to lift it from the box and packing it away again is the reverse operation.
-
9
-
 1
1
-
6
-
 1
1
-
-
4 hours ago, Jesse Sim said:
I should have had a punt on it
I did ask if you were planning to bid before I did, I should point out.
-
1
-
1
-
 1
1
-
-
I think it may be earlier, John: armed with the knowledge that it's a Series V, I did some Googling and found a post from 2020 which gave some prices and years.
By 1955 ERG were listing the Series IV at 56/- as well as the Series II at 40/10d. and the new Series V at 47/-.
In your catalogue it's £2 5s (45/- for those too young to remember), which by the guide above puts it in the earlier to middle part of the 1950s.
I also found a post which mentioned serial numbers, so I shall recover the one from mine and contact the chap to see if he can give me a rough date.
-
1
-
-
20 hours ago, Re6/6 said:
From yesteryear!
Much pleasure was given in the construction of my first 'kit' engine, the GWR Prairie 5101 although the soldering left much to be desired! Using my Dad's huge old electric iron likely didn;'t help much!
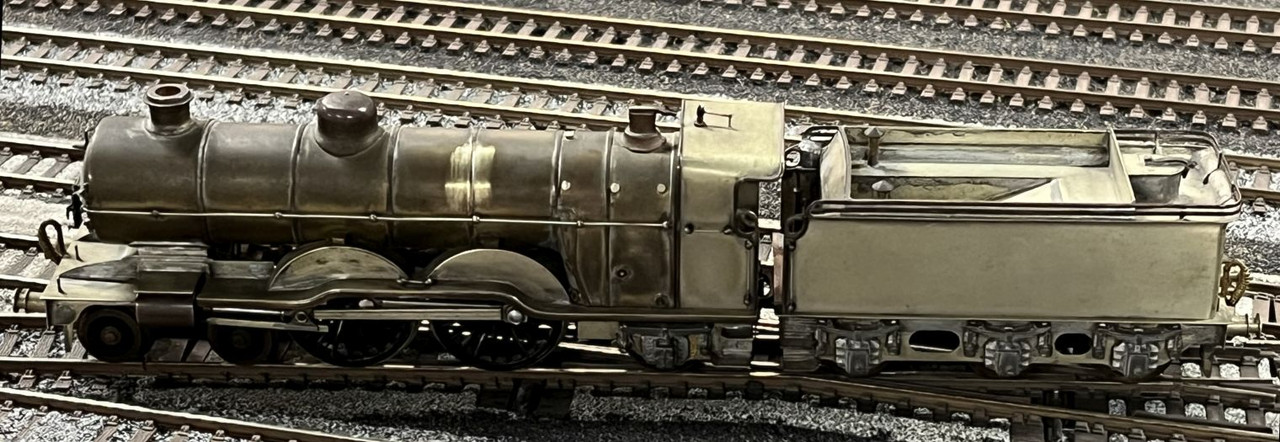
John, do you have a year for that catalogue? The Romford Series V motor illustrated looks very much like the one in the scratchbuilt C1 I showed on the previous page.
-
- Popular Post
- Popular Post
Preparation for Bristol continues: another loco testing session at the weekend on part of the layout which was up for electrical maintenance.
I had to take a couple of pictures of this on the layout while i was there: those who read Sir's thread may have already seen it. Expect to see more at the show.
Not so hot on dead frog points (only picking up off the driving wheels) but fine tearing down the main line. Just as a C1 should be used.
-
19
-
 2
2
-
1
-
1
-
Shine Like Neon Rays - Katzenjammer
-
Morning everyone,
Excuse the interruption (though it's not too far OT as it happens) but I have been asked to build a PC Models Midland 54' BT and I'm missing page 1/2 of the instructions. Would anyone be able to oblige with a copy?
-
2
-
-
What's The Matter Here? - 10,000 Maniacs
-
Spy In The House Of Love - Was not Was
-
1 hour ago, Worsdell forever said:
The land is finally starting to dry out so I can get a bit of field work done.
I wish!
-
 1
1
-
4
-
-
Ride A White Horse - Goldfrapp
-
Woman On A Mission - Gabriella Cilmi
-
-
1
-
-
I got it as one of a pair from Brassmasters but they no longer seem to list them.
Easy enough to make, but just folding these up is a lot quicker.
-
1
-
1
-
-
I Will Dance (When I Walk Away) - Katzenjammer
-
- Popular Post
- Popular Post
I use PB and nickel silver for pickups - both have their advantages and their place.
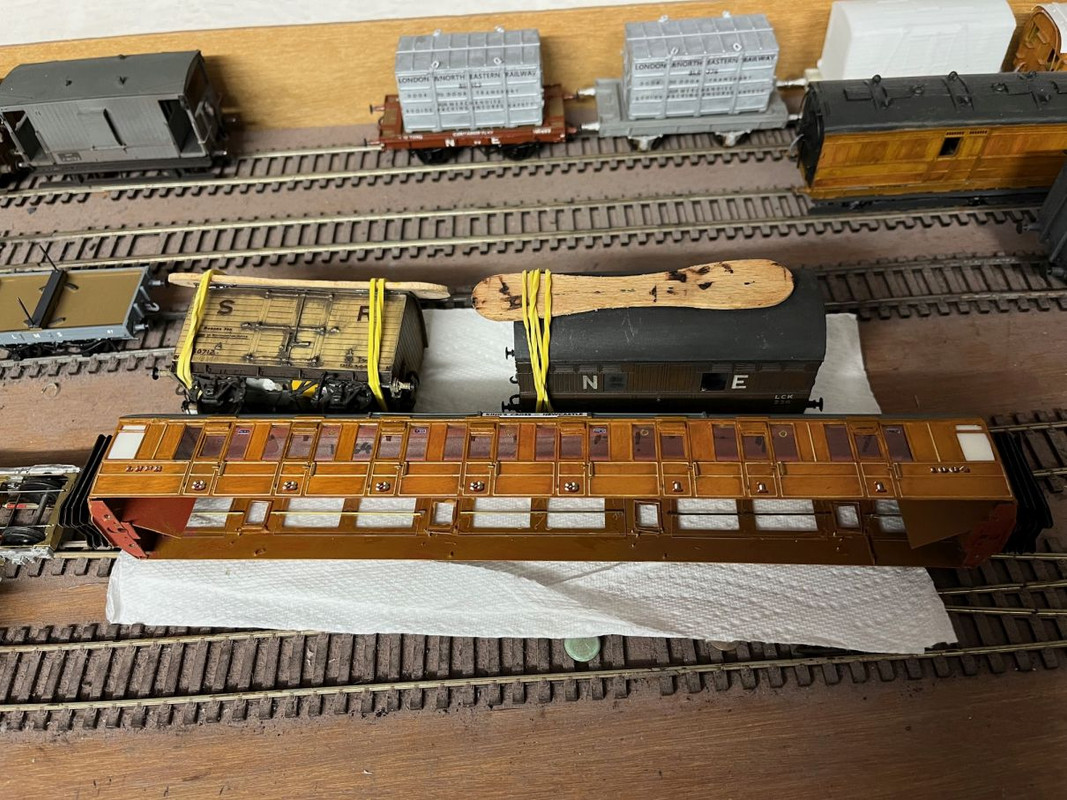
I've been beavering away with loco cleaning and stock testing over the weekend and up to last night. Checking stock for free running and obvious damage - not overly onerous but there's a lot to cover.
There was the usual round of repairs too: the cattle wagon had lost its couplings at both ends, the RTR wagon was tight on the wheelsets and needed a bearing recessing a little, the carriage didn't roll well and turned out to still have the masking tape on the wheels from when the bogie was sprayed (it's done 3 shows like that), the H & B van lost an axleguard when I was taking the wheels out to oil them and I had to glue the W iron back on again. The GN horsebox had lost the door controller and the brake van had a cracked gearbox (which is what they call the Kadee mounting/pivoting affair).
I also had two roofs coming adrift in the Scotch Goods stock and a corridor handrail fallen off one of the carriages. We've come back from shows with much worse. Loco-wise I had a couple of failed solder joints on loco-tender connections but that was about all. One of them was on a Hornby pacific, which is unusual. I'm back up to Grahams this weekend for some more testing so we ought to be in fair shape for Bristol.
-
22
-
1
-
1
-
Banana Republic - Boomtown Rats
-
You're not wrong, you can lose some of the subtlety. This is one of mine (the Cambrian D178, actually) before and after weathering. The camera has lost some of the effect as well, but you can see that it does blend and lose the small plank variations.
-
15
-
-
3 minutes ago, 31A said:
it's not easy to see the variations in the planks that I so carefully picked out
I disagree, Steve. It's nice and subtle as it should be. I think it's a bit clean overall, but I'd be really pleased with that if I'd done it. Humbrol 160 is a good tip too, tvm.
-
3
-
4
-
1
-


Song Title Game
in Wheeltappers
Posted
I Want The World To Stop - Belle and Sebastian