


regme
-
Posts
253 -
Joined
-
Last visited
Content Type
Profiles
Forums
Blogs
Gallery
Events
Exhibition Layout Details
Store
Posts posted by regme
-
-
Yeah, someone mentioned that also, and I do have it drawn, just didn't think it would stick very well to ply wood. I was going to get an acrylic base so I could use a decal but the cost was too much.
This is the first building I'm having ago at and so far I think my ambition outweighed my talent
")
When it's finished I'll see how it looks, maybe there might be a fire and I'll have to collect the insurance and start again with better knowledge
-
Hi
Managed to get some time to progress this shed a bit further. Not too happy about the portal frames, they are to scale in width and depth, but I have made the flanges and web oversized to give it a bit of strength. Not sure if I should make the portal frames oversized.
Now to work out the flooring, should I print the webforge or 3D print it?
Cheers

-
 1
1
-
-
What printer did you get?
-
Decided to have another go and printed a few test prints from their site, I started 9sec exposure I got this

Then I just increased the base exposure to 4 at 100sec and got this

Then I increased the layer exposure to 10, 11 and 12 sec and got the same squash effect as the first print. Any ideas on why it would squash like that.
Cheers
-
Was that resin or filament you used? I'll assume resin for this so I'd be interested in much resin was used to print one section? What's the length of the part? How big is your layout? Then you'll know how many bottles of resin you will have to buy to finish your layout (that's if you don't get any failed prints) and is that cheaper than buying cork?
Also, your shoulder is too high, maybe hold it in place between the sleepers, that way when you put ballast over it, it won't be too high.
-
It was small area that he was doing, and the paint seemed to go a long way considering it was just a few drops. So it got me thinking, you would use less paint with an airbrush that a brush? Hence, would not have to mix the paint in a container before placing in the airbrush, as you would probably leave more paint in the container that what went into the airbrush.
I was going to use the Mr Color Aqueous and thin it 50/50 (from what I've searched). I was going to start small, but from the advise here it might be better to go big unitl I get control of what I'm doing.
Well it's going to be a learning experiece, so it should only get better, right?
-
1
-
-
Sorry, I should have post a pic of the container. If I use the Decalsoft will that allow me to push the decal into the grooves. I would have to start from the centre of the decal and out work with a brush would be my guess.

-
Hi
I recently 3D printed some sea contains in HO scale, I was going to paint them in LINFOX colours. Since I do not a have smooth surface in which to place a decal and masking for painting may not come out that good. Is there another way to place logos onto an uneven surface.
Cheers
-
Thanks, wasn't sure about doing it.
-
Hi
I recently saw a vid where the guy mix the paint and thinner in the cup of the airbrush (gravity fed). Would this be normal practice? Even for small amounts?
Cheers
-
Didn't think of that, thanks
-
Started on the inside of the shed and apart from finding out I can't paint straight lines. Hopefully the cladding will hide the terrible workmanship in the end.
So where did it all go wrong, firstly my ambition is more than my talent.
I tried masking tape but cutting a 1mm line was proving difficult and in areas resulting in bleeding under the tape, had a 1mm masking tape and tried painting that and sticking it down but that didn't work.
Tried free hand with a thin brush - wrong answer and finally a bow pen, the bow pen was actual pretty good with a bit more practice should get some reasonable results.
Well onto the structure next.
Cheers


-
2
-
-
I'll give that a go, cheers
-
Well thing's are not going so well, I'm getting these lines coming through, it's no the supports. I'm not sure what it could be as the model looks fine.

-
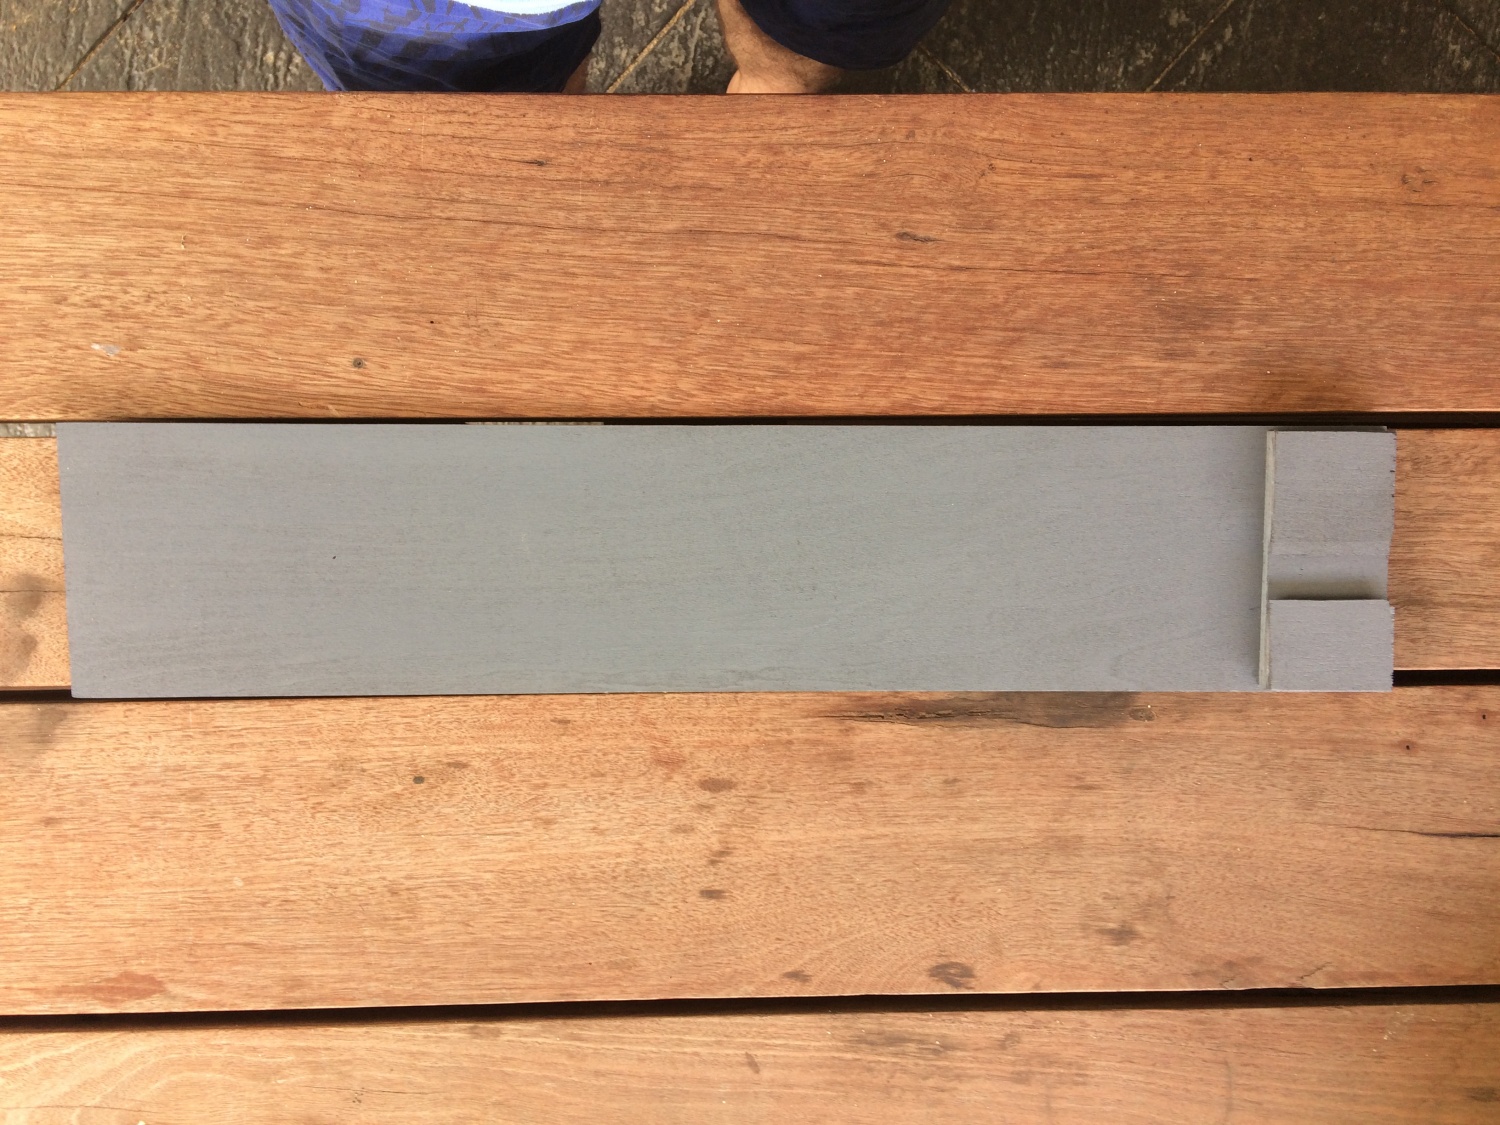
I have gone for 3 ply base, here is the start after priming. Is there a way of getting the wood grain out, I thought maybe using a water down wood putty but I'm, not sure.
Also I think I'm in the wrong area, can I get it moved to Scenery, Structures & Transport if that suits.
Cheers
-
Hi
I'm finally going to start my re-fuelling shed in HO which will be a portal frame structure. The size of the shed is 115x 565mm so my question is what would be the starting thickness for the base of the structure.
So far I have found foam core, but I haven't found anything less than 5mm, plywood 3mm and then acrylic sheets from 1.5mm. I'm leaning towards the acrylic because they can cut it to size so I'll have something square to work from.
Cheers
-
I was thinking that the monocure didn't print detail as well as the anycubic green. I thought that maybe after shaking the monocure you would have to leave it for an 1 hour, so all the air bubbles had a chance to dissapate that way you won't get air pockets under the build plate.
I'll see how it goes for structual elements.
-
The first two prints failed, had a combination of light and heavy supports, which I used for the anycubic green resin, the light supports didn't print where they joined the model. Changed them all to heavy and everything printed but the holes for the bearings, and screw didn't come out right any where there was a small hole was partially filled in. Initial impression the Anycubic green gives a better print.
Below are the comparisons on the side frame where the bolster joins there is a gab on the green but not on the monocure and the holes go all the way through on the green
I'm hoping that I don't to change the model just to suit the resin.
Anyway these were the settings
First Last
Layer thickness 0.05 0.05
Nom Exposure 12sec 15
Off Time 6.5sec 6.5
Bottom Exposure 60sec 80
Bottom Layer 4 8
Post Cure 30min 30


-
Hi
I've bought a bottle of the Rapid Grey and been searching for some settings on where to start. With the Anycubic Green (that came with the machine) I have been using the following with good results
Layer thickness 0.05
Nom Exposure 10sec
Off Time 3sec
Bottom Exposure 50sec
Bottom Layer 4
Post Cure 15min
From the Monocure Website
Layer thickness 0.05
Nom Exposure 11sec
Off Time 6.5sec
Bottom Exposure 60sec
Bottom Layer 4
The off time is double, the reason is the viscosity it takes longer for the resin to get back under the build plate for the next layer, according to Monocure3D.
Are there any thoughts on this?
Cheers
-
So there's a bit of bow in it, I think the detail could be a bit thicker. I'm not sure where to add additional weight, it's a bit light. There's other mistakes with the placement of supports.
It's more of test, more thought is required.
-
Since Les is buying a resin printer and he is going to need resin as well, which resins are people using for bogies and wagon. I've just been using the Anycubic green but is there anything that really stands out.
-
I should have said HO so it fits with the Photon, (I just have the photon, no S).
Well, my first test print (9hrs) went this way, will have to go back to the model and change a few dimensions to the undercarriage and some of the detail on the weagon. Definitely need to think about the type of supports and where they go. I tried to inclued the air tank which as a mistake. So the air tank and brakes wil have to seperate parts and glued on afterwards. The smaller details came out ok once I primed it (the spray painting skills need more work) but I think will make those a bit more defined.
There is a slight bow in the side walls when view from above and it bows up in the middle a bit when viewed from the side.
Using the Anycubic green resin, is too brittle especially when it comes to taping the threads for the bogies and couplers, I used 2-56 screws for both, but I think I'll use 0-80 for the couplers just to geive a bit more meat to bite into. So will have to look into another type of resin, a few people have mentioned Monocure 3D or alternatively look into casting instead. Not sure if the resins are similar or the casting resin is stronger.
Will have to look a weighting the wagon somehow, maybe make a compartment within the undercarriage.
All in all I'm pretty happy how it came out, and it even did a few laps of the layout. So far it's heading in the right direction.

-
Hi
I was wondering, when you print ore wagons and if they fit within the print area (Anycubic Photon). Would you print them as one complete part or separate it out into sides, end and under carriage.
If you print them as one part, would you orientate the wagon so it's supported from the inside of the wagon or from the outside. I guess if it's support from the inside there is the added weight of the resin sitting inside.
However if it's support from the outside then one end will have no supports unless you can support it against the model itself.
Cheers
-
Thanks, that worked a treat, the coupler is mounted on the body, I've done it so it fits a #5 kadee coupler. I only printed part of the under carriage to see how it all goes together.
From the test print the coupler is at the right hieght when the bogie was attached, just need to spread the sideframes apart, just a tad so the bearing will fit better. Without the bearings it's all square, with the bearings the side frame is pushed out a bit.
")


Re-Fuelling Shed
in Scenery, Structures & Transport
Posted
Thanks, we'll see how it goes.
However a mate told be about an aircraft modelling forum were they encourage people to post pictures of their models so people can critique them, but in order to critique you have to post something to be critiqued also. That way ppeople can get feed back and and learn from others which is pretty good in my opinion.
I'm more than happy for people to provide constructive criticism, because at the end of the day I don't know that much, well enogh to make a mess of it")
Cheers