Jump to content
 
  • entries
    134
  • comments
    483
  • views
    99,825

Dual Gauge Bodge Job! - P4-09? - Blog & Vlog


Knuckles

1,036 views

PFfwwwwouuf PFfwwwwouuf ppooofff.

Just blowing the dust off this blog.

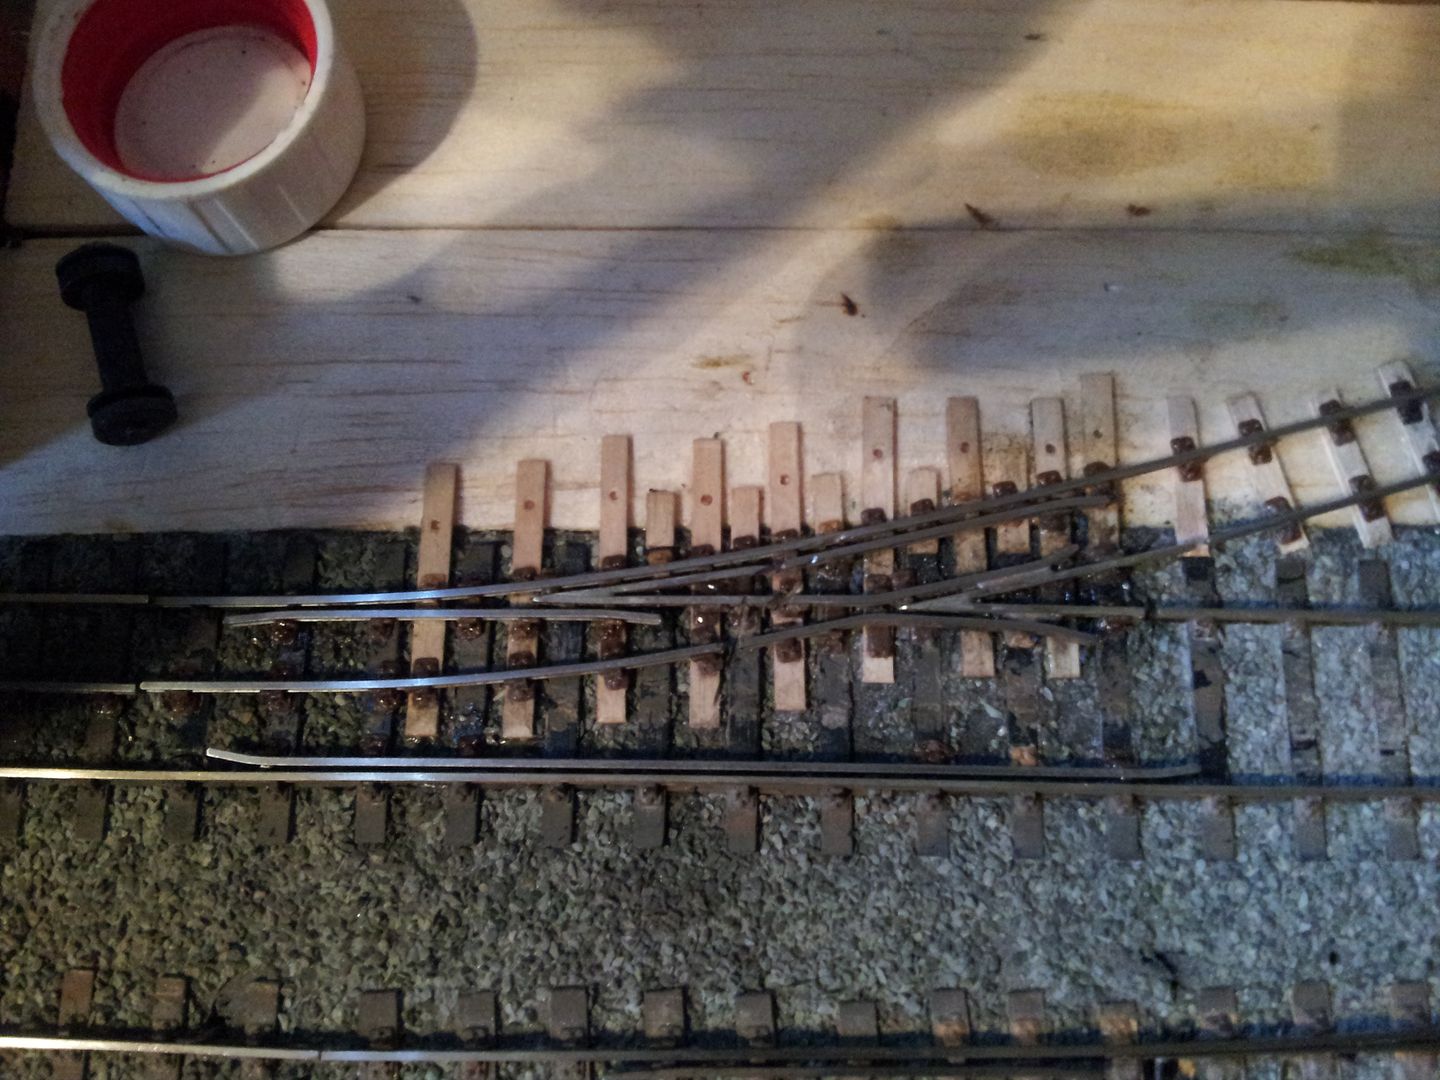
Right then, what follows isn't 'quite' a turnout, but it sort of is as what is shown 'turned out' and the formation...turns out. I'll leave the correct terminogy for those of you who know better as I'm still picking things up.

A dear friend of mine, sadly distant and rarely seen due to geography came down for a few days and we had a lot of fun (and frustrations!) bodging up a 009-P4 crossover with nothing but a single photograph and a home made 9mm track gauge from an RTR wagon weight. Call it P4-09?

Mixing standards isn't clever I know so I want no whinging from the purists! Ok? Good. :D You know I don't always follow convention and I just go for it sometimes, deciding myself what I go to town with for accuracy and what I just bodge, railway modelling should be fun so here we go.

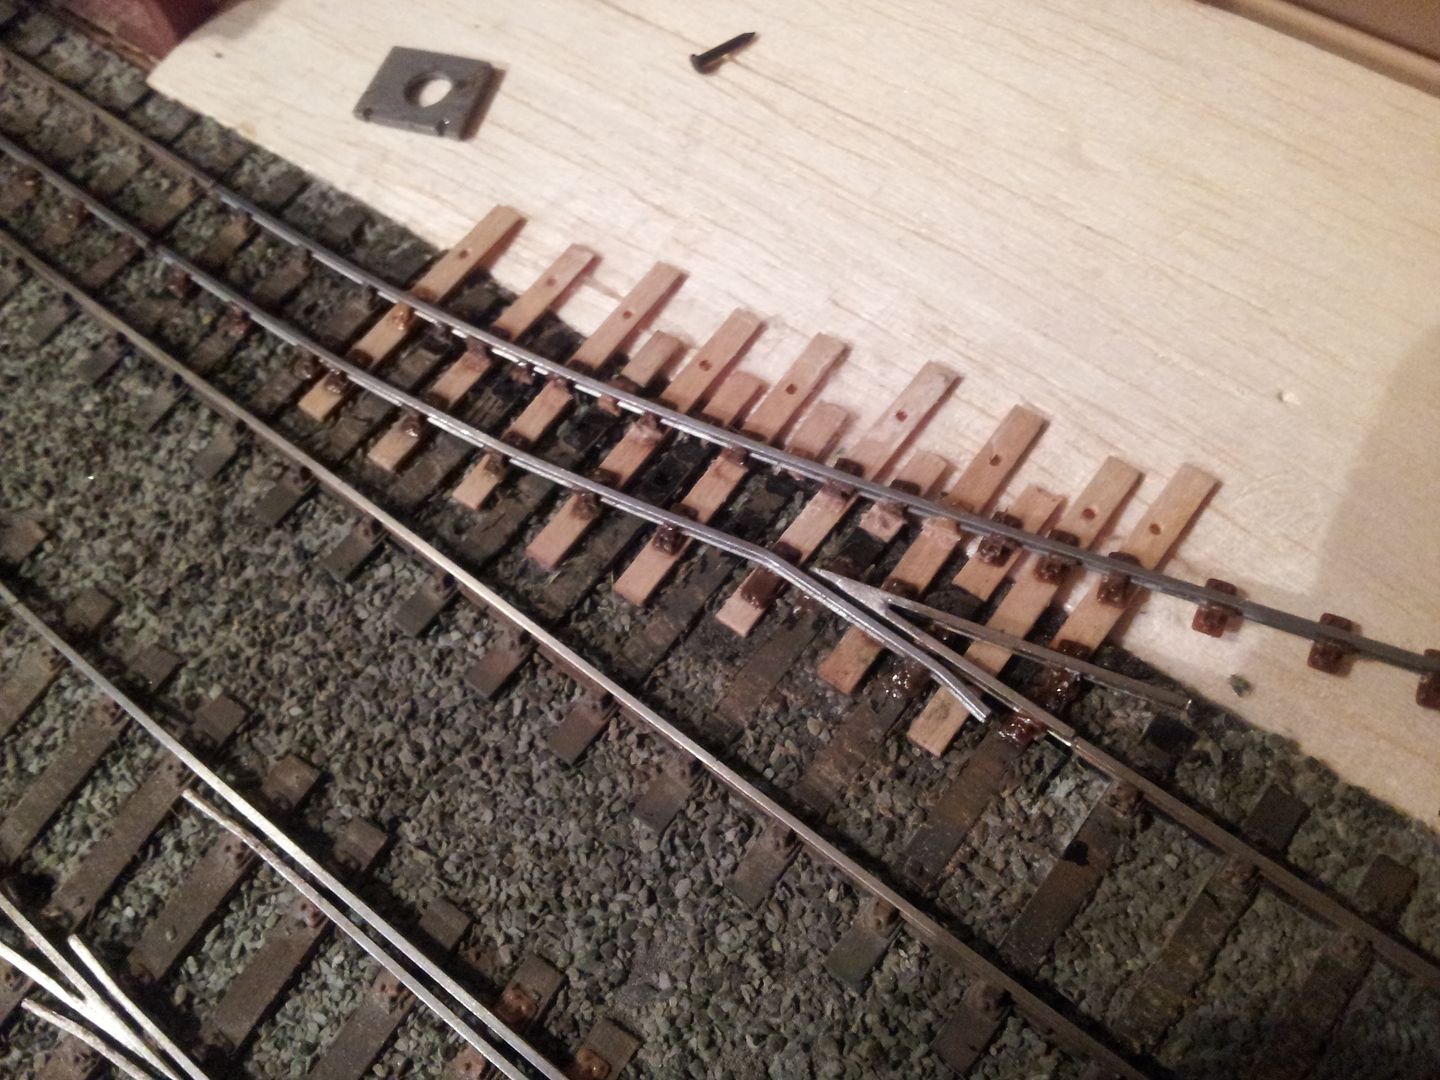
Ok, 009 track built using cut down half depth plywood sleepers, C&L & Exactoscale chairs and Butanone. Tops of chairs had to be shaved with a knife after.

Some of the formation was bodged (love that word) in to C&L flexti track - the most awkward choice but it was already laid so existing chairs were either shaved off or smoothed over with a soldering iron. I don't lie when I say I bodged it. :O

Super glue was used when things got awkward, making the chairs for the check rails meant they had to be Rizla paper thin as I couldn't alternate build them with the stock rails like you should owing to the fact some of the track was RTR. If I was making this from scratch and I had lots of time I would have got a proper template and did it at the desk with some TLC but seeing as we had a night and a bit together it was a rush job built in situ - very good for an aching back.

So what do we do about the 009 gauge? I made one out of PCB but it didn't turn out so well thus I found an old RTR wagon weight, scribed some lines 9mm's apart, squeezed it between my mini vice and abused it with a hacksaw. Crude but effective.

Eeeyz Good Iniit...
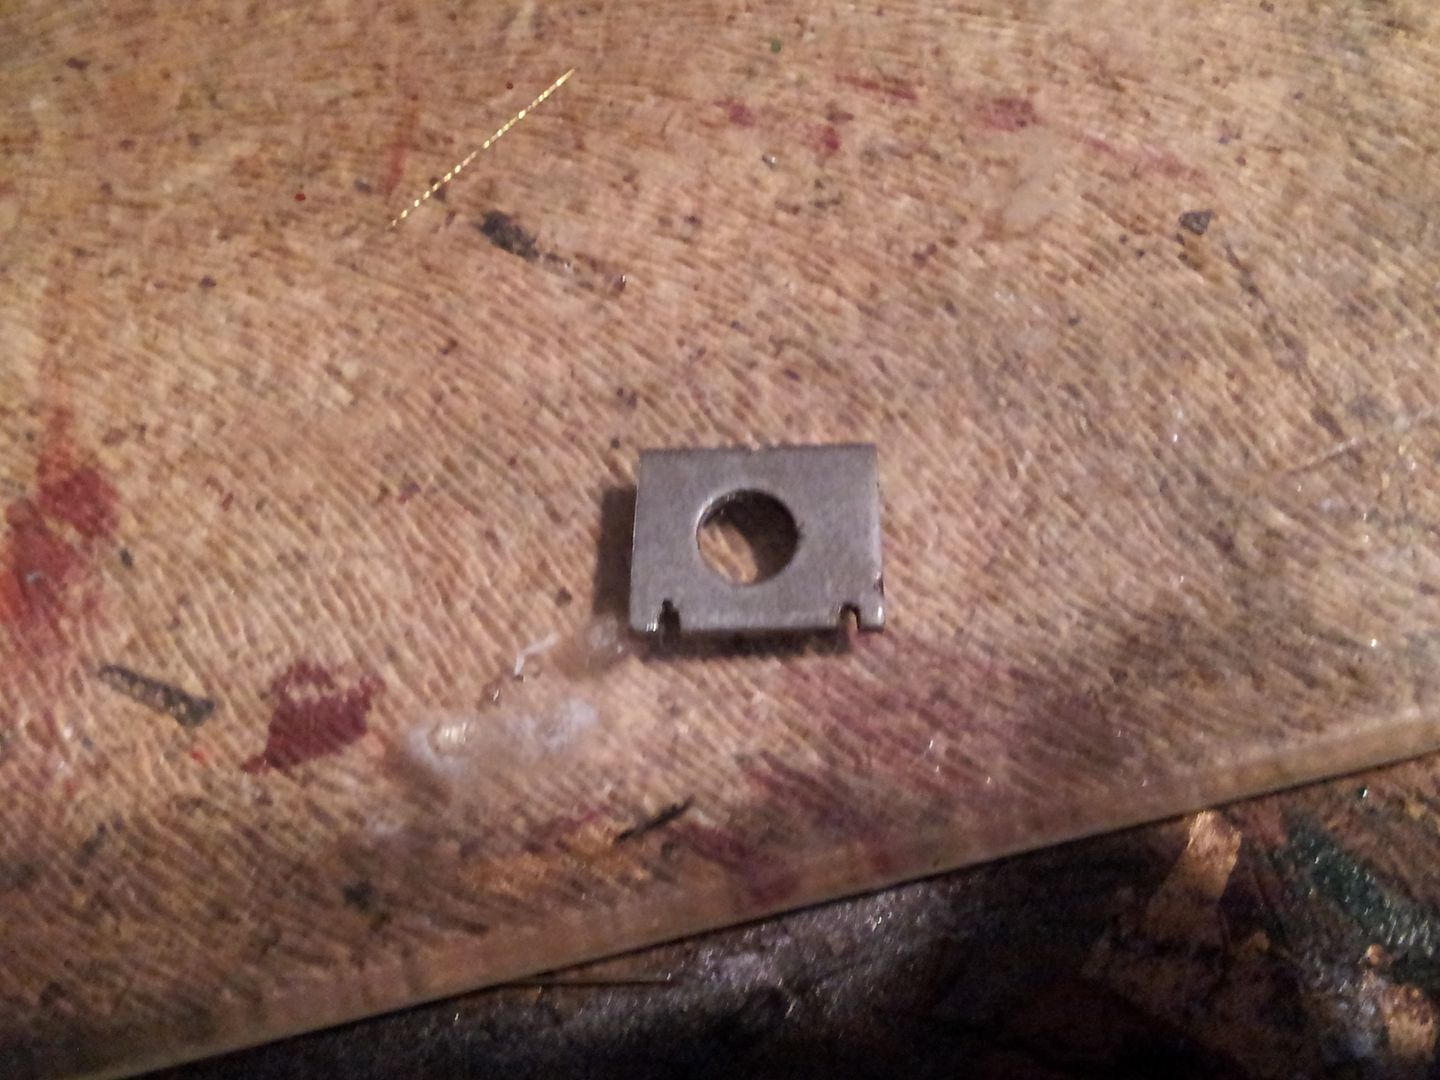
0%20009%20Gauge.jpg

The Common Crossing / V / Frog / Toad / Pointy thing was again bodged up with nothing more than me hovering over the formation with two bits of rough cut rail, positioning them so they 'look good' and then remembering what it looked like and subsequently transferring them to the desk and trapping them between some track pins as a crude jig. Cutting angles were estimated and they were tack joined with solder before test fitting. Took 3 attempts until I was happy - wasn't quite as hard or impossible as I thought it would be. Finesse! :D

The 3 rough crappy bits are where my mini disk slipped for the insulation breaks and made a mess of things, on top of that it is now overtly evident I need to source a much finer disk blade as this one puts gaps in the track wide enough for a squirrel to stretch out between. I filled the gaps with some plastic card cut into bodge blocks, superglued in and (you guessed it) smoothed out briefly with a soldering iron then finished with files. It looks bad but serves as a nice bodge.

The flange way gaps for the 009 bits were estimated using the P4 check rail gauge but made to be a very sloppy fit. I didn't have a 0.76mm gauge and 009 is a bit more crude as a standard and again we didn't have much time so.....yeah. Works! Sod it.

Sleepers were interlaced. Why? I really don't know, think I was trying to be clever or an idiot. Probably the latter, in hindsight I should have just extended the existing ones but the obvious wasn't to me at the time, oh well. As this cross over was an experiment on a whim aesthetics can take the back seat. I did (am doing) this P4 layout (plank) as a test and experiment so it was the perfect canvas for such escapades.

Am I off my compensation rocker? Up to you to decide. You can say I haven't a clue what I am doing but it works and I learnt how to bodge in situ in less than ideal conditions.
Finished result. Could it have been neater, more prototypically accurate and all that? You bet.
Do I care? Nope.
Am I happy with it? Yup.

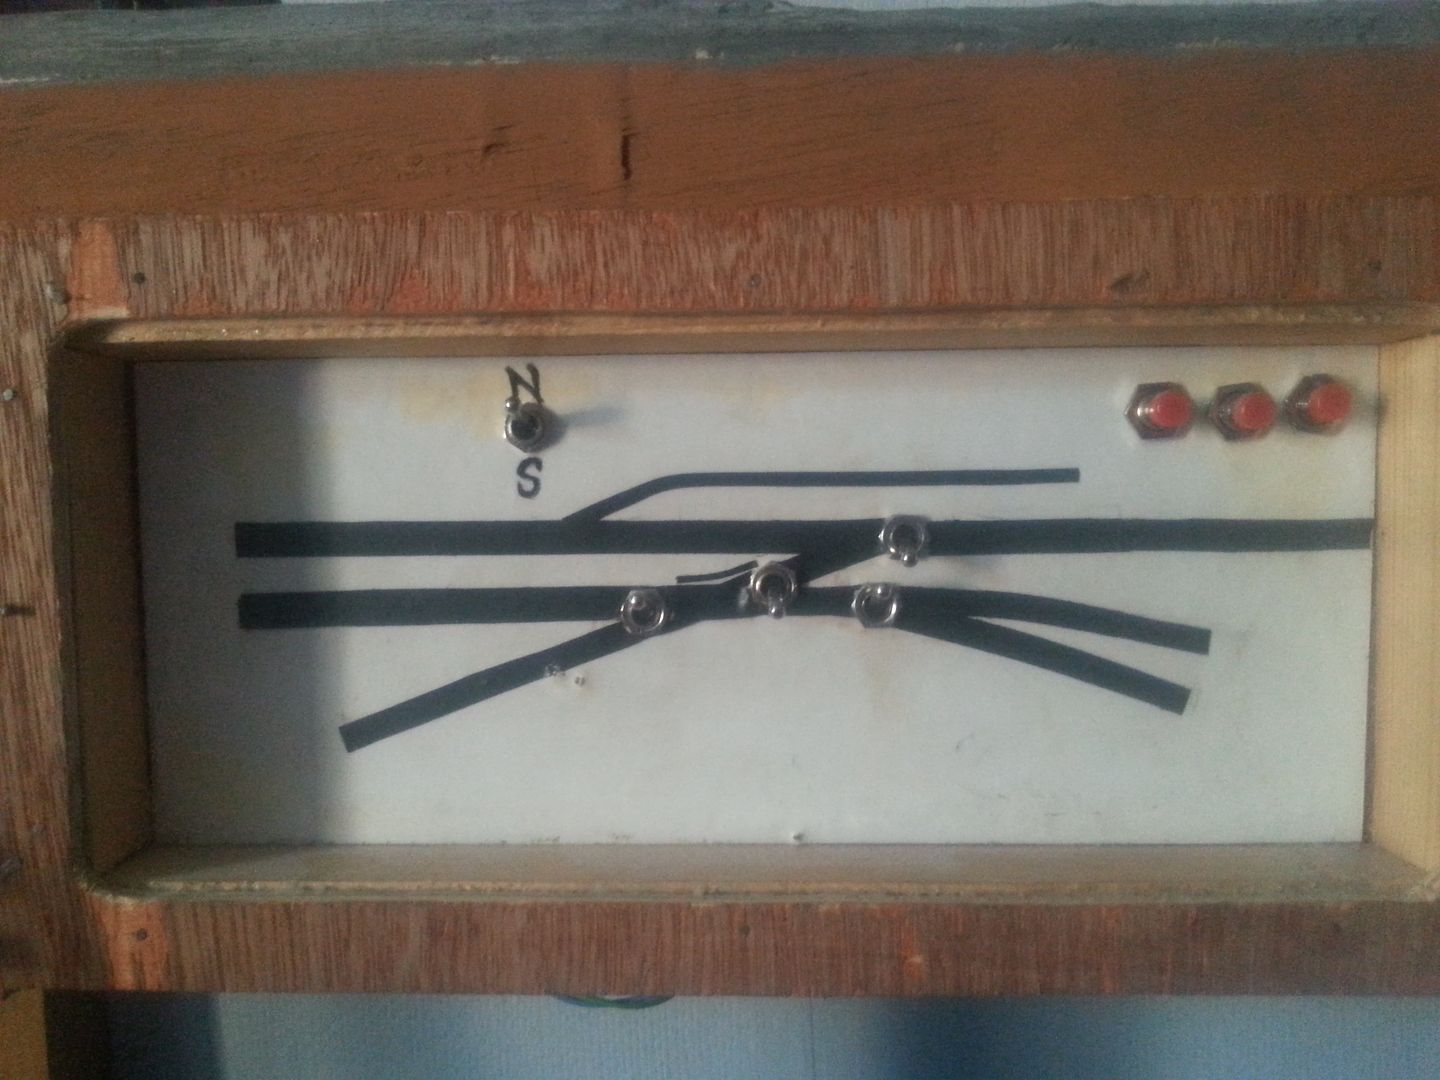
Construction pics and finished pics. That switch I had to wire up doesn't stand for North and South, but rather Standard and Narrow!
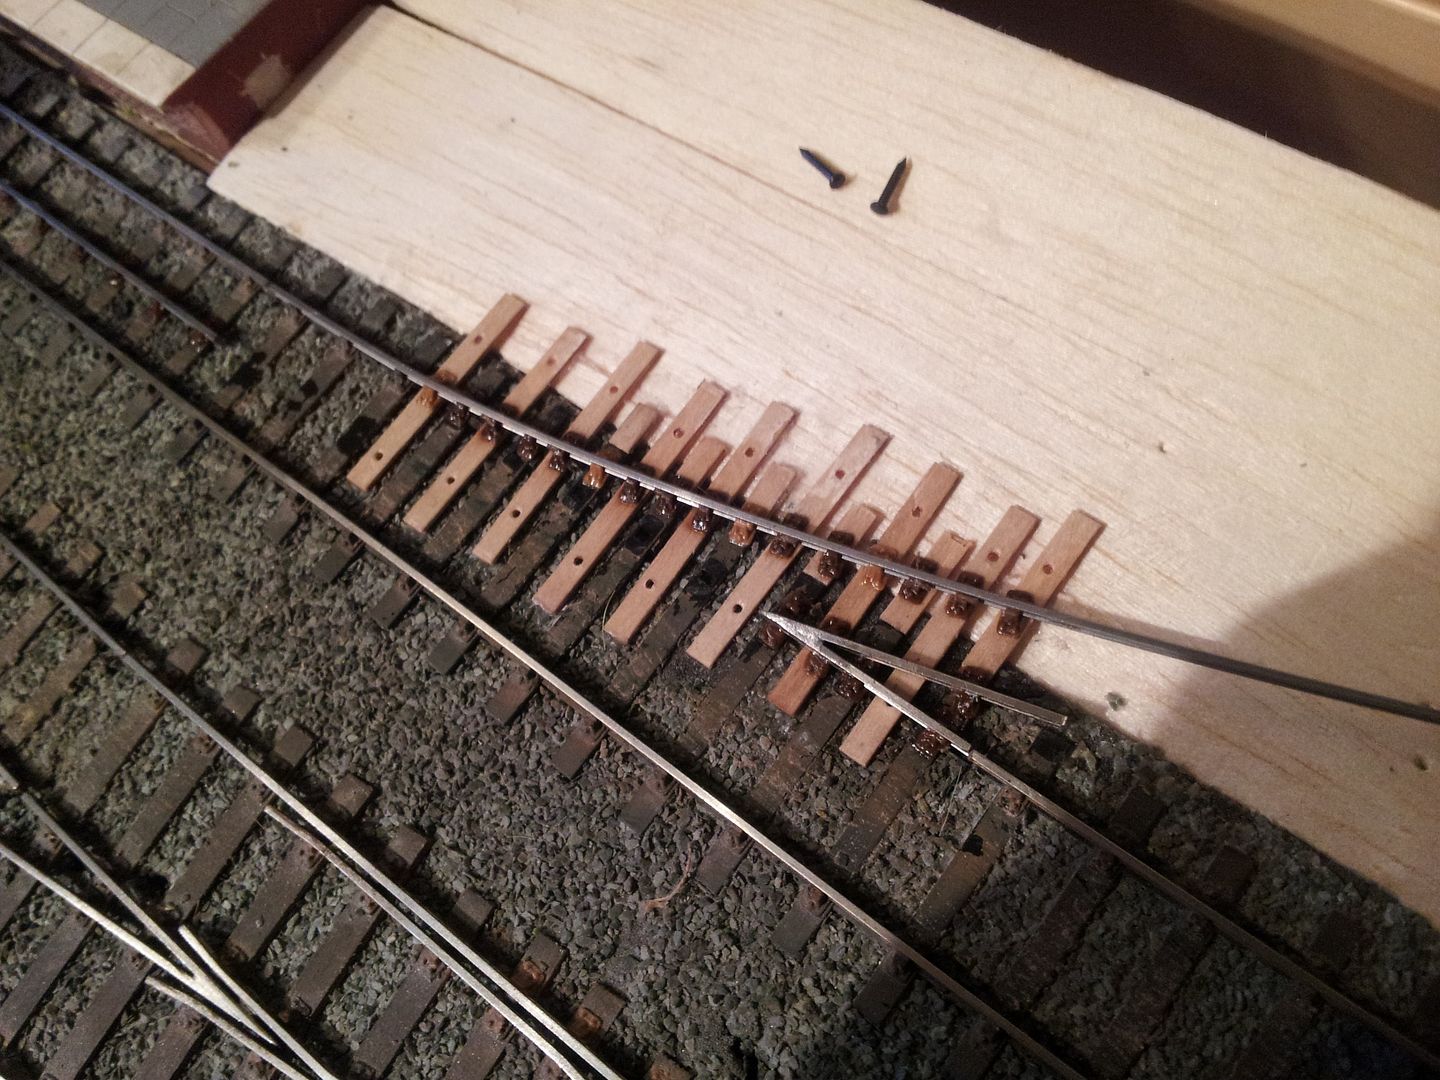
20160706_205950.jpg

20160706_222029.jpg

20160714_203211.jpg

Control%20Panel.jpg


1_1.jpg

2_1.jpg

For a Video VLOG explaining and actually filming the construction of this crossing please watch the following link. ;)

  • Like 2

10 Comments


Recommended Comments

"Duel" gauge? Are they having a fight after demanding satisfaction?

I guess so. Damn grammar. Oh well, too late now. :-/

Link to comment

Also, on the last photo, and it may be an optical illusion, but the nose of the "V" seems very slightly skewed to the left. Narrow gauge stock may not have a problem running over it, but standard gauge might find a flange gets squeezed when rolling through!

Link to comment

Also, on the last photo, and it may be an optical illusion, but the nose of the "V" seems very slightly skewed to the left. Narrow gauge stock may not have a problem running over it, but standard gauge might find a flange gets squeezed when rolling through!

No you're right, it is a wee out as you described.


Things still 95% of the time run through ok though! Somehow.


If it wasn't such a rushed bodge and it was done with a template at a desk I'm sure it'd be a lot better. As Me and Adam rarely get to meet up though it was well and truly an opportunity to do something together as a challenge and with minimum time. We basically had a night and a bit and that was it but when we ran out of chairs I had to order some more from C&L and by that time sadly he went home so I had to finish it myself. Had I not pointlessly interlaced the sleepers I may have had the chairs at the time, oh well! Live and learn.


Was all fun though and it is working. Those 2 narrow gauge coaches you see can be buffer to buffer shunted through the crossing both ways with the Skarloey and they don't fall off so that's good too.

Link to comment
  • RMweb Gold

This is so rock and roll. I don't normally use the word "cool" about model railways, but that's what this is - the trackwork and video both. Mould-breaking.

Link to comment

This is so rock and roll. I don't normally use the word "cool" about model railways, but that's what this is - the trackwork and video both. Mould-breaking.

Hehe, cheers. :)


Doing modelling with a friend is a VERY rare event for me. Always worth making a video of it and having a laugh at once.


This may sound pathetic but I like the vid too, is a great momento for Me and Adam as we don't see each other often due to geographic distance mainly and as for the 'P4-09' crossover or whatever you call it that was rather gung ho with limited time, but with a mate the motivation was up 10 fold.

Link to comment

Like the video, my only qualm is the smoking in the video. The interlaced sleepers are prototypical on many railway systems, particularly in Ireland. Keep the good work up, LADS!


Julie


PS why do all your locomotives have faces, is this a comment on your lifestyle?

Link to comment

Have a careful look at the photograph, the blue frog, from your diagram appears to be a casting! You could add a piece of plastic to prevent the wheel drop, at la Peco.

Julie

Link to comment

For the smoking blame Adam, I make no apologies for it as I'm very much a guy who doesn't like sanitizing things. Certainly not editing it out as this video was pretty much an ad lib documentation (memento) of two friends who hardly ever see each other having a banter.  In fact I did edit a lot out (a LOT) but something so trivial as smoking?   Naaaah, people smoke - not gunna hide it.  I'm not into presenting things a certain expected politically sanitized way so I'm done pandering.  With me you get it raw mostly!


Thanks for the tip about wheel drop, definitely wasn't a casting what we made though!   I still would have liked to have done things neater but the time constraints and building it in situ on C&L flexi track made things harder too.  I think if I bent a Set into the curve like you are usually supposed to it may have solved the issue but as I understand it they are usually more for giving point blades clearance, as this formation has no moving parts I didn't consider it.


The faces are because we, (me especially) like the Railway Series as well as real modelling.  My preference is for the pre-Grouping scene and that is where most of my focus currently is but I also try to model Wilbert Awdry things more accurately than is usually seen - it's what I have mainly been known for this past decade on various internet outlets, if you have a look in my RMweb gallery that hasn't been updated for eons you may see a Blue Sausage.   What did you mean by lifestyle wit faces?   Must be honest I'm unsure.


I know interlaced sleepers were used in reality but I'm unsure if this particular formation needed them, it was more an idea on a whim.  In hindsight it looks like I could have just extended the normal sleepers and we would have been alright, further more if we did it normally we wouldn't have ran out of chairs so we could have got more done together before Adam went back home, but never mind!  Live and learn I guess.


Thanks for the comment. :)

Link to comment

Create an account or sign in to comment

You need to be a member in order to leave a comment

Create an account

Sign up for a new account in our community. It's easy!

Register a new account

Sign in

Already have an account? Sign in here.

Sign In Now
×
×
  • Create New...