


aardvark
-
Posts
994 -
Joined
-
Last visited
Content Type
Profiles
Forums
Blogs
Gallery
Events
Exhibition Layout Details
Store
Posts posted by aardvark
-
-
This thread seems more active than when St Enodoc is actually doing something.
-
 2
2
-
 1
1
-
 11
11
-
-
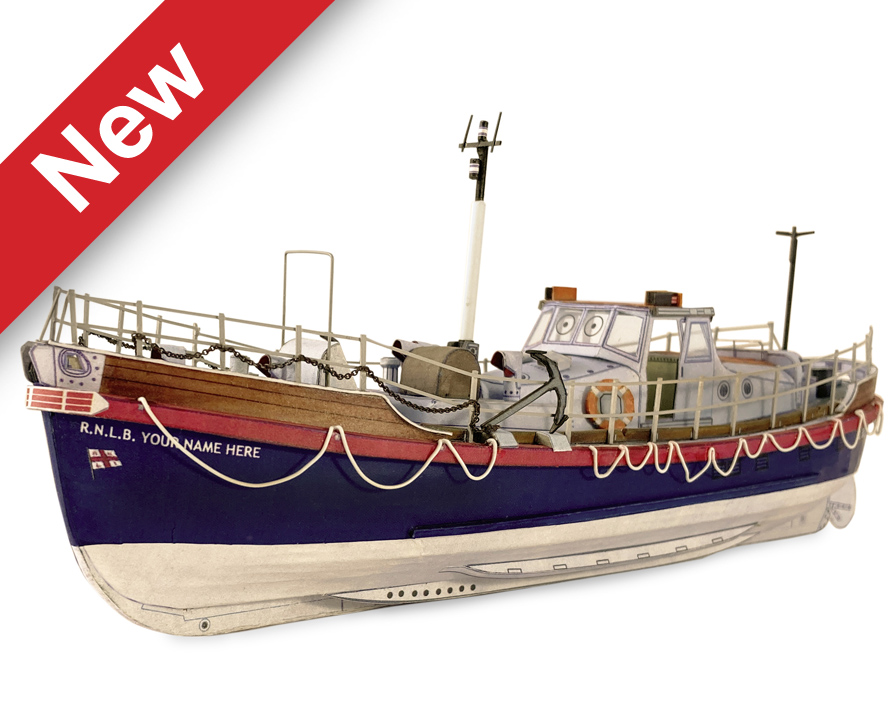
I recall you were on the lookout for the next project: how about one of these:

https://scalescenes.com/product/t040a-lifeboat/
-
8
-
 1
1
-
-
Thanks to everyone for all the "likes" - I'm pretty sure that that's my first "Popular post", and I'm a bit chuffed.
I think the next activity will be the adjoining external platform, which will be separate from the building but still removable from the layout as it crosses a baseboard join.
Here's a mock-up to help check alignment, height, distance from the track, gradient of the ramp, etc, etc.
-
13
-
-
20 minutes ago, MrWolf said:
Seconded, very neat and precise work there. The stone quoins look flawless, especially given how much of it there is and the painting of the rest of the stonework has been more than worth the time and effort.
(blush)
It's Scalescenes paper.
-
1
-
-
- Popular Post
- Popular Post
After nearly a year, the station building for my beginner's OO layout of 1950's Banff Scotland is (mostly) finished.
Construction is detailed in my layout thread, starting here.
-
16
-
 6
6
-
- Popular Post
- Popular Post
Well, that's that then.
There are plenty of errors, some corrected, but after nearly a year, and with so many other things that are needed on this layout for it to be viewworthy, I think that it's high time to move on. At some stage, the station building might get downpipes and vent pipes, and a few chimney pots are waiting in the wings for me to find an appropriate dirty terracotta colour.
-
9
-
20
-
 5
5
-
I wanted to join the circus, but there were too many hoops to jump through.
-
1
-
7
-
-
... like being spoken to by Aunt Edna.
-
6
-
-
A couple of weeks later, and I've finished pasting paper slates. I have to admit that this has gone faster than I thought.
With the tedious part over, I've started the tedious part of cutting between the tiles with a scalpel. This provides a subtle texture to the otherwise flat surface, and helps to disguise the joins.
One of these has had this treatment. Can you tell which?
-
6
-
1
-
-
I got an ‘A’ for my origami assignment, after I turned my paper into my teacher.
-
2
-
1
-
9
-
-
13 hours ago, Graham T said:
And how she looks after a day of much pottering...
Perhaps doesn't look much different in this first pic?
Various mixes of light brown, black, and rust applied to the bottom and front faces of the cylinders. Also some slightly toned down rust on the rods from the cylinder fronts - no idea what they're called I'm afraid!
Similar colour mixes applied to the steps, as well as some graphite on the handrails, and brake dust - on the brakes, surprisingly...
And meanwhile on t'other side...
Some staining on the side of the firebox, as per a prototype photo (well, as close as my ham-fisted efforts could get it).
Pipework picked out, again as per prototype pics. I think this needs toning down a tad though?
And another overall view. She now also has her rather natty 3D smokebox plate courtesy of @railtec-models. Still a little bit to do; crew to be added, and lamps, and I might try some very light smoke powders along the top of the boiler. What could possibly go wrong?!
For someone who has lost his mojo, that is exceedingly good.
-
1
-
 1
1
-
-
My first home had 1 metre high ceilings. I couldn’t stand living there.
-
12
-
-
I threw a ball for my dog on the weekend. Well, it was his birthday, and he looks good in a tuxedo.
-
19
-
-
No, at Encombe Town. Do try to keep up,
-
1
-
8
-
-
23 minutes ago, Tortuga said:
Is all this skylight work being done using a silhouette cutter?
I’m thinking scratch building the signal box on my layout is the way forward, but I’m not looking forward to cutting out all those small window frames!
Yes, but ...
Window frames are cut from 10-thou plasticard using a Silhouette cutter, but the finer glazing bars are scribed into the glazing (clear plastic), which is then filled with paint. Scribing is also done with the cutter, but doesn't absolutely have to be.
I'm also aware of etches for signal box windows (Scale Link?), and Freestone do a range of paint-on-clear-plastic glazing bars. I bought the Freestone product but couldn't make the sizes work
for me.
-
1
-
-
The spray booth got another outing today to make more skylights.
The previous mentioned skylights are up near the ridge of the roof and are a scale 342x25mm each. Today's go down near the edge of the northern roof, and are a scale 6x4mm. You can see them on the drawing below.
I made 6 so I can pick the best ...
... and I sincerely hope I don't have to make any more.
I am reminded why I didn't choose N-scale.
-
6
-
2
-
-
I bet he has hopping mad.
-
5
-
-
Research has shown up Balmoral Road by resident @brossard. This is a 7mm exhibition layout, and his backscene is boards (mdf?) which sit on top of the baseboards, held in place with magnetic kitchen door catches against 2x1 uprights screwed to the rear of the baseboards.
Miracle of miracles, the crucial post actually has photos ...
I will continue the research, as there's undoubted other options out there.
-
2
-
-
5 hours ago, St Enodoc said:
I am now officially old. My NSW Seniors' Card arrived in today's post and I've already started using my Gold Opal card, which gives me unlimited travel on Sydney Trains, NSW Trainlink Intercity, buses, ferries and light rail services for a maximum of $2.50 per day - lunch at Kiama, anyone?
Noice.
Being a country resident, we can go from my hometown to Gloucester, a distance of more than 500km, for $2.50. But no further. It also takes forever (>9 hours), and requires a stupid-o'clock departure or an even-more-stupid-o'clock arrival.
-
 8
8
-
-
Yesterday's photo has me thinking that I should be thinking about backscenes. The idea is to write something here, hopefully get some ideas and suggestions, with a view to doing something in a couple of months. I've already bought ID Backscenes premium Overcast Sky P503A and B, so have 4 sections of 1.5m each in self-adhesive polypropylene, but the question is how to mount them to the layout.
The layout is 4 baseboards of 1.2m. These spend most of their lives on shelves in the garage, so the backscene needs to be portable, disassemble-able and store-able.
One option is to mount the prints on ply, card or mount board. This would stiffen the prints up dramatically, and might mean that'd have to be done in 1.2m sections to match the baseboards, or 1.5m sections to match the prints themselves.
The other option would be to not mount the prints, and to have some sort of frame to hold them to the back of the baseboards. I suspect getting unobtrusive joints between the prints might be difficult.
-
 2
2
-
-
The baseboards came out this morning - first time this year - so I could trace the outline of the outside platform using the conventional pencil-on-the-side-of-a-carriage method. It was good to see the station building in situ.
-
7
-
-
That was an exceptional reply. All becomes clear!
-
1
-
-
-
1
-
-
Success! In fact, so there was so little cussing today that I'll make another one.
Five shorter sections (66-79mm) were cut and painted. The David Neat blocks again came into use: the acetate was pushed back against the larger block, while the small one was put on top to stop the acetate skittering off. Each frame section was lightly sprayed on the back in turn, then placed down onto the acetate using the Neat block and the previously laid section as guides.
Here is a close-up of the worst of the four joins.
I think that the bottom leg might have been missed by the spray adhesive altogether - I'll try nudging it into position with a Neat block tomorrow, then a touch of regular adhesive, or perhaps just a spot of paint would be enough? But you'd be hard pressed to spot this join in the overall photo, and from Normal Viewing Distance ...
I'd give myself 9.3/10.
Here's a photo of my spray booth. A little bit exposed, but well ventilated!
If anyone's interested in some 5.25x23.5mm bits of 10-thou plasticard, do let me know. Ready cut, easy to handle, Aardvark's Individual Emperor Plasticardettes*! A million household uses! As used in hospitals!
* with apologies to Monty Python.
-
3
-


Little Muddle
in Layout topics
Posted
I note that you didn't hint at which Christmas.