


D6775
-
Posts
1,342 -
Joined
-
Last visited
Content Type
Profiles
Forums
Blogs
Gallery
Events
Exhibition Layout Details
Store
Posts posted by D6775
-
-
Still slow progress but I was eventually happy with the yellow and have masked up and started the blue. There have been a few bits where I've had some drips and had to rub back and start again but its nearly there. Another coat or two and it'll be time to take the masking tape off.
 Heljan O Gauge 26 Body Blue by endoftheroad, on Flickr
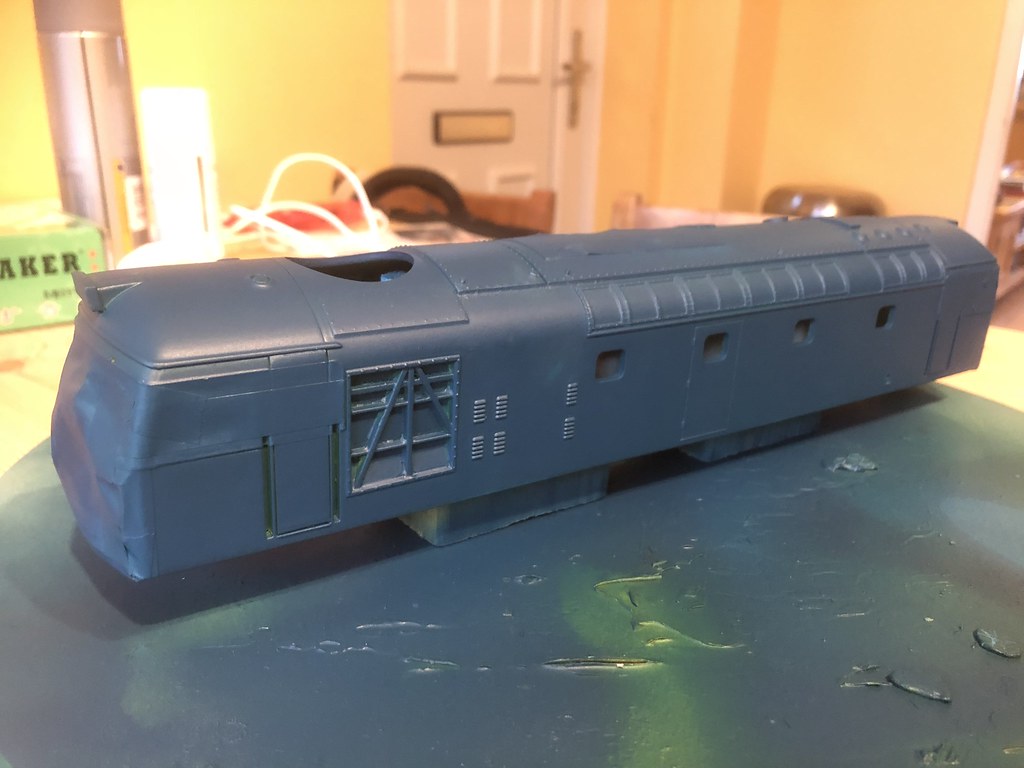 Heljan O Gauge 26 Body Blue by endoftheroad, on Flickr
-
 2
2
-
-
Just noticed your avitar - I spent a happy afternoon snapping one of them (or similar) on the Stony Point line some years ago!
Hi Ian, Its a Victorian Railways B class builtin 1952/53, what you would have photographed on the Stoney Point line would have been an A class which we're a re-build and re-engine of B class loco's in 1984/85. The Stoney point was still hauled the first time I went to Australia but there we're also still B's & S's working to Warnambool for WCR so I didn't go down there!
A60 at South Gellong in 2009 I think:
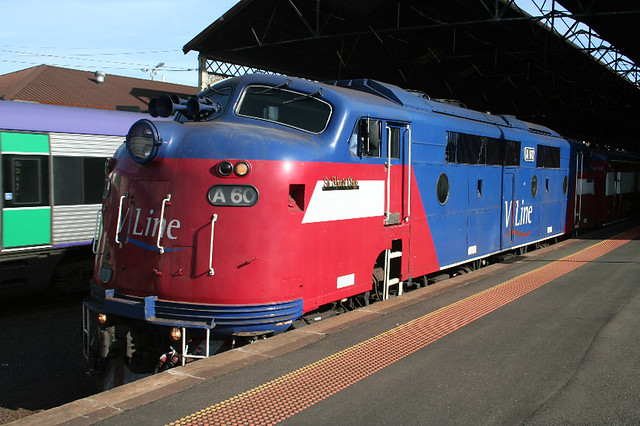 A60 Geelong by endoftheroad, on Flickr
-
1
-
-
Very interested in a pack for the Stagecoach FO's if they're anywhere near, just found a pair of donors in a box! I also have a ticket outstanding but as I said in my initial message I am in no rush, so not expecting a response straight away. Hopefully this spring/summer I'll finally make some progress on a few things!
Enjoy your snowy photography at the EVR, not been for a while but its a most enjoyable run.
-
I've done the same mods to the bogies on my 26! Makes a world of difference.
-
Those buffer stops do look rather nice, will be keeping an eye on your progress. I Keep getting tempted with a 60 but must resist!!
-
Cheers Lee.
Slow progress at the moment as I'm lacking motivation, but the first couple of coats of yellow have gone on this week. A couple of spots that want rubbing back a little (Paints is a bit thick) and another coat should do. I'll probably touch in the cab handrail recesses and the tail lights by hand.
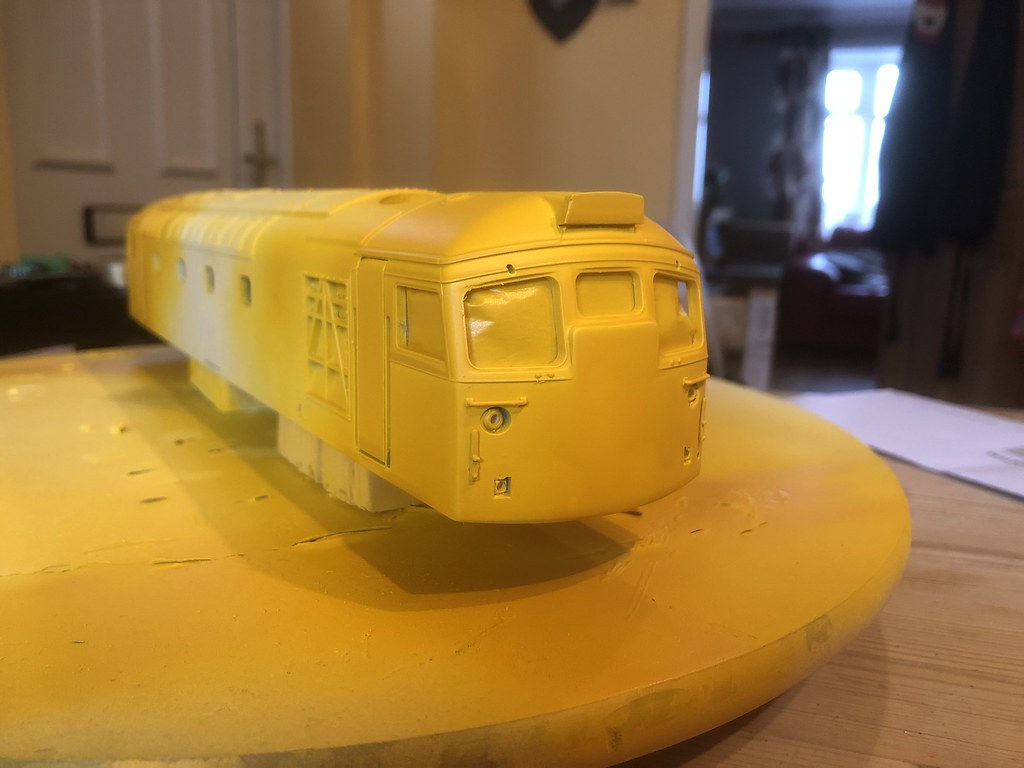 Heljan O Gauge 26 Body Yellow by endoftheroad, on Flickr
 -
2mm will never be my thing but this is fantastic, always enjoy looking out for updates.
-
A better picture now the sun is shining into the kitchen.
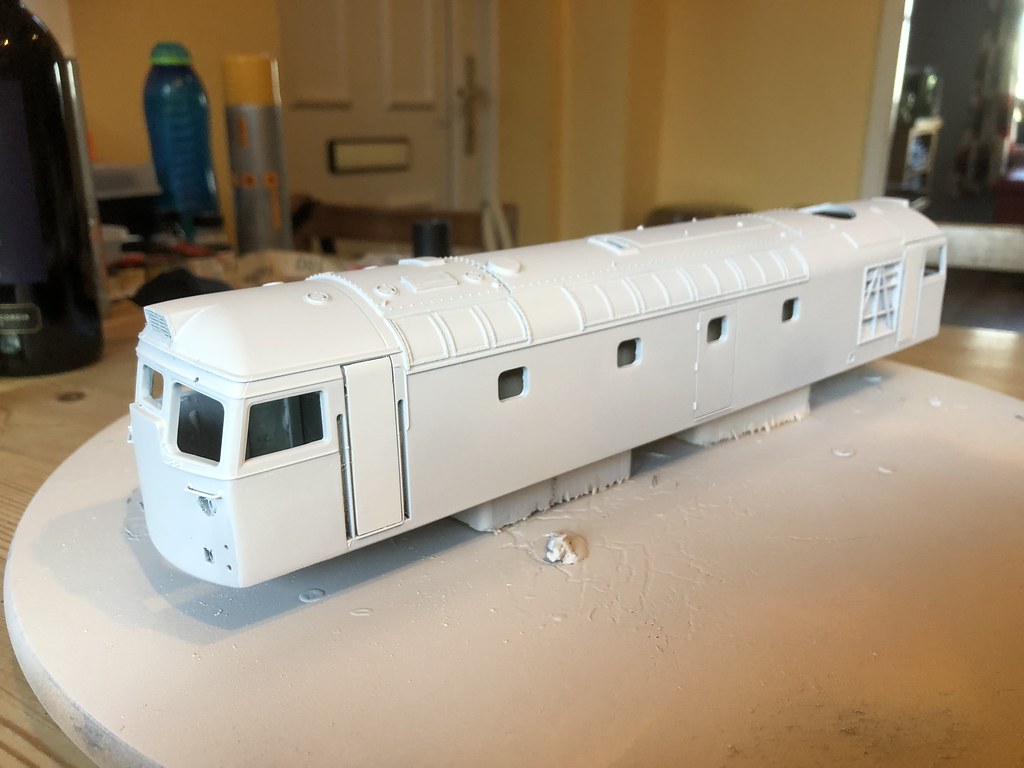 Heljan O Gauge 26 Body Primer by endoftheroad, on Flickr
I've now had a good look at this prime and overall I'm very happy with it. Some small blemishes to tidy up before another coat and a little work to do on the cab fronts as the former marker lights are ghosting through. My biggest fear was that the tablet catcher recesses would be visible, but they look ok!
-
Another one here for the Rule 1 brigade!
-
1
-
-
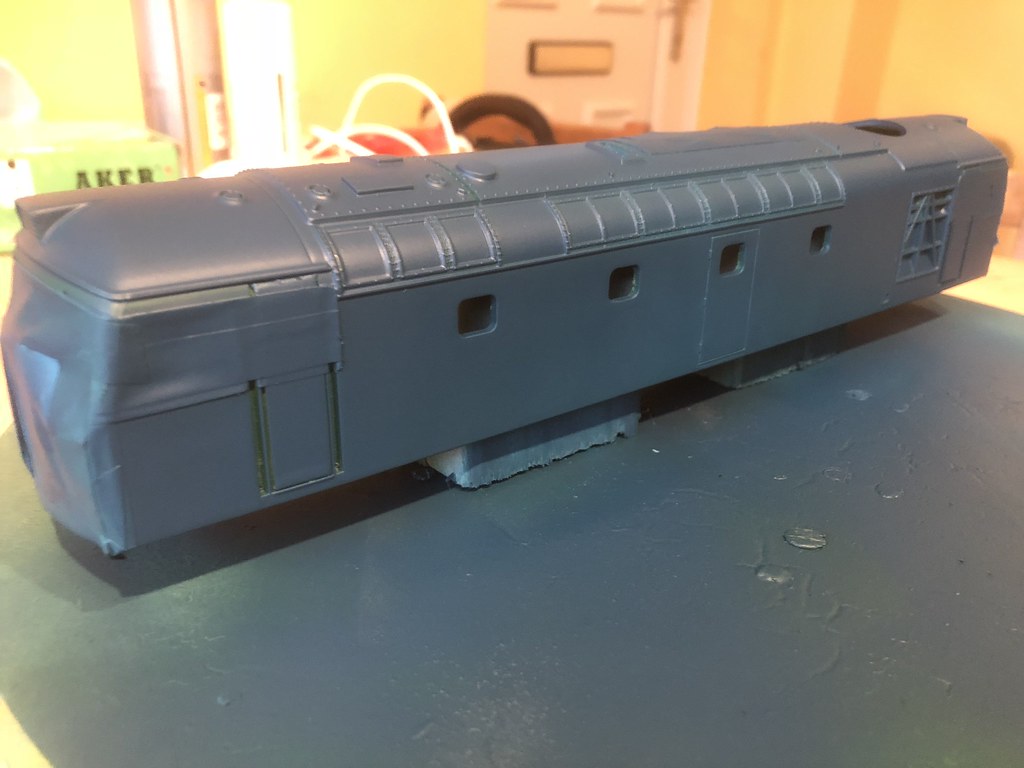
Well, first proper coat of primer has now gone on the 26, I've done a few coats of Filler/Primer on the drivers cabside. Fingers crossed the time taken filling/filing/filling/filing etc has been worth while and the holes which have been filled will no longer be visible!
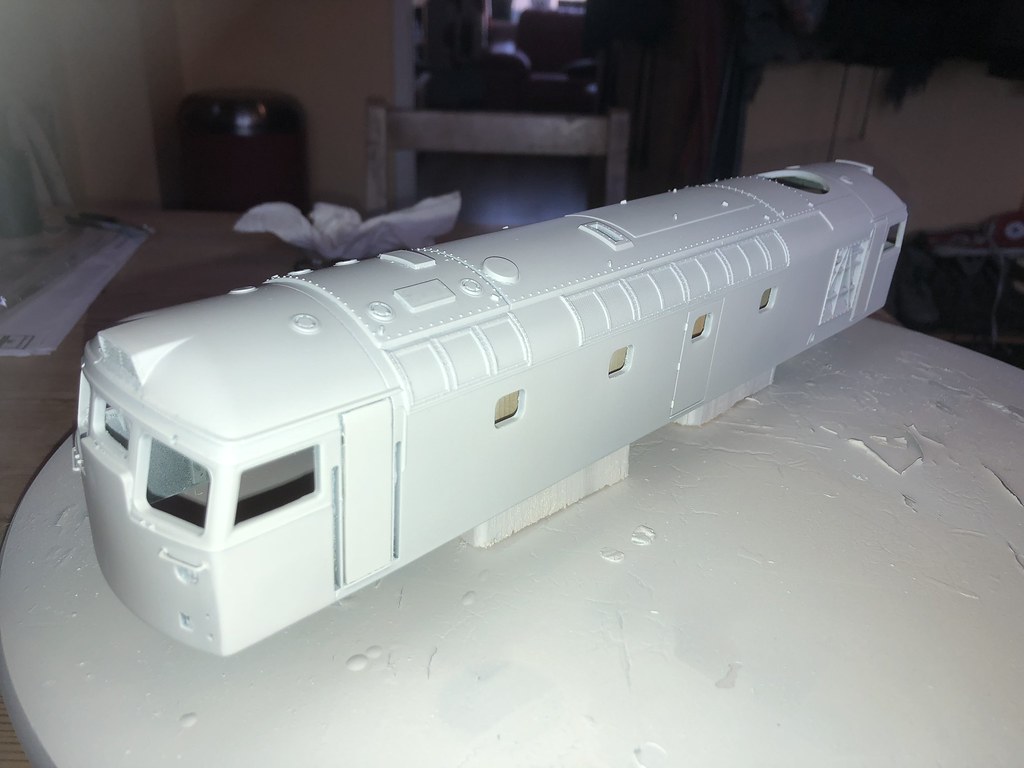 Heljan O Gauge 26 Body Primer by endoftheroad, on Flickr
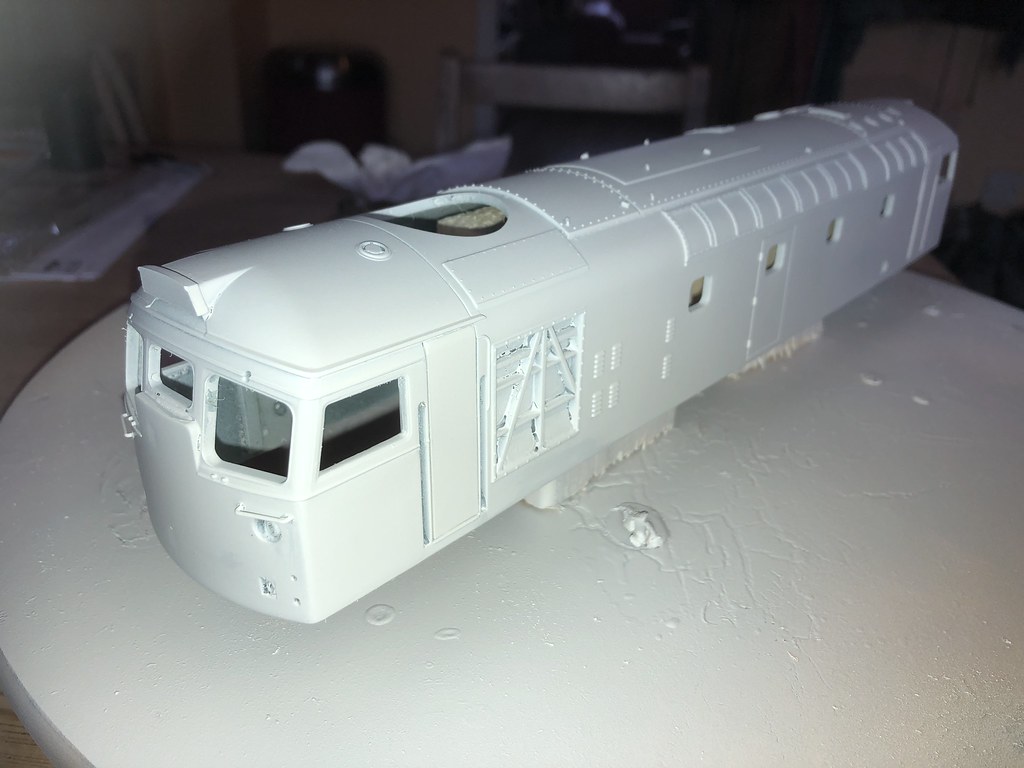 Heljan O Gauge 26 Body Primer by endoftheroad, on Flickr
I've also been painting the cab interiors but they're not really tidy enough to show!!!!
Lee, how do you go about the door handles? I am sure I have seen a post by you somewhere (here or FB).
Cheers for now.
Al.
-
1
-
-
Lots here...
Given their territory, I would have been surprised if they hadn’t.
All 26/1's & 27's! I always find it surprising they never got ploughs but don't forget that although 26's are synonymous with the Scottish region, the 26/0's (D5300-D5319) were built for the Eastern region and started life at Hornsey.
-
Well, I wasn't happy with the filled in windows in the cab doors so off they have come! New door blanks cut, filed and fitted!
 Heljan O Gauge 26 Body by endoftheroad, on Flickr
-
2
-
-
Received 26014 today, had a quick inspection of it before my tea, it looks the part, boiler grills plated over and leaf bogie springs. All the printing legible under a magnifying glass and electric warning labels appear to be in the correct position for this loco. No couplings or buffer beam detail fitted, their all contained in the separate bag along with NRN aerial panels and snowploughs (very rarely fitted to 26/0s).
Brian.
Brian, I am pretty sure none of the 26/0's carried ploughs as they didn't have any brackets to fit them!
Al.
-
Very interesting, I always enjoy a walk round Eyemouth when I'm up at the rents! I wonder where about Giacopazzi's Ice Cream Parlor was in 1923, didn't realise they had been there that long!
http://www.giacopazzis.co.uk/trade/
In 1898 Lorenzo Giacopazzi left his home in Borgo Val Di Taro (Northern Italy) to seek his fortune in America.
However, like many of his fellow travellers, he landed in Scotland and decided to make his home there instead of continuing his journey. Settling in Eyemouth, a small fishing village in the Scottish Borders, he set up in business doing what he knew best – making ice cream. So, for generations now, people have enjoyed Giacopazzi’s ice cream which is still produced in Eyemouth today with the same love and passion as Lorenzo brought to his craft.
Following with interest!
-
My great uncle used to drive the BR lorry at Duns many moons ago, this is one on my Dad's photos taken on the pick up freight quite late in the day. I'm sure he's got the loco id somewhere but the date is long since forgotten. There are a couple more pictures in an album on his Flickr site, unfortunately none them are particularly sharp.
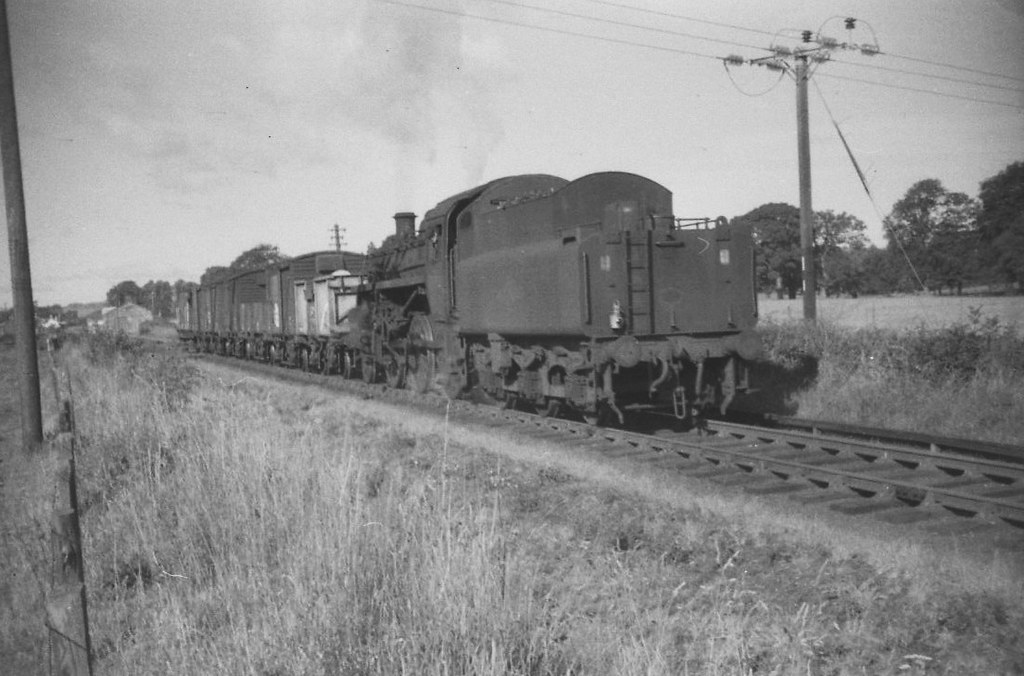 Duns Freight by Alan Tait, on Flickr
-
1
-
-
Cam,
Pete Harvey (PH/Designs) does some resin nose ends with the modified tail lights, think they’re listed as 37/6 but look to be the same as the 37/4’s. just need to check lamp brackets and marker lights.
Cheers,
Al
-
Fuel tank re-built this evening, still a few detail bits to add but nearly ready to put the chassis back together.
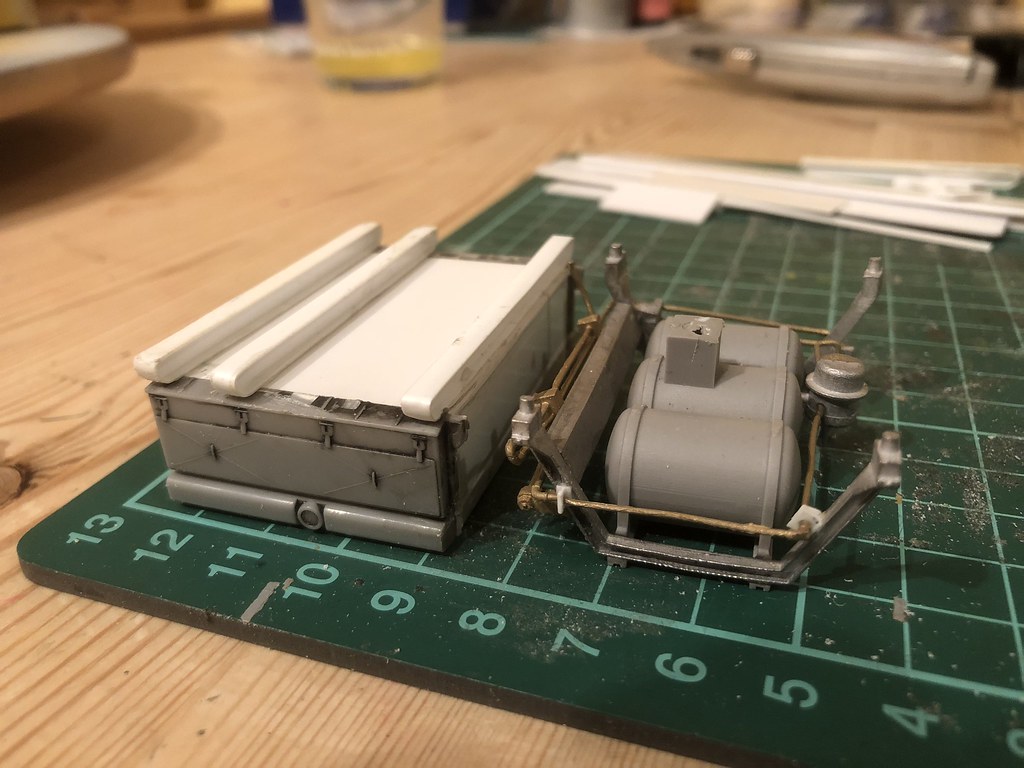 O Gauge 26 Air & Fuel Tanks by endoftheroad, on Flickr
That'll be it for a few days at least!
AL.
-
3
-
-
Thanks Lee, looking at your photos has been invaluable! Good luck, I don't envy you, I think this will be my only one!!
-
OK, so I lost my motivation during January! The JLTRT air tanks turned up and I lost patience with them when I first started to take a look at putting them together. Well tonight I have set my self up with some of Lee Edmondson's photographs on the laptop for reference and the Just Like the Real Thing Air Brake tank kit. Now at first glance it looks relatively simple, cut all the bits off the sprues and tidy up any bits of flash, then stick together. Oh no, its not that simple! As I started test fitting all the bits together I found one part of the frame was missing a locating pin and two brackets (circled in red on the instructions below). So out with some bits of plastic 'I' beam & scrap and some new brackets manufactured.
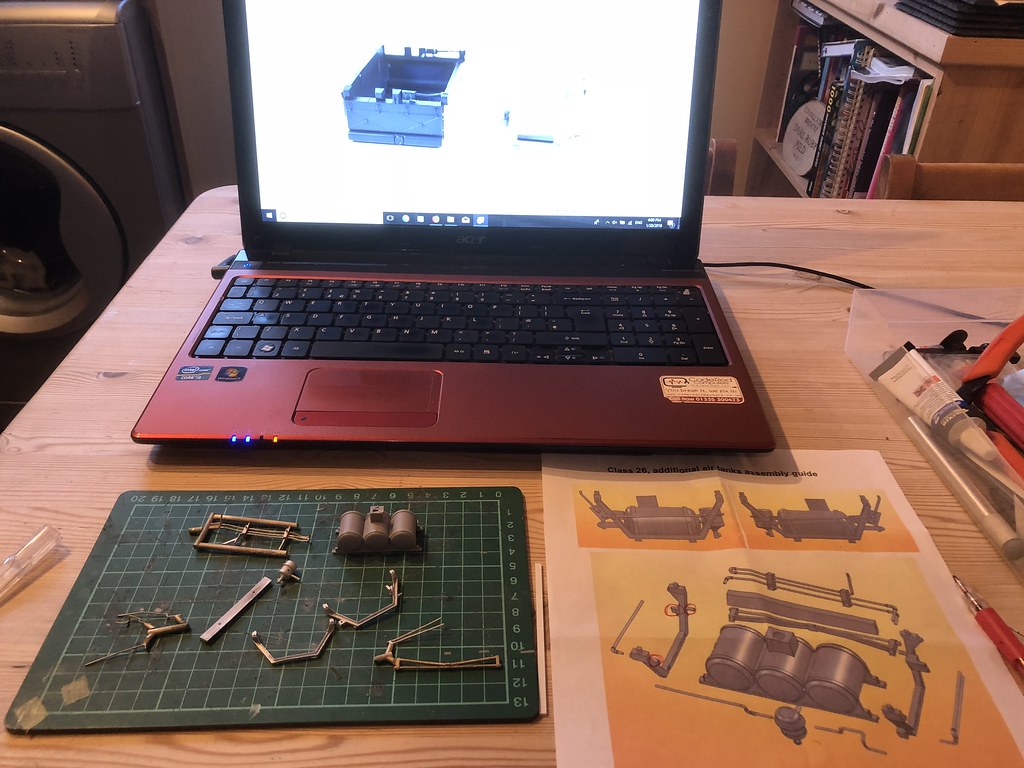 O Gauge 26 Air Tanks by endoftheroad, on Flickr
And the finished article:
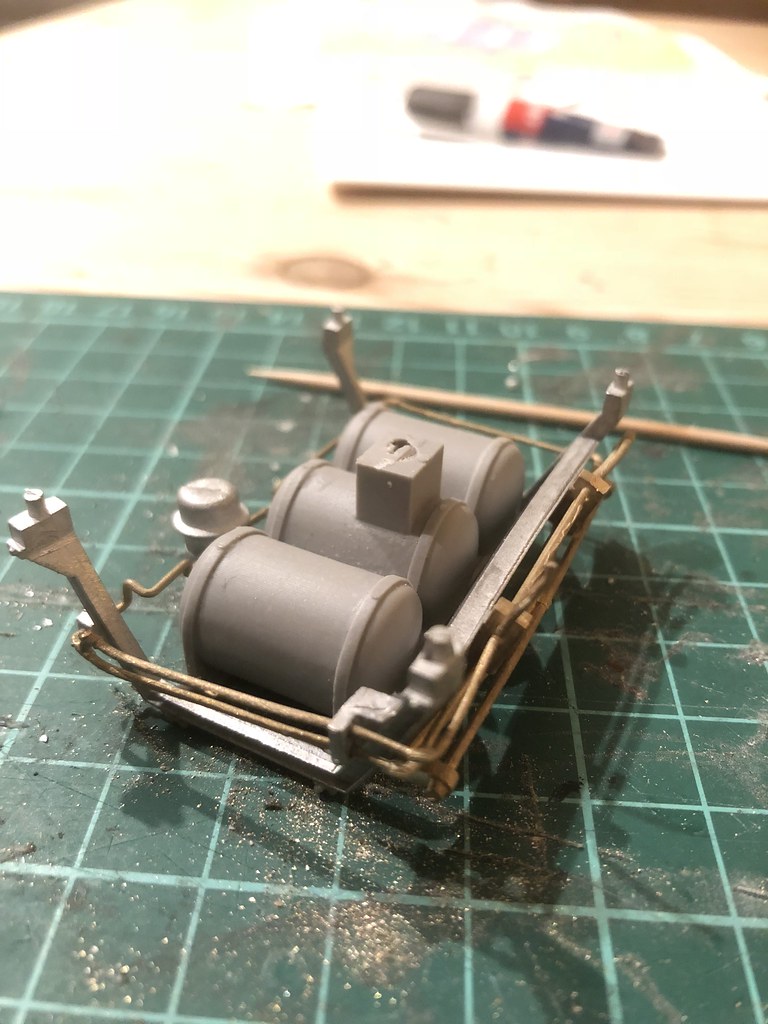 O Gauge 26 Air Tanks by endoftheroad, on Flickr
Next job is some filler/primer on the body then hopefully a first full prime!
Al (Hopefully with a little more motivation!)
-
4
-
-
Anything Aussie usually draws my attention, I rather like this, maybe a smaller loco? a T or Y so it doesn't dominate quite so much, I have wondered if I could do something with a Haskell Na in O:16.5.
Al.
-
I *think* it’s a Black 5, 45428 rings a bell.
Al.
-
I was wondering myself the other day is there was any news. An update would be most welcome. Not interested in the HAA, but the HEA & VEA could be of use.
-
Yep 56040 is spot on. You may need round buffers though
Watch out with 56040 its only right for it as it was preserved and not correct for anything in Large Logo Blue. It has the LoadHaul cant rail grill mods so only really good for something in Loadhaul, Transrail or EWS I think, maybe some of the Dutch/Transrail ones. I never bought it for that very reason.
-
Hi Adrian,
Mixing EM with HO for dual gauge track won't work HO gauge being 16.5mm & EM back to back also being 16.5mm. It had crossed my mind whether it could be done but alas not!
In terms of EMing current RTR stock as previously advised most is produced with RP25/110 wheels and therefore is not a simple pull out of wheel sets, saying this I have had the following successes:
Auscision A, B & N loco's have all needed re-wheeling done with SEM wheel pans but keeping the Aucsions axles.
Auscision wagons & Vans (various types) all required replacement wheels.
Auscision N carriages, these where a pig, needed the bogies cutting into three pieces and re-building & re-wheeling.
BRM P class I have EM'd these but I cannot remember if i have re-wheeled them or not! I am pretty sure I must have done.
Powerline T class, simply pull the wheels out with some small washers to space them.
Powerline S cars (the new ones) were a nice surprise as all they needed was the wheels spacing out. Old S cars wheels are crap so need replacing whatever you do with them.
Austrains T & X class, simply pull the wheels out with some small washers to space them.
Austrains Y class, I've had to replace the wheels on this and they fit but having trouble turning (I need to revisit this one and solve it which may invlve some trimming of the bogie frames, I may even look for some other wheels as they should really be spoked)
OnTrackModels vans, all done with replacement wheels.
Trainorama S Class - So far I have been unsuccessful with this, though I think it has been done but needs the wheels replacing/turning down and the bogie frames filing out.
In terms of replacement wheels I have used RP25/88 wheels from Auscsion, SEM, NWSL & Alan Gibson depending on the Axle lengths required. I know most of this will be too modern for you but will give you an idea on manufacturers. If you are buying kits from SEM then you can always ask EM wheels to be supplied, I have had a number of orders from him for either jut wheel pans (for the Auscison Loco's) or replacement wheels including Axles, though I have not had any for some time.
Hope some of this helps!
Regards,
Al.

Dapol 121 and 122 dmus in O gauge
in Dapol
Posted
Looks like a blue and grey one for TDB977177 could be in order.........