


johnteal
-
Posts
809 -
Joined
-
Last visited
Content Type
Profiles
Forums
Blogs
Gallery
Events
Exhibition Layout Details
Store
Blog Comments posted by johnteal
-
-

If you need any detail pics of the real thing give me a shout, I drive them

thanks rob, will no doubt be asking ! and worrying that you are now watching with an expert eye !!!
-
Hi John, as always something interesting from you! This thing must be huge, but then you are used to that scale. Glad you've found the modelling interest again.
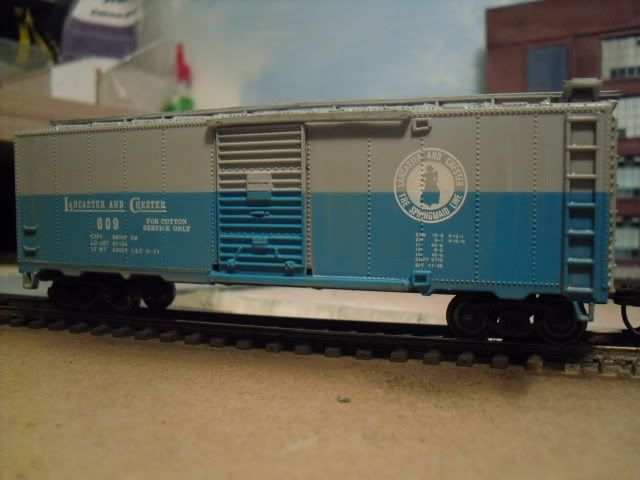
Huge is perhaps the correct definition , around 3' 6" both units connected !
-
Thanks Mozzer and Mikkel... As for Pointing Man .... he's as critical as ever !
-
thank you
-
Pointing man has been on his holidays building a fishing trawler at my dads house.. He is coming back
-
Nice to know the bridge had some life after the layout
-
Thanks Will, I tried that.. It just previews as the text code.
-
Sorry guys, just realised I made mention of a video within the post but its not there ! Cant fathom how to add a video into a post, either i have forgot more than I thought or something has changed !!!!
In the meantime if your interested you can find it
-
 1
1
-
-
Thanks for the comments and thoughts gents! I haven't been to the shed for months and spending time with my Dad has re-ignited a modelling spark. In the coming weeks I am going to have a rethink of what the shed houses and how best to use the space. Some stock will go and some will stay.... Watch this space !
-
1
-
-
£2.65 unit and optic laces Ebay item 260732847966 delivered in 2 days.
-
Thankyou

-
Thanks for all the comments,
Angliacan My 17 year old daughter works for an American product importer so I've got a little addicted to the root beer, you can order it on-line but if you do mention my name, doubt you will get any discount but it might help me to get some


Leopard, yes your right, the building all look too clinical, once they are a bit more complete they will need some weathering.
Alco could be my Mormon background showing through, Beehive industries may be next
Robbostrains The silos are real simple. 5 lengths of 50mm waste water pipe from the plumbers merchant, some strips of tape wrapped round to make the sections and a plasti-card disc glued on top. Finally some pen tops on the top. The plasti-card walkways need some handrails
-

very impressive, looks like a garratt to me
-
A 3D view (video) may help get a feel for how the shed is at the moment
http://www.youtube.com/watch?v=eTcj7jg7_lU
-

Id wait, perhaps build a couple of small dioramas to have something to do that can be stuck in a simple box. The 5 months you have may well mean you have lots of ideas and therefore enthusiasm when you get to your new home.
-
Question: Why's it took so long

Comment : Welcome to the world of proper playing and G scale trains
Encouragement : ENJOY !!!!
-
1
-
-
Looking good John, I like the down low shots very much.
Can I ask what the leafy plants are? I didn't see them in earlier pictures but they look really convincing.
They are prunings of some rather naff looking bottle brush type trees, when I find them i will post a picture of said tree !
-
No they shouldn't be that blue,I would have preferred whiter, I'm putting it down to experience !
-
All I've done so far is a light wash with Humbrol matt beige/grey (I think its No 73) heavily diluted with white spirit. The light wash takes the plastic gloss off and does gather round details and shadow them to make them an little more obvious. Hopefully the matt finish will take weathering powders too.
These 2 show what I have done a bit better
Normally I would use matt black wash but decided the sandy environment would result in a lighter dusty look.
-
standard mirror Will, there is a glass shop at the end of my road and I just go in and ask them to cut me a piece of standard 4mm mirror, Ive had this one for a while but I thing it only cost a pound.
-

Im hoping its not art, mainly because art is often only appreciated once the creator is DEAD !!


-
Is that you sneaking your Ford Capri in there?

Track looking good.
Chris
Could be !
I don't have any US models to populate the pavement yet ! -
John - that looks really good - pray tell, what did you use to form the storm drain? Is it simply cut out and then polyfilla'd, or have you used something else?
the original baseboard level is the bottom of the storm drain. I topped it with a new piece of 1/2" MDF to give me a clean start. Trying to be frugal, I used offcuts, the rear one ending at the back face of the drain. That's what formed the idea, when the next new piece was added I just left a gap creating the drain slot,
Originally the slot had straight walls, I used filler (P38 body filler from the car spares shop) Filler applied liberally down both sides then using a plasti card offcut with an angle and rad I scraped off the excess down both sides whilst still wet, leaving the wall shape. Once dry a bit of sanding , a second light filling and final sanding left the shape I have. P38 is filler plus a small amount of hardener added and only takes 10 minutes to "dry" you have to work fast or do small areas at once but not waiting for drying is a big bonus.
-
1
-
-

Looking good, as for the top of the drain pipe, I would suggest a "hopper" or small box sat on top of the pipe. Prototypically I would think the water would flow out of the roof façade through a square hole on a lead chute into a drain hopper
Like this
http://roofireland.com/img/imgs/051.jpg
John


Roof details
in RJRs Branch Lines
A blog by johnteal in RMweb Blogs
Posted
its 1/24 45mm track commonly known as G scale