Jump to content
 

A tall bird from Paddington


Mikkel

10,042 views

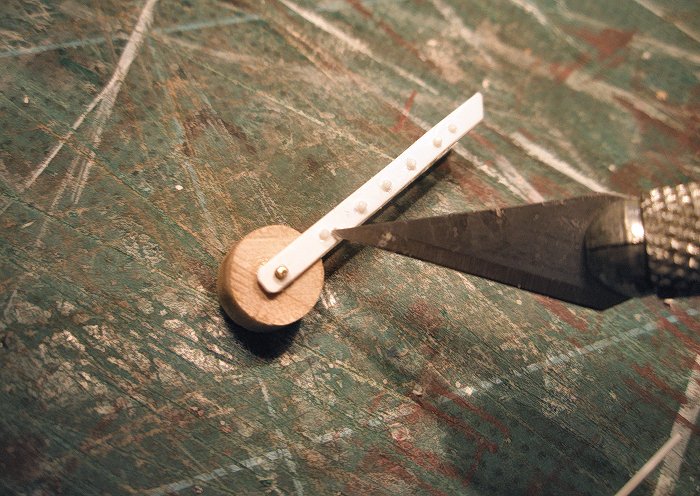
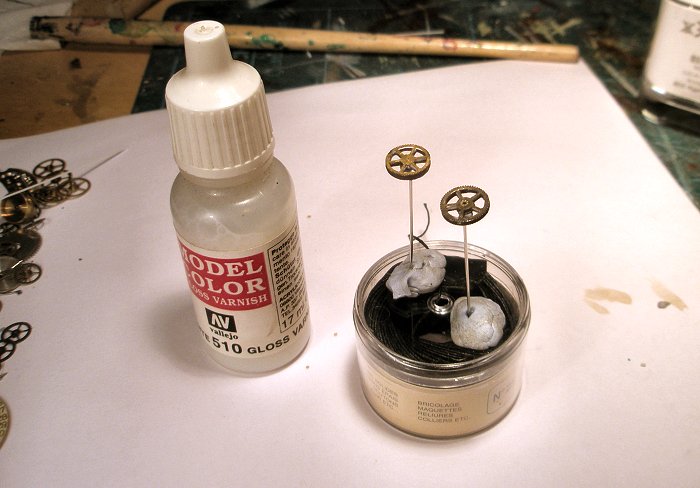
Here's a little scratch-building project that I'm working on in-between the coach painting. The prototypes were used extensively at Paddington Goods in the 1900s. A similar but more austere type was used at Hockley. I couldn't find any drawings, so the dimensions are guesstimates based on photos. The build was a real pleasure, especially sourcing the parts. I'll let the pictures explain the rest - gradually! :jester:


P2036564.jpg


P1196522.jpg


Image3.jpg


P1216543.jpg


P1226553.jpg


P1226553b.jpg


P1226564.jpg


P1246588.jpg


P1246596.jpg


P2016576.jpg


P1316534.jpg


P2016568.jpg


P2016597.jpg


P1196532.jpg


P1196538.jpg


P2026509.jpg


P2036531.jpg


P2026522.jpg


P2036512b.jpg


P2036516b.jpg


P2036537largeb.jpg


P2036558.jpg


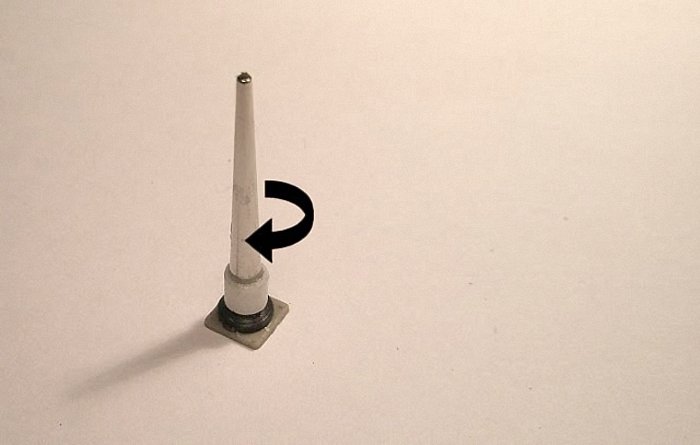
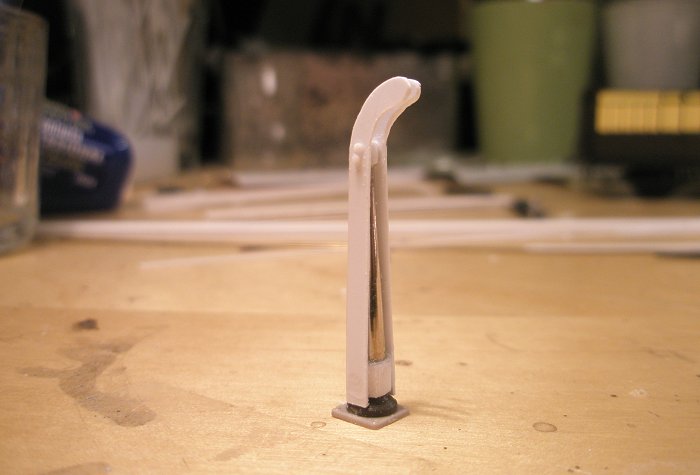
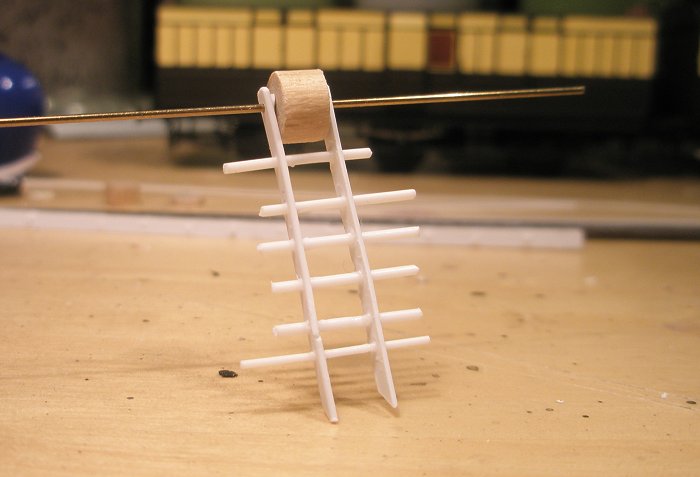
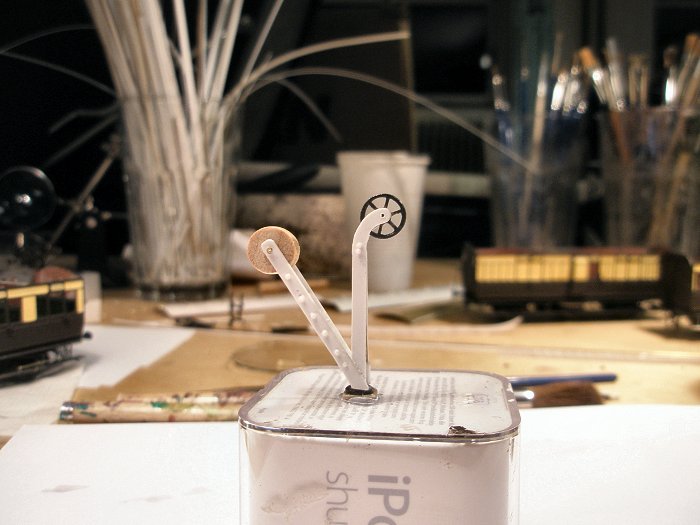
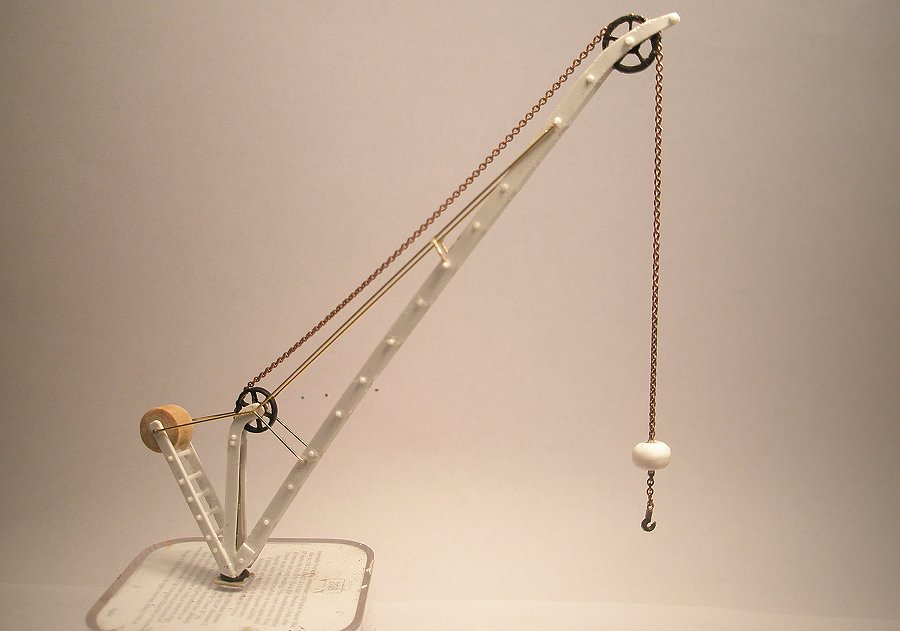
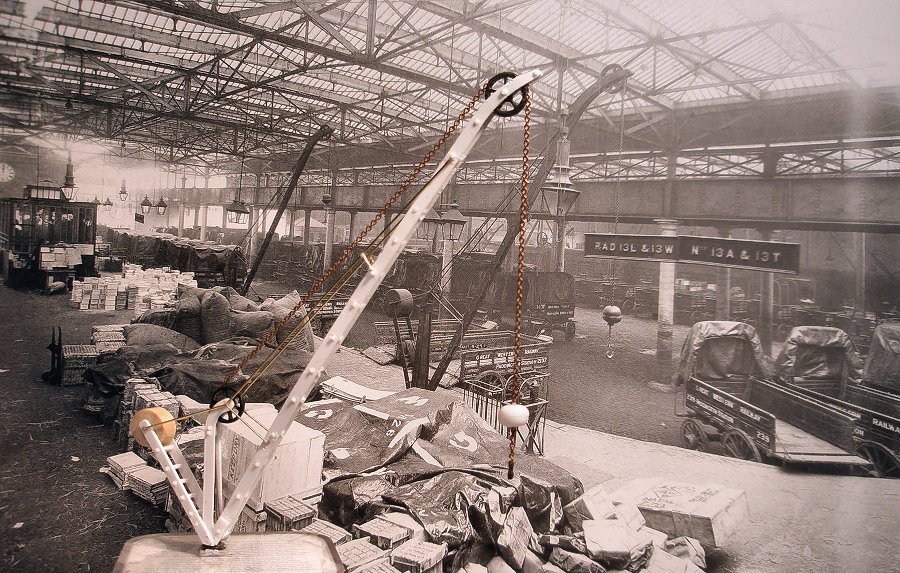
In other words, a shed crane. I still need to model the operating lever which was situated next to the crane, and which (as far as I understand) connected to a mechanism beneath the deck. I plan to build at least one more of these - although possibly a more heavy duty type.


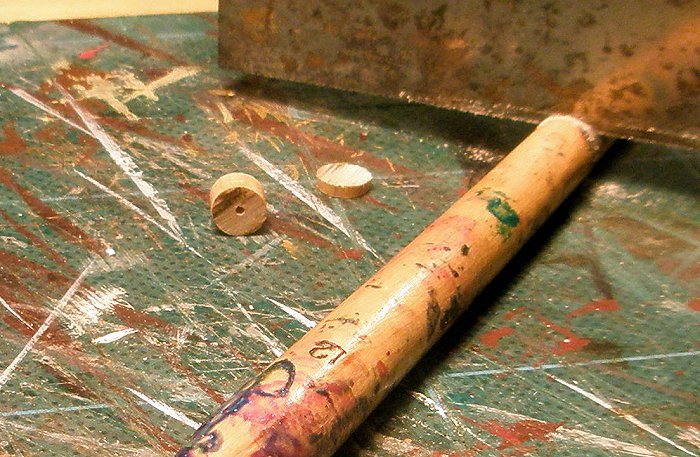
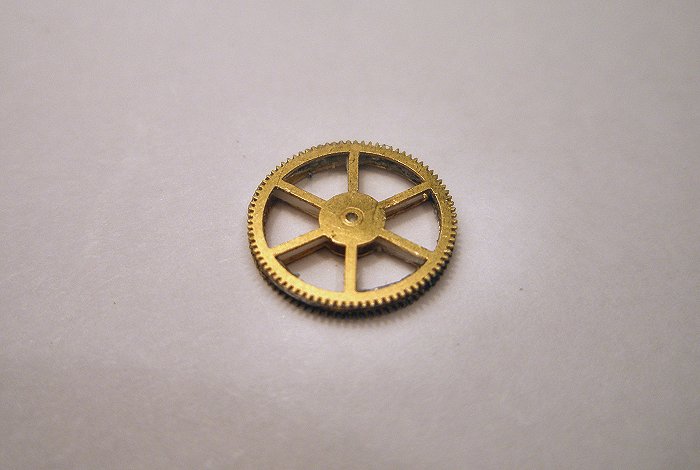
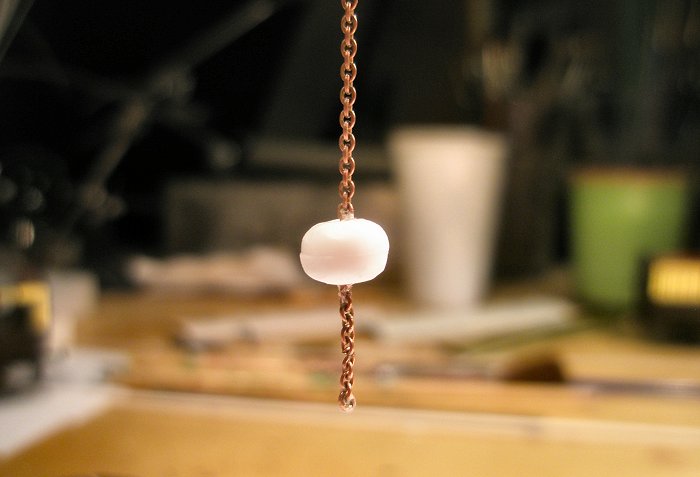
There are a couple of things I might do differently on the next one. I think the counter-weight is a little underscale. I will also do the pulley wheels different next time. We live and learn!


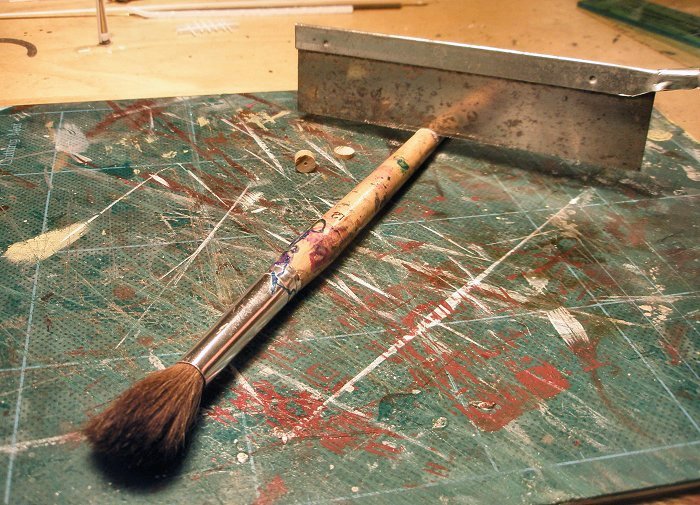
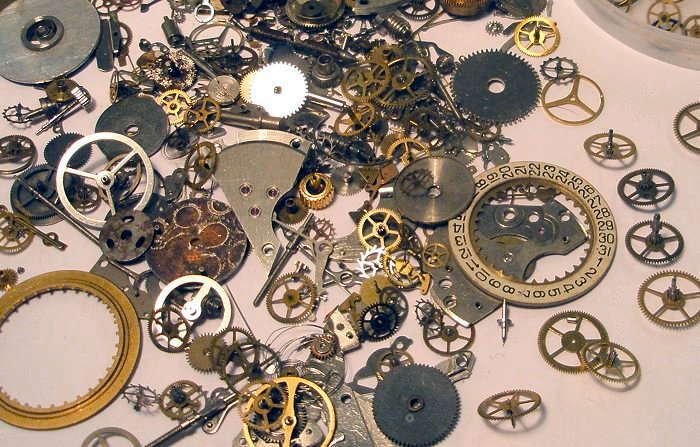
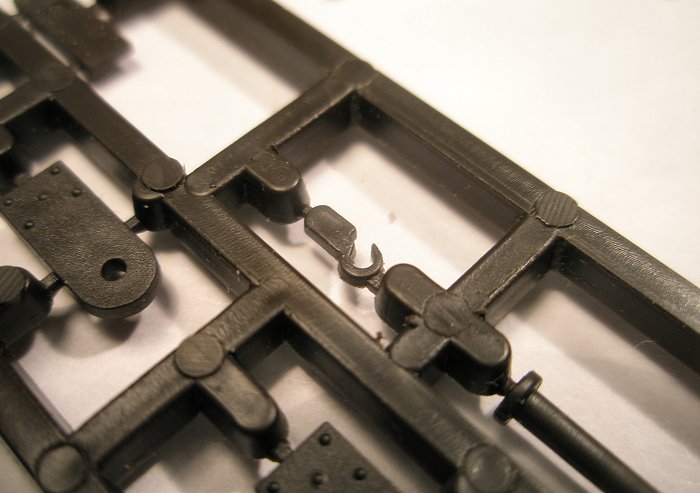
PS: Thanks to Missy for the tip about the watchmaker's parts, available on ebay.

  • Like 53

35 Comments


Recommended Comments


  • RMweb Gold

Bloody fantastic Mikkel.You can scratchbuild better than I build from kits.Great work.

Link to comment

Hi Mikkel,


That is really excellent and with all that scratchbuild ing using paintbrushes, you seem to have put pay to any more coach painting....


All the best,


Castle

  • Like 1
Link to comment

Mikkel


You have amazed me yet again, that is just fantastic.


You talk about my eye for detail but this shows I have still a long way to reach your standard. That scratch building is superb especially when seen against the photographs of the original.


I can hardly wait for the next one


Jim

Link to comment

Nice crane.

When I see such a nice piece of modelling I wished I had the possibility to use other materials then card, wood and only water based glues.

But on the other hand I'm glad I can still do some modelling.

Like your blog very much. Keep surprising us.

Link to comment

Very nice, Mikkel!


Good to see that I'm not the only one who saves old paint brushes in case they can be used for something else.


Regards,


Stefan

Link to comment
  • RMweb Gold

Many thanks gentlemen. It's a great thing about railway modelling that we can take some obscure object from the past and bring it back to the present.


I had better explain about the problems I had with the pulley wheels as I wouldn't want anyone to repeat my mistake:


As you can see they were made from watchmakers parts. I had expected that I could polish the teeth/cogs away by mounting the gears in a mini-drill or similar, but this is hard stuff and you need much more serious machinery than I have.


I think they would be excellent for making gears on a crane, but less so for pulley wheels. At least for someone like me. Modellers who have good metalworking skills and kit might fare better.


So after various attempts I ended up simply using varnish to fill in/smoothen the gaps between the teeth. However this is not really an ideal solution. Next time I will simply try to scratchbuild the pulley wheels.

  • Like 1
Link to comment
  • RMweb Gold

I can only echo the comments above! A really lovely bit of modelling, what colour were they painted Mikkel, or is that another "can of worms!"


Dave

Link to comment
  • RMweb Gold

Ah yes, the livery question :-)  So far I think grey. But what shade? Dark? 

Link to comment
  • RMweb Gold

Thanks Andy and all (sorry the comments are jumbled up a bit, some of my responses don't seem to have registered). 


Yes, this was a real paintbrush massacre! Not only a sign of laziness, (reaching for whatever is close at hand!). The metal tip of a fine paint brush is actually a shape that can be hard to find anywhere else in the house.


Job, your use of card and wood is in my view superb. It's funny how modellers prefer different kind of materials. Technically this crane would have been a more proper build in brass, but I feel much more comfortable with plastic.

  • Like 1
Link to comment
  • RMweb Gold

Wonderful Mikkel


A great result...and I enjoyed to try and guess what you were making as the pics unfolded ;)

Link to comment

Lovely work, Mikkel. It really looks the part against those Paddington Goods photos.


I had to laugh, though, not at you but at myself. I've been thinking about my yard crane since October and had finally decided that I would have to scratch build it. Eventually, I've sort of made a start. This evening I spent a couple of hours in the garage making a tool to help make part of it and came in feeling very pleased with myself. Now back indoors, the first thing I open on RMweb is this blog entry of yours and I find you've made a complete crane. It rather puts my efforts in perspective...


Nick

Link to comment
  • RMweb Gold

Great work Mikkel.


The step by step pictures kind of kept you on the edge of your seat-along with an element of Rolf Harris 'Can you guess what it is yet?'


A fantastic little project that has produced a beautiful representation of the prototype.


Cheers,


Mark

  • Like 1
Link to comment

Love it... a work of art!


(I think the Turner prize panel would appreciate the whole Farthing universe, with its 'back story' along with the actual artefacts...)

Link to comment

So that's what you wanted those cogs and spare parts for!!!!


Very clever, Mikkel. A first class exercise in improvisation.


Outstanding presentation too. Well done!


Jonte

Link to comment

Very nice Mikkel

So is this the start of a model of Paddington goods shed?

I just hopr you get the right shade of dark.

Link to comment

Once again your lateral thinking puts my dullard old brain to shame. Faced with the same task my thoughts would naturally turn to getting the majority of this etched for soldered construction. But no! Here you rummage through a cornucopia of beads, dismember a couple of paintbrushes and effortlessly knock out booms, tapered jibs and counterjibs in plastikard and plastic rod with seeming abandon. And what a result! And doesn't it look right at home in front of the scene at PDN?

  • Like 1
Link to comment
  • RMweb Premium

Yes, very impressive Mikkel. Quite an odd looking prototype which always makes a great model subject.

Interesting point is that all the stock apears to be GW... In that 1926 picture.

Link to comment
  • RMweb Gold

Thankyou everyone for your kind comments. The "can you guess what it is yet" mode of presentation can sometimes be a little irritating for the reader, but I couldn't resist it here :-)


No, this is not the start of doing Paddington Goods, although it would be an immensely interesting project. As Buckjumper's research and project shows, there is so much potential for modelling the London area goods operations. Anyway I am just stealing the design of the Paddington cranes and using them in the Farthing goods depot as a way of hinting that this is a fairly large depot although we are only seeing a small part of it (which is also why I need at least one more crane).


Sasquatch, I think the wagons in the 1926 (actually 1927) photo carry the 16" GW letters, which replaced the 25" letters around 1920. The 5" letters were introduced in 1936. So that is as would be expected?


Doing something like this in plastikard and with ad hoc available items is fast and fairly simple. But it also involves compromises. For instance I would say I have stretched the plastikard to the limit here - now that everything is in place it is structurally sound, but there were some dodgy moments along the way when it looked like I would end up with a banana shaped crane! And there is the thickness of edges etc which only brass could get 100% right.


So there is an awful lot of good to say for the more exacting and laborious approach that eg you are talking about, Nick and Buckjumper: That to me is still the gold standard way of doing things and in due course we'll all admire the results! To me it's just a matter of finding the approach that suits me best.

Link to comment
  • RMweb Gold

Hello Western Star, the photos are in "GWR Goods Services, Part 2A: Goods Depots and Their Operation" by Tony Atkins, publishers Wild Swan, page 88 and 93 respectively. The original photos are credited to the NRM. This series is highly recommended, perhaps especially this volume (part 2A), which has a number of photos from Paddington Goods and other London goods depots.


If you like large goods depots, the photos on the Warwickshire Railways website from Birmingham Hockley are also a treat: http://warwickshirerailways.com/gwr/hockley_goods_part1.htm

  • Like 3
Link to comment

Create an account or sign in to comment

You need to be a member in order to leave a comment

Create an account

Sign up for a new account in our community. It's easy!

Register a new account

Sign in

Already have an account? Sign in here.

Sign In Now

×
×
  • Create New...